Before and After: Real-Life How to Remove Fluorescent Light Fixture Transformations
Picture this: it’s a quiet Saturday morning, sunlight tiptoeing across your kitchen tiles, and you finally decide—today's the day that humdrum, boxy fluorescent ceiling fixture is making its grand exit. You’re ready for something that does more than just light up a room—something that draws the eye, delights the senses, and whispers your personal style. And oh, what a difference a simple swap can make.
At Afralia™, we live for moments like this—those “before & after” metamorphoses where outdated lights vanish and spaces bloom with new personality. So, get comfortable, warm cup in hand, and let’s walk through the real-life art (and heart) of how to remove a fluorescent light fixture, with shimmering inspiration for what comes next.
Stepping Into the Before: Why Remove Your Old Fluorescent Fixture?
There’s a certain nostalgia to fluorescent lighting—the soft flicker in an old school corridor, or the no-nonsense glow over a 1980s kitchen table. But let’s be honest: those cold, utilitarian rectangles rarely suit our modern-day sanctuaries. Their harsh light can flatten colors and leave even the coziest rooms feeling a bit clinical.
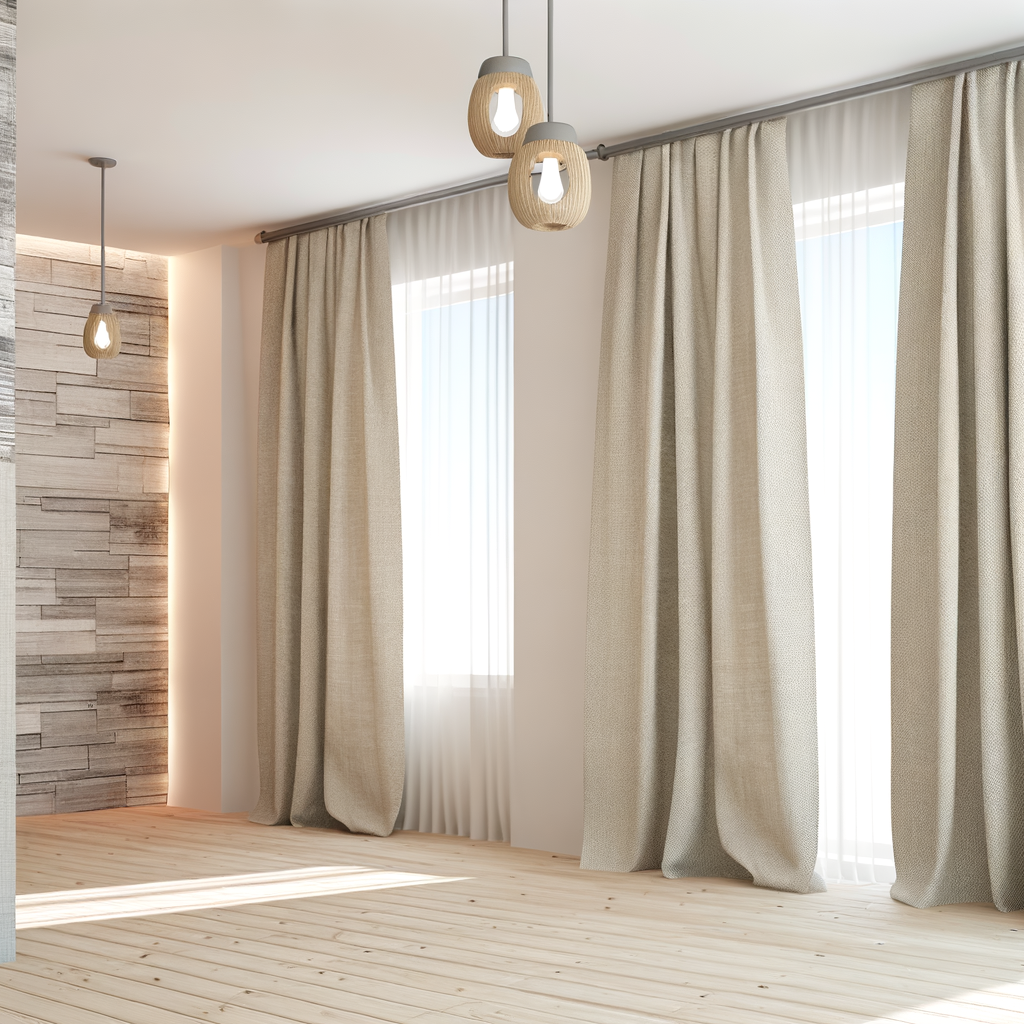
Take a glance at our visual hook—a classic “before & after” shot. On the left, you’ll see a dining nook clouded by that tell-tale acrylic panel, the light harsh and unflattering. On the right: a pendant in gleaming hand-blown glass, radiating warmth and transforming the scene into something you’d linger over on Pinterest.
“Lighting has the power to completely shift the mood and harmony of a room,” says Lena, stylist at Afralia. “Swapping out a functional but dated fixture opens up possibilities for your space to feel calm, glam, inviting—or all three at once.”
How to Remove Fluorescent Light Fixture: Step-by-Step for a Beautiful Blank Slate
Replacing a fluorescent fixture might sound daunting, but with a bit of patience (and our sensory-guided steps), you’ll soon have a blank canvas ready for your next design masterpiece.
-
Turn Off the Power
This step is vital: head to your electrical panel and turn off the power to the fixture’s circuit. Double check the light is off before you begin—safety is always in style. -
Remove the Diffuser and Tubes
Most fluorescent fixtures have a plastic cover (“diffuser”). Gently push up or unlatch, and it should come free. Next, twist the tubes a quarter turn and slide them out—handle with care, as they’re fragile. -
Detach the Fixture Body
Look for screws anchoring the metal housing to the ceiling. Supporting the fixture with one hand, remove the screws. Carefully lower the housing to reveal the wiring inside. -
Disconnect the Wires
You’ll see three wires: black (live), white (neutral), and a green or bare copper ground wire. Untwist wire connectors (insulated caps) and separate the wires. Tip: Snap a quick photo before this step so you can remember the wiring. -
Patch and Prepare
Remove the mounting bracket (if any). You’re left with a blank ceiling box—you can spackle any holes and touch up paint if needed for a pristine, ready-to-glow transition.
Wasn’t so intimidating once you broke it into simple steps, right? And if you’re more adventurous, you could even upcycle the fixture body for a creative DIY project—urban garden, anyone?
After: Bringing in Statement Lighting for Sensory Impact
Now comes the magic—choosing the lighting piece that’ll set the whole scene aglow. Imagine, for a moment, a matte brass flush mount with frosted opaline glass in the hallway, casting gentle pools of morning light. Or a striking globe chandelier above your dining table, the filaments softening the space into evening warmth.
As noted by Dezeen, layered lighting creates dimension and elegance. A thoughtfully chosen fixture doesn’t simply “replace” fluorescent lighting—it redefines it, anchoring your space with purpose and personality.
How do you want your home to feel when you flip on the switch? This is your chance to set the mood—textured shadows for dining, cozy glow for bedside, or vibrant clarity for a creative workspace. The right light invites you in, softens edges, and makes colors come alive.
One Afralia customer, Elise from Toronto, shares her favorite tip: “After I swapped my kitchen fluorescents for sculptural pendants, I added a dimmer switch. Suddenly, weekday mornings felt energizing, and dinner parties felt intimate—one small change, total transformation.”
Where Your Dream Fixture Shines Brightest
The best part of this journey? Your options are boundless. Our pendant lights sing over a kitchen island or dining table, making every meal feel intentional and inviting. Or maybe a sleek, sculptural flush mount is what your foyer deserves—ushering you home with soft, welcoming radiance.
Prefer a hint of drama for your reading nook? A statement wall sconce or adjustable swing arm can add that tactile, cozy vibe, layering light and texture in one graceful gesture. Don’t forget—the right lighting is as much about feeling as function.
Ready to Transform? Your Before & After Awaits
There you have it: from blinking fluorescents to luminous possibility, all it takes is a little know-how and a spark of inspiration. Next time you find yourself hesitating to tackle that dated fixture, remember those “after” moments—the warmth, the personality, the way light dances through your home each night.
Curious what your own “before & after” could look like? Pin our transformation shots for future daydreaming—but better yet, start your journey. Explore our handpicked lighting pieces.