Before and After: Real-Life How to Replace a Ceiling Light Fixture Transformations
Have you ever stepped into a space that felt…blah? Like it had good bones, maybe—a tidy entry or a sunlit dining nook—but something subtle (and dim) was weighing it down? At Afralia™, we’re all about those magical before-and-after moments, the kind you’d pin to your “Dream Home” board in a heartbeat. One of the easiest ways to create that kind of transformation? Swapping out a ceiling light fixture. It’s a surprisingly tactile update; you can almost feel the difference in the air as the room flickers from dull to dazzling.
Today, we’re taking you behind the scenes of two true-life fixes—a city entryway and a moody bedroom—where changing a single light fixture did nothing short of unlock the rooms’ personality. If you’ve ever wondered how to replace a ceiling light fixture, or doubted whether it could really change how a space feels by night, we’re about to answer that, and more.
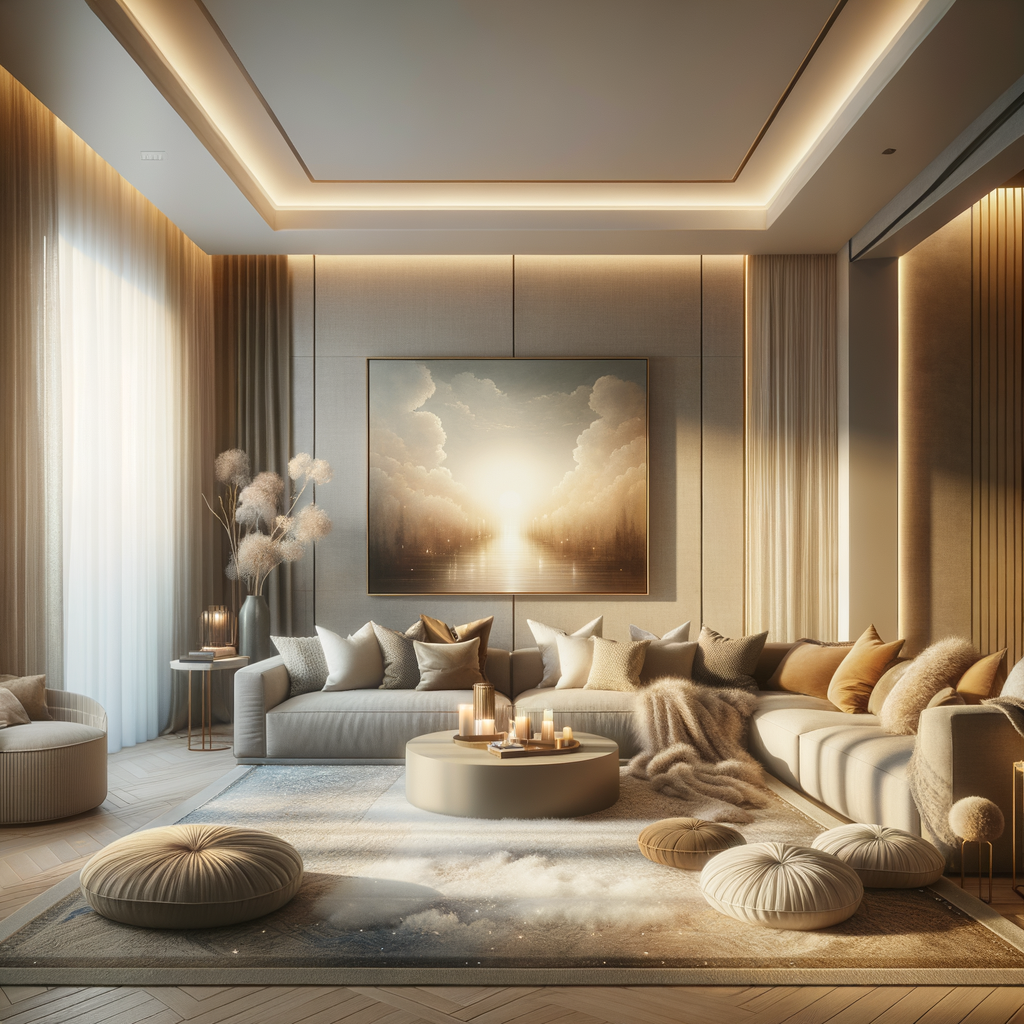
Why Swapping a Ceiling Light Fixture Is a Game Changer
It’s remarkable how easily a generic “builder-basic” light can drain the life from a room. That familiar flush mount—that nondescript disc on the ceiling—barely offers a whispered glow and seems to say, “This space is temporary.” Enter a sculptural pendant or an elegantly minimal flush mount, and everything changes. The brass catches morning sun; shadows dance along textured walls. As noted by Architectural Digest, lighting isn’t just functional—it’s foundational to atmosphere.
Lena, stylist at Afralia, always reminds us, “Lighting is the jewelry of a room. Swapping in something refined or daring is like finding the perfect earring—it tugs the whole look together.” Sometimes, all it takes for a home to go from ‘fine’ to ‘how did you do that?’ is a new ceiling fixture, one that draws the eye and anchors the mood.
How to Replace a Ceiling Light Fixture: Step-by-Step—with Heart
Ready for the transformation? Here’s a warm, hands-on walk-through, complete with just a hint of nerves—and the sweet satisfaction that follows. For safety, if you’re unsure about your wiring, always call a professional.
- Turn Off the Power. Locate your breaker box and shut off power to the old fixture. Flick the switch just to double-check—imagine you’re setting the scene for new beginnings, not for sudden jolts!
- Remove the Old Fixture. Unscrew the hardware, gently lowering the light base. Note the wires—usually black (live), white (neutral), and green or copper (ground). As you separate these, remember which is which; a quick phone photo helps.
- Install the Mounting Bracket. Most new Afralia fixtures arrive with their own mounting bracket. Secure it firmly to the electrical box, feeling its reassuring weight click in.
- Connect the Wires. Match white to white, black to black, and ground to ground; twist on wire nuts and tuck everything neatly inside. This step always feels like setting tiny roots, unseen but vital.
- Secure and Snap Into Place. Attach the fixture base, then any globe or shade. Step down, flick the breaker, and—voilà! A new mood floods the room.
Don’t be surprised if you find yourself with a giddy little smile in that first new pool of light—it happens to the best of us.
Before & After: Stories From Real Spaces
Let’s start with Olivia’s entryway: the “before” was a dimly lit, narrow pass-through with a tired frosted dome. Evening arrivals felt gloomy; shoes searched for in half-light, every hello muted. Olivia swapped in an Afralia flush mount of matte brass with etched glass—its glow softly bounced along the walls, greeting visitors with a fresh, golden warmth. The difference? As Pinterest-worthy as any before & after shot you’ve saved: light didn’t just fill the hall, it welcomed you home.
Next, we meet Marcus—his moody, jewel-toned bedroom was begging for drama, but all he had was a standard issue fixture flat as a pancake. After installing a statement pendant with ribbed amber glass (a personal favorite for bedrooms), Marcus found that nighttime felt cocooning, sensual; the light painted patterns above the bed and woke up every accent. He shared, “I actually love reading in here now. Even putting on socks feels a little bit luxurious.”
The best part? Both spaces required only a screwdriver, a little patience, and an inspired fixture. No need for a full reno. One customer tip from Olivia: “If you’re nervous about aligning holes and hardware, prop up the new fixture on a stack of books or a box—no strained arms while you do the wiring!”
Choosing the Right Ceiling Fixture for Your Space
The style of fixture sets more than just the height of your ceiling; it sketches the first lines of a room’s story. Need a gentle, embracing glow near your bed? Choose a pendant light with a fabric diffuser. Dreaming about a softly luminous dining room? Look for multi-bulb installations or semi-flush fixtures that layer shadow and clarity—because, as Dezeen reminds us, layered lighting creates dimension and elegance.
For hallways and entries, opt for sculptural flush mounts—nothing beats that “wow” moment by the front door. Is your kitchen craving energy? Try warm glass or woven shades that spread light like honey across your worktops. Afralia’s handpicked designs are made to suit every corner, lending their texture and distinct gleam whether you choose statement, minimal, or quietly luxe.
Can the right light really transform how you feel at home? If you saw those before & after photos (we still can’t stop swooning), you know the answer is a glowing yes.
Final Touches: Your Lighting Makeover Awaits
Your home tells your story, one softly-lit moment at a time. Whether it’s a bedroom alcove, bustling kitchen, or the first breath of light in your entryway, learning how to replace a ceiling light fixture connects you to the space in a new, heartwarming way. Take that leap—get hands-on, feel the warm weight of your new fixture, and flick the switch on a brighter chapter.
Explore our handpicked lighting pieces.