Before and After: Real-Life How to Replace Ceiling Light Fixture Transformations
If you’ve ever stood beneath a tired, uninspiring ceiling light and imagined something softer, warmer, more like the rooms you pin to your dream boards—this one’s for you. Few changes in a home deliver that glorious “before and after” thrill like swapping a builder-basic fixture for something inspired. Today, let’s take the intimidation out of how to replace ceiling light fixture and look at real transformation stories, tactile details, and simple steps (with a dash of Afralia™ magic).
Everyday Spaces, Unforgettable Impact: Why Replace Your Ceiling Light Fixture?
Lighting is more than just utility. The right fixture sets the mood for every gathered moment, anchors a room, or, like a beacon, invites you home. Think about the glow above your entryway mirror, the gentle halo in your reading nook, or the statement piece floating above the dining table—lighting defines how your space feels.
As Lena, stylist at Afralia™, says, “Swapping in a new fixture is the jewelry moment for your room. It's an instant personality upgrade. That matte brass texture or hand-blown glass? It doesn’t just light the room—it tells your story.”
We’ve seen it time and again: customers who felt “stuck” with plain overhead cans or dim flush mounts. With a little vision and a dash of bravery, they transformed everything from shadowy hallways to bedrooms humming with hospitality. Let’s dive into just how to replace ceiling light fixture—and share a few goosebumps-inducing before & afters along the way.
How to Replace Ceiling Light Fixture: The Step-by-Step Unveiled
Maybe you’re wondering if this project is doable for you. Short answer: if you can handle a screwdriver, you can absolutely do this! Here’s the streamlined, heartening guide to that pivotal swap:
- Power Down & Check: Always shut off your power at the breaker first. Safety’s non-negotiable.
- Unscrew Old Fixture: Remove the bulbs, the decorative cover, and the fixture base. A stepstool helps. Your goal: gently expose the wiring above.
- Disconnect & Prepare: Carefully untwist the wire connectors, noting which wire is which (snap a photo for reassurance!). Once free, remove the mounting bracket if you’re installing a new one.
- Install Your New Bracket: Attach the supplied bracket to the ceiling box. This supports your gleaming new piece.
- Wire It Up: Connect the wires—black to black (hot), white to white (neutral), and green or copper to ground. Twist on wire connectors securely.
- Mount the Fixture: Settle your new treasure in place. Secure it per instructions—sometimes a decorative cap, sometimes a trio of screws—and insert the bulbs.
- Turn the Power On: Flip the breaker, and prepare for that reveal moment!
Little tip from our customer Serena: “Lay a soft blanket under your ladder—catching any fallen screws, and saving floors at the same time.” Sometimes it’s the tiniest prep that makes the transformation feel luxe.
Doesn’t it feel good to take control over your own space? To know exactly how to replace a ceiling light fixture and bring your vision to life—step by step, wire by wire?
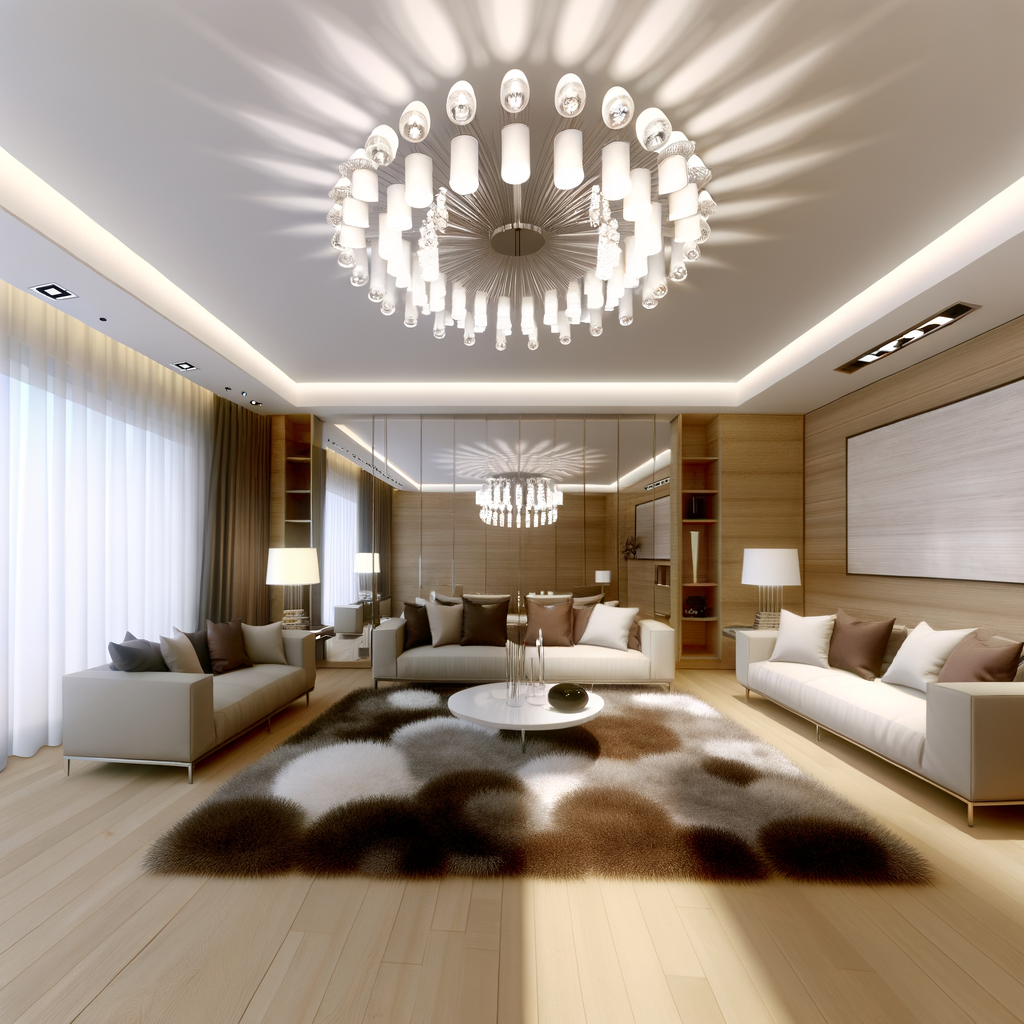
Pinterest-Worthy Before & After: The Glow-Up Chronicles
Let’s scroll through a real snapshot-worthy glow-up. Picture this: A dining room before, cast in the dull haze of an old glass dome. Evenings felt gray, conversations flat. Then, with one swap—a sculptural pendant in smoky glass—shadows danced, and laughter lingered longer over dinner. Guests noticed, too: “Did you redecorate?”
This is the beauty of a visual hook—a before & after so dramatic, you'd want it in your Pinterest feed: Before: stark and uninspired. After: every night feels like a boutique dinner party.
Where does this magic work best? Think entryways aching for a “Welcome home” statement, bedrooms that deserve a little opal-glass calm above the covers, or kitchens made for Sunday brunches. Explore our pendant lights for those centerpiece moments, or our flush mounts to brighten those cozier, lower-ceilinged corners.
Best Lighting Styles for Different Spaces: Finding Your Signature
Each room whispers its own requests. The perfect fixture isn’t just about looks—it’s about function and emotion. For a serene bedroom, opt for a soft linen-drum flush mount or a pair of dreamy bedside sconces. In the entryway, try a bold, sculptural glass pendant with a hint of modern brass: it catches the eye and sets the tone for the whole house.
Love the idea of layering? As noted by Dezeen, layered lighting creates dimension and elegance—think a pendant as a focal point, and table lamps as ambient companions. Downlights for clarity, feature lights for poetry.
So—what kind of glow do you envision in your favorite corner? Imagine the soft amber shimmer across your dining table, the dappled light pattern on your walls, the way guests pause and smile, looking up.
Aftercare: Keeping Your New Fixture Fabulous
You’ve unboxed, installed, and basked in the transformation—now, a little love keeps it shining. Dust gently with a microfiber cloth, and for glass or metal finishes, use a touch of diluted mild soap and water for stubborn spots. Avoid abrasive cleaners to keep that matte or brushed shimmer intact. (Afralia tip: A soft artist’s brush works wonders for getting into intricate details!)
Depending on chosen bulbs, consider dimmers to unwind with a gentle evening glow or set the mood for lively get-togethers.
Brighter Futures, Inspired Spaces
Replacing a ceiling light fixture doesn’t just change your room—it changes how you feel in it. Spaces become more inviting, more layered, more you. And every time you flick that switch, you’ll feel a whisper of pride: you created this magic.
If you’re craving more inspiration, browse our curated collection of modern chandeliers perfect for grand statements, or craft your own before & after story with a hero piece from Afralia.
Start designing your dream space today.