Before and After: Real-Life How to Take Down a Fluorescent Light Fixture Transformations
Nothing dates a space quite like a ceiling-hugging fluorescent light fixture humming overhead. There’s a certain nostalgic charm—a flashback to childhood homework at the kitchen table under a steady but unflattering white glow. But if you’ve been craving the warm, curated luminosity of a modern setting, updating your overhead lighting is a must. Today, let’s get hands-on and walk through not just how to take down a fluorescent light fixture, but also what happens when you do—complete with swoon-worthy before-and-after inspiration straight from real-life transformations.
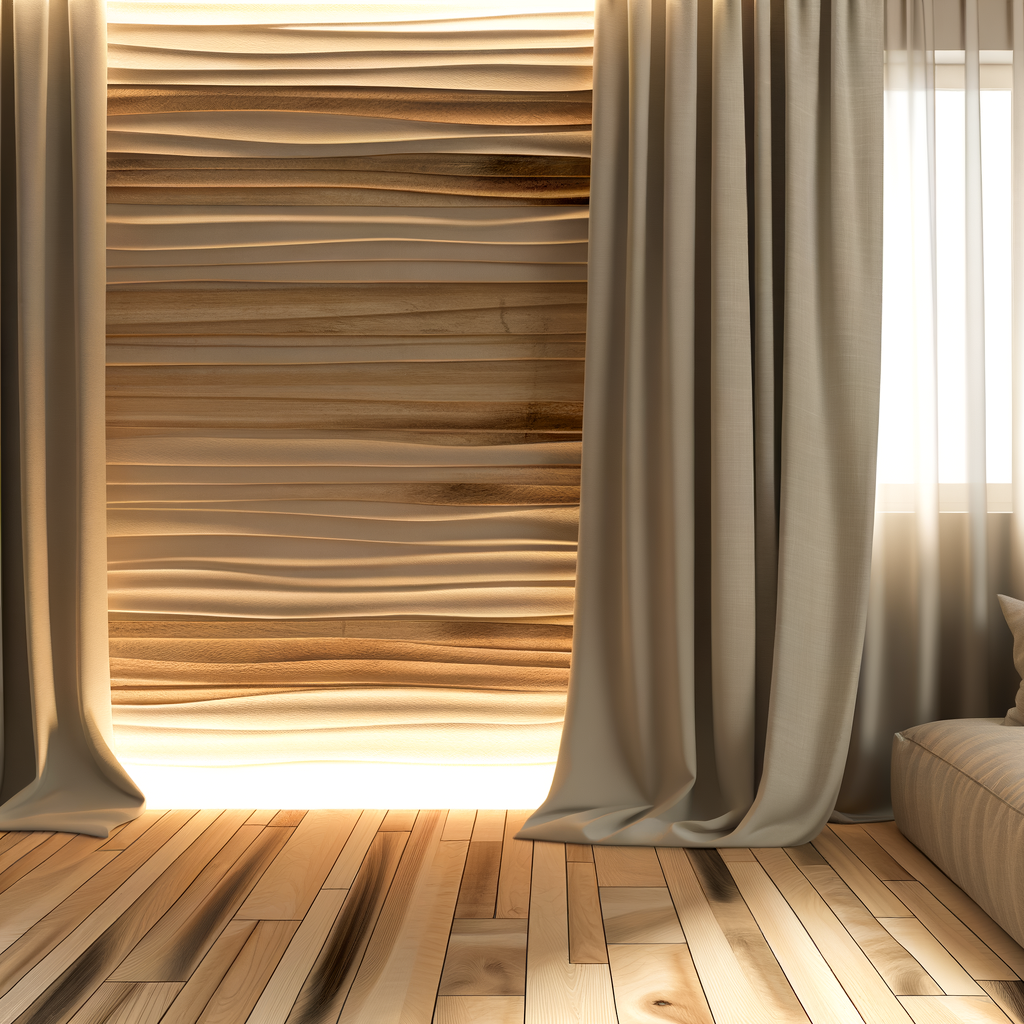
Picture this: a dim, blue-hued kitchen with cabinetry yearning for a refresh, dominated by a flickering box of fluorescent tubes. Now tap over to the after—the same room basking beneath a sculptural pendant, golden pools of light warming gleaming countertops. That’s the magic of mindful lighting swaps. (If you love a good "Before & After" drama, you’ll want to pin this transformation for future inspiration!)
Why Take Down a Fluorescent Light Fixture?
First, let’s talk motivation. Why bother tackling the job of removing that old fluorescent? For so many, it’s about reclaiming ambiance. Fluorescent fixtures can flatten colors, wash out features, and cast an oddly institutional mood. When a room’s bones are begging for character, nothing beats curated, tactile lighting—a statement pendant or a cluster of glowing globes that radiate warmth and intention.
“Lighting is the soul of a space. Swapping out the old is like hitting ‘refresh’ on your home’s mood,” says Lena, stylist at Afralia.
And it’s not just about aesthetics. Upgrading to modern fixtures can make your home more energy-efficient and showcase architectural details you didn’t even realize were hiding in the corners. As noted by Architectural Digest, the right light “draws the eye, anchors the space, and tells a quiet story.”
Step by Step: How to Take Down a Fluorescent Light Fixture Safely
If you’ve ever found yourself staring up at that daunting plastic cover, wondering where to begin, you’re in good company. The process is approachable if you respect a few basics—chiefly, safety first! Here’s a warm walkthrough, as if we're right beside you, sleeves rolled up:
- Turn off the power. Head to your breaker box and shut off the circuit feeding your fixture. If in doubt, test with a voltage tester.
- Remove the cover or diffuser. Most standard fluorescents have a clip-on or sliding plastic lens. Gently disengage it—sometimes a gentle upward push and slight wiggle is all it takes.
- Take out the bulbs. Twist each tube a quarter turn until you feel it release from the sockets. Cradle them carefully—they’re fragile.
- Unscrew the fixture body. With bulbs and covers aside, you’ll find mounting screws securing the fixture to the ceiling or junction box. Hold the unit with one hand as you loosen the screws (a second set of hands is always wise). Once free, gently lower the fixture—wires will still be attached.
- Disconnect the wiring. Untwist the wire nuts connecting the fixture’s wires to the house wiring. Remember which colored wires were connected (snap a photo if needed). With everything disconnected, you can lower the old fixture out.
Doesn’t it feel a bit like letting the breeze into an attic—suddenly, the space breathes? So what comes next?
Transformation in Action: Real-Life Mood Shifts
Here’s where the fun (and design storytelling) begins. Just this spring, a lovely couple in Seattle swapped out their pancake-flat kitchen fluorescent for a modern matte brass chandelier. Pre-makeover, the kitchen felt chilly and utilitarian, but in the soft amber glow of its new centerpiece, even the morning pastries looked more inviting.
Small story: A friend of Afralia’s, Mia, tackled her own DIY in her laundry room—a neglected space with a flickering old light. She used a gentle touch, a steady step-ladder, and placed a rattan flush mount overhead after removing the old “box.” Now, folding clothes feels less like a chore and more like a moment of calm. (Her tip? “Have all your tools ready before you’re on the ladder. That little Phillips screwdriver seems to love hide and seek!”)
Those dramatic before-and-after shots—the transformation from cool blue to soft, glowy “after”—capture more than just aesthetics. They reveal the promise of change. Maybe you’re already picturing your own next “after.” What’s the mood you want to live in?
Choosing Your Next Fixture: What Works Best Where?
With your ceiling cleared and imagination alight, where do you go next? The beauty of freeing the ceiling from an old fluorescent is the open field it creates: Do you crave drama over a dining table, serene glow above your bed, or comforting pools of light greeting you in the entryway?
- Kitchen: Pendants add personality and targeted light over islands—think hand-blown glass for sparkle, or blackened steel for modern edge.
- Entryway: A bold statement fixture signals “welcome home” every day. Explore our flush mounts to brighten your entryway with a softly diffused aesthetic.
- Bedroom: A single globe pendant or softened ceiling light helps you ease into rest, perfect for layering with bedside sconces.
- Laundry Room: Even humble corners deserve beautiful light—a petite semi-flush or woven fixture transforms mundane into mindful.
Remember: Layer your lighting. Add dimmers if you can. The right fixture, paired with the right glow, transforms ordinary routines into memorable rituals. As observed by Dezeen, layered lighting creates dimension and elegance—even in the simplest rooms.
Aftercare and Quick Touch-Ups
Once your new fixture is up and glowing, take a beat to smooth over tiny ceiling imperfections left by the old mount. A daub of spackle, a quick sand, and a dab of matching ceiling paint are usually all you need for a flawless finish.
And why not take this as an opportunity to tidy up cords, refresh nearby décor, or even swap in a fragrant candle to round out the senses? The light is just the beginning…the atmosphere follows.
Your Turn: Ready to Transform?
We’d love to see your own “Before & After” shots—there’s real satisfaction in witnessing that subtle magic, room by room. Maybe you’ll find yourself savoring a slow morning beneath the dappled patterns of a new fixture, or inviting friends over just to admire the new mood over a shared meal. What could your “after” feel like?
Start small, take your time, and know that every change is a step toward living in beauty—where you don’t just see, but feel the transformation every day.
Ready to discover what’s next? Explore our handpicked lighting pieces.