Beginner’s Guide to Can Light Fixtures: Effortless Elegance for Every Room
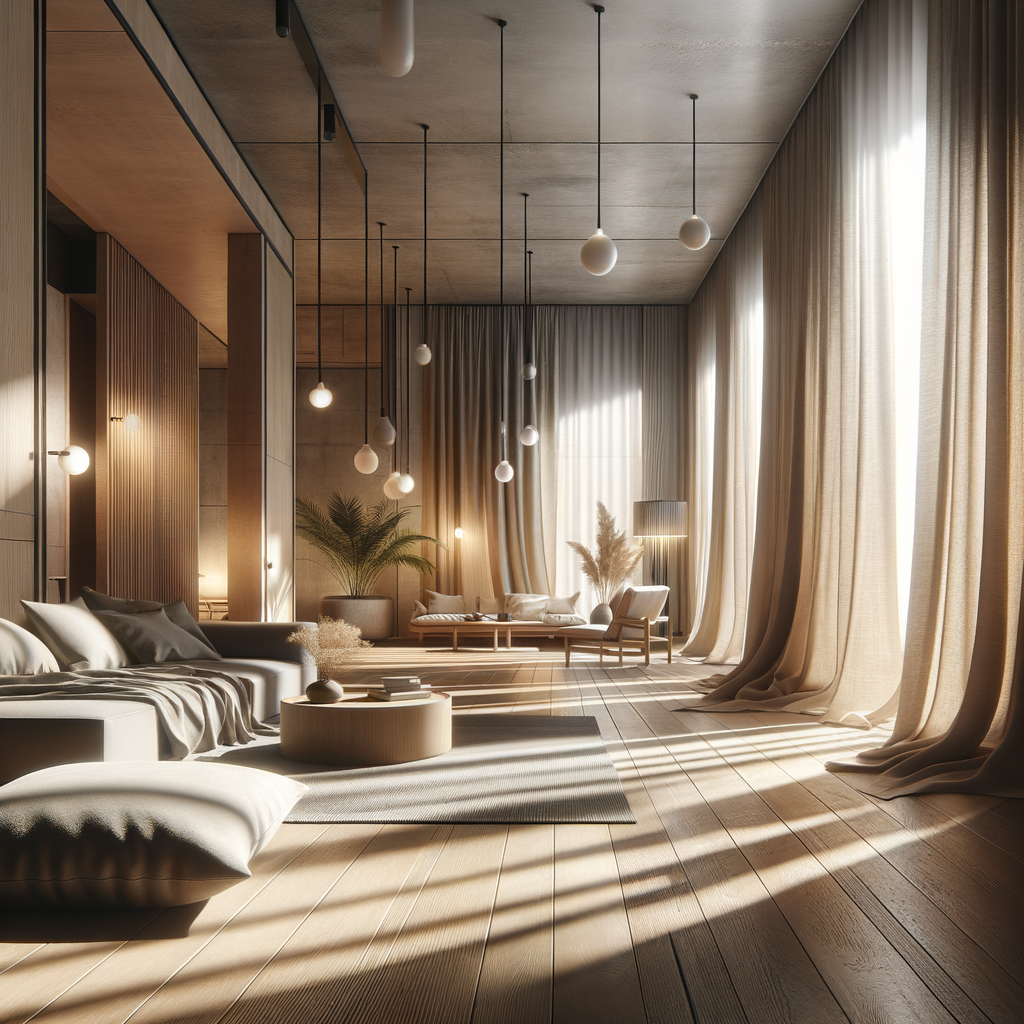
Picture this: It’s a quiet morning and warm light spills across your entryway, gently waking every surface from its slumber. You look up and notice how seamlessly that glow seems to float—no dramatic chandelier, no fuss, just pure radiance. That’s the understated magic of can light fixtures.
If you’re just starting to explore the world of lighting design, can lights—sometimes called recessed or downlights—are one of those essentials that quietly shape a room’s entire mood. At Afralia™, we adore the way these fixtures let you play with light and shadow, balancing function and mood all in one tailored package.
What Are Can Light Fixtures? A No-Fuss Lighting Staple
Can light fixtures are minimalist by nature. Installed flush with the ceiling, these fixtures consist of a “can” (the housing), a light bulb, and a trim that sits level with your ceiling. This setup means you get pools of focused, nearly invisible light—perfect for illuminating spaces without the bulk of hanging fixtures.
Lena, stylist at Afralia, says: “For clients who want laser-focused task lighting or a soft wash across a gallery wall, recessed can lights are my secret ingredient. They’re like painting strokes of light exactly where you want them.”
You’ll spot can lighting in so many styles of homes—contemporary, Scandinavian, coastal retreats, even classic brownstones. It’s their chameleon quality; they don’t steal the show, but they set the scene. Want to see how they’re installed? Save our visual step-by-step infographic to your Pinterest board for that aha! moment when you’re planning your own project.
Where Do Can Light Fixtures Shine? Room-by-Room Inspiration
The beauty of can light fixtures is how versatile they are. Let's wander through a few spaces:
- Kitchen: Picture the soft sparkle on quartz countertops and targeted illumination over the chopping board. Can lights above your kitchen island cut out shadows so you can dice and pour like a chef.
- Living Room: Spacing can lights along a hallway or around a media center draws the eye and sets a cozy mood—without the glare overhead.
- Bathroom: A series of can lights along the vanity brings even, flattering light for morning routines. (Add a dimmer and you’ll have spa vibes, day or night.)
- Bedroom: Try soft, warm can lighting on a dimmer above the bed for a “sunrise at dusk” effect. Pair with a sculptural table lamp for layers and intimacy.
- Entryway or Gallery Walls: Use directional can light fixtures to spotlight art, photos, or an accent wall—like your own boutique gallery.
For more surface-mounted alternatives, explore our flush mounts to brighten your entryway or hallway with a different twist.
The Design Elements: Choosing and Placing Can Light Fixtures
Choosing can lights isn’t just about picking the right size or finish (though those details—matte brass trim, anyone?—definitely elevate the vibe). It’s about intent, too. Ask yourself: Do you love a room awash in gentle ambient light, or do you want art and task zones to pop?
Here’s where Architectural Digest often spotlights design wisdom: layering. Layering light gives every space that soft, dimensional feel—think of ambient, task, and accent lighting coming together so a space feels alive by day and by night.
Spacing: Generally, space can lights about 4 to 6 feet apart; too close, and you risk a harsh effect; too far, and you’ll have dark pockets. Opt for adjustable trims so you can experiment—try angling one toward a bookshelf or a textured wall for instant drama.
Bulb Color + Dimmers: For most rooms, stick to a warm white (2700–3000K). It’s inviting and easy on the eyes. Dimmers are your best friend here—who doesn’t love dialing the energy up or down as mood and occasion change?
Want another tip? A longtime Afralia customer once told us she uses can lights on the lowest dim in her nursery at night, creating a soft, starlit atmosphere perfect for lullabies—proof that sometimes, subtle light is the most powerful design tool.
Installing Can Light Fixtures: What Every Beginner Needs to Know
Thinking about a DIY route? Installing can lights is a little more involved than swapping out a table lamp, but with a bit of guidance, it’s totally doable—especially in new builds or during renovations. (Planning to retrofit in an older home? A licensed electrician is your safest choice.)
- Map Your Layout: Sketch your ceiling and mark where you want the fixtures. Pay attention to ceiling joists and wiring runs.
- Cut Openings: Use the template that comes with your can lights. Precision here pays off—clean, round cuts mean a crisp finished look.
- Wire Fixtures: If you’re comfortable, connect the wiring according to instructions (power off, of course!). Otherwise, a professional can ensure everything’s safely in place.
- Install Cans and Trim: Nestle the fixture into the ceiling so it’s flush. Snap on the trim, pop in your bulbs, and let the glow begin.
If you’re visual like me, that step-by-step infographic we mentioned above is a must-save for your Pinterest inspiration board. Sometimes one image is worth a thousand words when you’re standing on a step stool with a flashlight!
Can Light Fixtures: The Quiet Powerhouse of Modern Design
It’s easy to overlook can lighting—after all, it’s subtle by design. Yet, the right can light fixtures can transform a room quietly, casting artwork in a chic glow or creating intimacy in the coziest reading nook. As noted by Dezeen, layered lighting creates dimension and elegance, making every space feel curated and inviting.
So—how will you use them? Will your can lights be the quiet foundation of a gallery wall, or will they sparkle over your kitchen counter as you share late-night stories? The possibilities are as wide as your imagination.
Explore our curated recessed lighting selection to find the perfect accent or anchor for your space.
Start designing your dream space today.