Beginner’s Guide to How to Install a Wall Sconce Light Fixture
Imagine this: warm light curling across your hallway, a sculptural shape drawing the eye in the evening quiet, or a reading nook softly aglow. There’s something quietly transformative about a wall sconce — it does more than illuminate; it creates mood, anchors a moment, and reflects your personal style. For many, though, the magic stops when installation feels intimidating. Here’s the gentle secret: with a touch of patience (and the right steps), you can absolutely install a wall sconce light fixture yourself.
In true Afralia™ fashion, let’s make this process feel less like a daunting DIY and more like sipping coffee with a design-savvy friend. We’ll walk through every moment you’ll need — from opening that dreamy matte-brass box to switching the light on for the first time. Ready to glow?
Why Wall Sconces? Where to Let Them Shine
Wall sconces are the unsung heroes of lighting. They do what overhead lighting rarely can: gently cast light at eye level, wrap a room in dimension, and subtly command attention. But where should you install them?
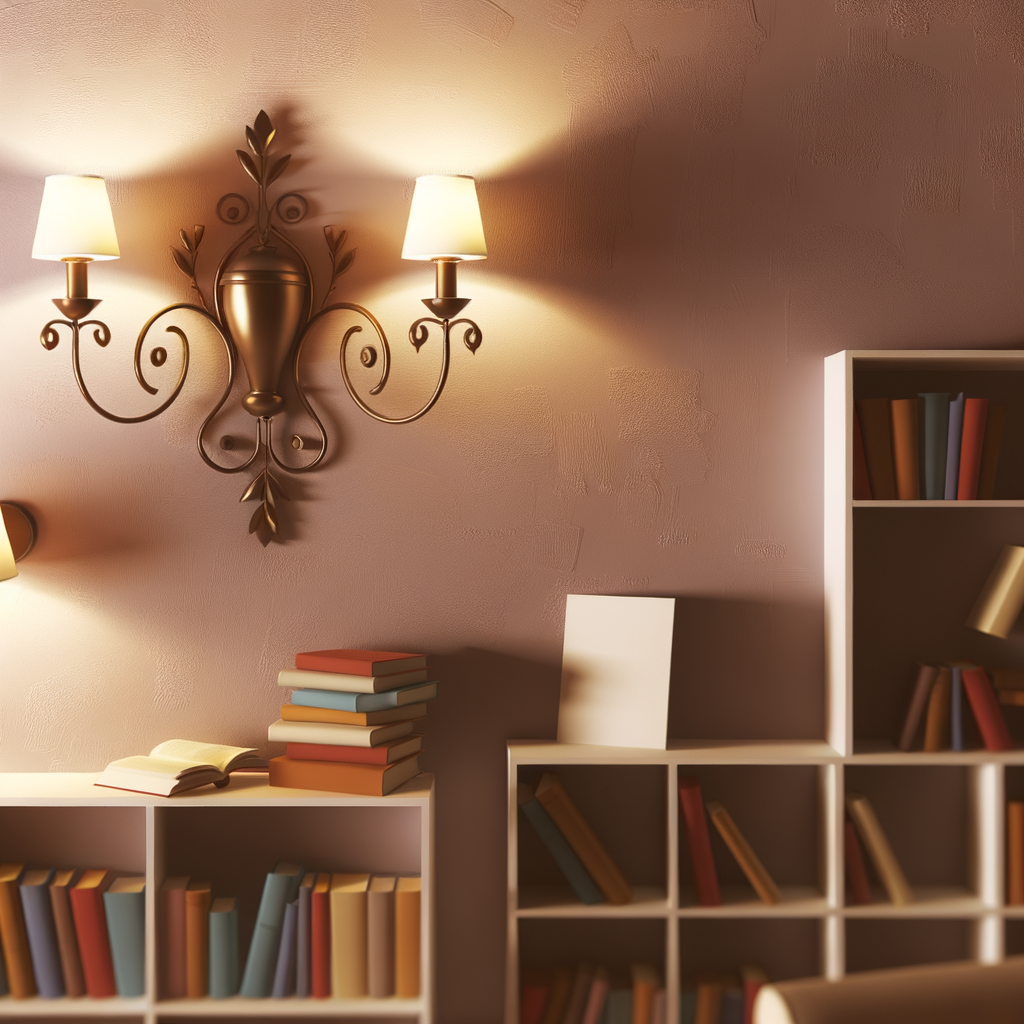
- Bedside escapes: A sconce on each side of the bed feels like a luxury hotel, uncluttering your nightstand and freeing space for books or a delicate vase.
- Dining drama: Frame a buffet or showcase your favorite art — sconces add a soft, sculptural accent to dining rooms.
- Entryways and halls: Let your home’s first impression be welcoming light guiding you in. Paired along a hallway, sconces echo rhythm and flow.
- Reading corners: Cocoon yourself in a cozy nook with a focused glow.
Lena, stylist at Afralia, always reminds us: “Lighting isn’t just functional — it’s an invitation. A wall sconce draws you toward the moment you want to savor, whether that’s bedtime or a quiet evening in.”
(If you’re searching for inspiration, our curated wall sconces blend global artistry and refined materials for every mood.)
What You Need: Tools & Prep for Installing a Wall Sconce
Before diving in, gather your materials. Installing a wall sconce safely means a bit of prep — think of it like setting the table before a beautiful meal. Here’s your toolkit:
- Wall sconce fixture (with mounting kit and instructions)
- Voltage tester (to keep things safe)
- Screwdrivers (flathead and Phillips)
- Drill and bits (if new holes are needed)
- Wire strippers/cutters
- Pencil, level, and measuring tape
- Electrical tape and wire connectors
- Ladder (for higher placements)
- Bulb (the gentle final touch!)
Tip from Sofía, an Afralia customer: “I lay everything out on a soft towel by the wall. Less chance of dropping screws, and it makes the process feel less frantic and more like a creative ritual.”
How to Install a Wall Sconce Light Fixture: Step-by-Step
Let’s walk together through the basics. (And for visual learners, save or pin our step-by-step infographic below — it’s a Pinterest-favorite resource from our community of design lovers!)
Visual Hook: Wondering what to expect at each stage? Our infographic at the end of this post maps out every step — perfect for keeping on your phone as you work.
-
Turn Off Power.
First, safety. Find the correct circuit breaker and turn off power to the area. Double-check with a voltage tester — better to be extra sure. -
Mark Your Spot.
Hold your sconce against the wall and use a pencil to mark where the mounting bracket will go. For symmetry (especially with bedsides or mirrors), use a level and measuring tape. -
Install the Mounting Bracket.
Attach the bracket to your wall using provided screws. If you’re not mounting into a stud, use wall anchors matched to your wall type. -
Connect the Wires.
This step can feel fiddly, but breathe easy and go slow. Match the fixture wires to those in the wall — usually black to black (hot), white to white (neutral), green or copper to ground. Twist the connectors snugly, wrap with electrical tape, and tuck wires carefully into the box. -
Mount Your Sconce.
Fasten the fixture to the bracket (most use decorative nuts or screws). Give it a gentle wiggle to ensure stability — nothing should feel loose or wobbly. -
Install the Bulb.
Choose a bulb (try a warm LED for soft, cozy ambiance). Thread it in, being careful not to overtighten. -
Restore Power and Enjoy.
Switch the breaker back on, and test your new sconce. Revel in the halo of fresh light it brings!
A quick rhetorical pause: isn’t it amazing how a small change — a fresh fixture and five minutes of intention — can utterly reshape the feeling of a room?
Extra Tips for a Flawless Sconce Installation
- Height matters: The sweet spot for sconces is generally 60–66 inches above the floor, or eye-level, but adjust for your own space and purpose.
- Symmetry softens: Install sconces in pairs for visual rhythm — flanking a mirror, bed, or artwork creates that magazine-worthy effect (see inspiration at Architectural Digest).
- Choose the right glow: For cozy reading, go with a dimmable bulb; for statement moments, consider a frosted globe for even, diffused light.
- Professional help: If you aren’t sure about wiring, it’s always wise to call an electrician — design confidence includes knowing when to ask for help!
As noted by Dezeen, layered lighting creates dimension and elegance. Wall sconces play a special role in this — they weave softness into your overall plan, making each corner feel considered.
Styling Your Sconce: Bringing the Look Together
Once your sconce is installed, step back and savor the transformation. Consider the sensorial world you’ve created — does the matte brass pick up sunlight by day? Does the amber glow at night spark a sense of calm? Maybe you’ll style beneath it with a stack of art books or a sculptural vase. Max, a recent Afralia client, swears by fresh eucalyptus under his hallway sconce: “It feels like a spa when I come home.”
For more ideas on complementary designs, explore our table lamp collection for restful layering or our pendants for statement lighting that catches the eye.
Above all — let your new sconce feel welcoming. Whether it’s the first thing you see in the morning or the last glow before bed, it’s your signature on the day.
Find your glow.