Beginner’s Guide to How to Remove a Light Fixture: Lighten Up Your Space With Confidence
Ever stood under your dining room pendant and wondered, “Could I swap this out for something fresher?” If you’re gazing at your ceiling—maybe a flush mount that’s seen better days, or a chandelier ready for a more refined statement—it might be time to breathe new life into your room. Good news: learning how to remove a light fixture is well within your reach, no toolbox phobia required.
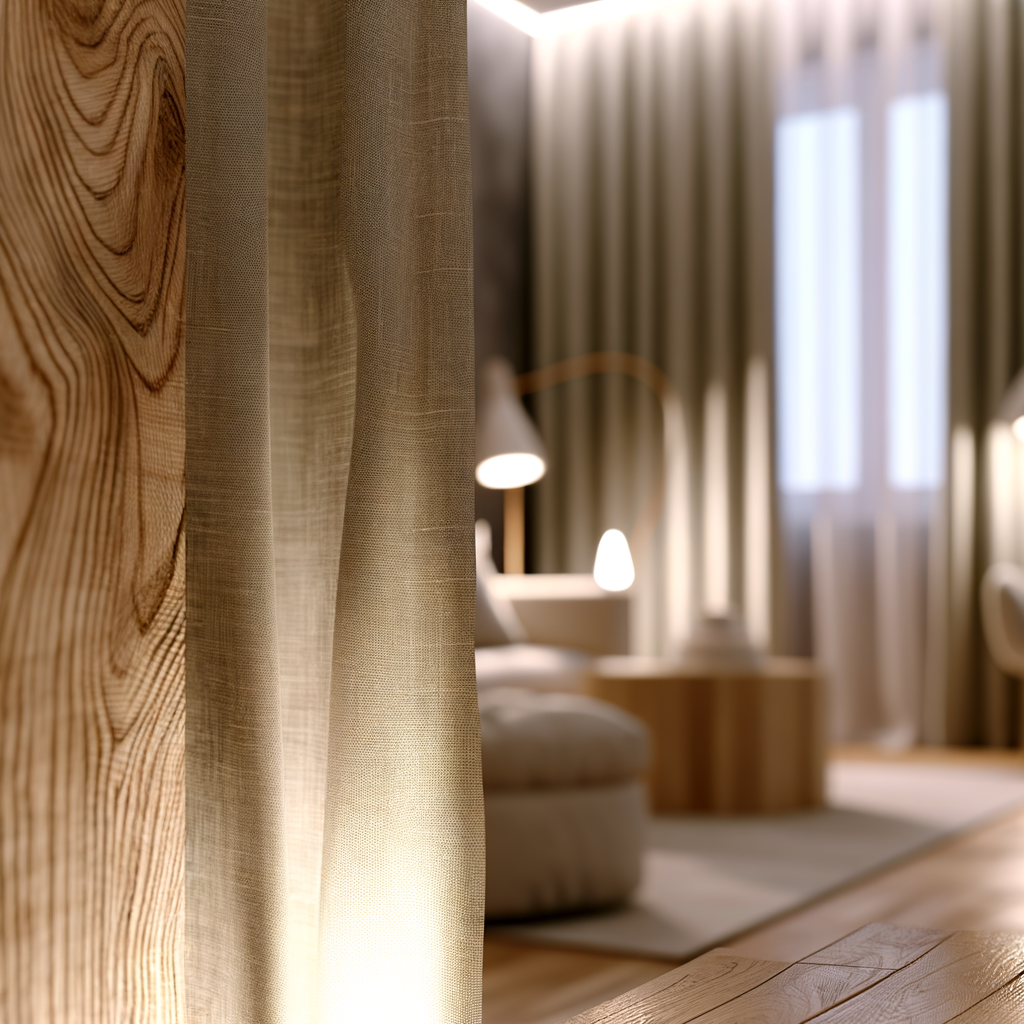
At Afralia™, we believe every space tells a story—sometimes, it starts with just a single bulb or the gentle reveal of a matte brass canopy. Let's walk through the practical steps (with a pinch of design delight!) to safely remove a light fixture, whether in your cozy bedside nook, the drama of the entryway, or the soft gathering hum of your dining room.
Visual Hook: Our step-by-step infographic below turns a daunting task into something Pinterest-worthy—you’ll want to pin it for your next weekend upgrade.
Getting Ready: What You’ll Need and Where to Begin
Before we step onto the ladder, let’s set the scene. Removing a fixture means being just as thoughtful in preparation as in picking new lighting. Picture a gentle Tuesday morning—sunlight pooling on the floor, tools neatly lined on a linen towel, favorite playlist humming. You’ll need:
- Phillips or flat-head screwdriver (sometimes both)
- Voltage tester (for peace of mind)
- Ladder or sturdy step stool
- Wire nuts (for safety afterward)
- Tape and a marker (for labeling wires)
- Soft cloth to cradle delicate glass or metal
Start by turning off the power at your circuit breaker—flip the switch for the room you’re working in, not just the light switch on the wall. As Lena, a stylist at Afralia, always says: “Safety is the ultimate luxury. Take the time; the vibe’s better that way.”
Step-by-Step: How to Remove a Light Fixture Safely
With your tools ready, stand under your fixture and take a moment. Maybe your chandelier lights the hallway in a honeyed glow each evening or your flush mount casts crisp morning patterns in the entry. You’re not just removing hardware—you’re preparing a canvas for something new.
-
Cut the Power & Double-Check
After switching off the breaker, test the wires using a voltage tester. If the tester lights up, double-check you flipped the right circuit. Safety first, every time.
-
Remove Bulbs and Shades
Twist out bulbs and gently unclip or unscrew glass shades. Set them on the towel so nothing chips or slips.
-
Unscrew the Fixture Base
Curtains of hardware sometimes hide screws—look for caps or decorative nuts. Hold the fixture steady as you undo screws, feeling the weight shift to your hand. (A customer once shared her trick: “I ask someone to hold the fixture while I work—turns out, teamwork makes even noisy old ceiling fans less scary!”)
-
Disconnect Wires
Gently pull the fixture downward, exposing the wires. Label or snap a photo so you’ll remember how they’re connected. Unscrew the wire nuts and separate the wires—white (neutral), black (hot), and, if present, green or bare (ground). Cap off the wires with new wire nuts for safety.
-
Remove Mounting Bracket (If Necessary)
If you’re fully replacing the fixture, use your screwdriver to remove any mounting hardware left on the ceiling.
And that’s it—a blank slate, ready for something stunning. (Want a visual? The infographic at the top of this post shows each step—add it to your mood board for the next DIY afternoon.)
Where to Use Your Newly Minted Skills
Where are you dreaming of transformation? Swapping a pendant light above the kitchen island gives a sculptural punch—think opaque glass domes or brushed gold finishes. In the bedroom, a statement sconce or woven rattan fixture can deliver a gentle halo, making you linger with a book just a little longer. Even the hallway—often overlooked—deserves flush mounts to greet you with a whisper of luxury.
Dining rooms crave a bit of drama: a geometric chandelier, raining light over the table, anchors the space and sets the scene for gatherings. As noted by Dezeen, layered lighting creates dimension and elegance that can instantly elevate any interior.
Common Questions: What Do You Need to Know Before Removing a Light Fixture?
It’s normal to feel hesitant the first time—after all, light fixtures are both functional and deeply aesthetic. Do you ever wonder, how many stories are woven under the glow of a single pendant? Whether you’re working in a small foyer or sprawling living room, calm prep and respect for details will carry you through.
- Can I do this myself? Most basic fixtures are entirely do-able. If you spot unusual wires or water damage, call a licensed electrician. Trust your instincts.
- Do I need to patch or paint? Occasionally, you’ll reveal marks or holes. Light spackle and paint will refresh the ceiling before you install something new.
- How long does it take? Usually 30–45 minutes, plus any touch-ups or wiring for the new piece.
If you fall in love with a new look, explore our pendants for inspiration. After all, your eye travels up—so why not give it a view it’ll remember?
Finishing Touches: Next Steps and Lighting Inspiration
You’ve done it! Your old fixture is tucked away, and your home feels a little more open—ready for change. Consider how the right lighting, in the right spot, can utterly transform a room. A soft amber glow by the bedside sets a calming tone for rest. A bold angle of matte black in the entryway says “welcome” with intention. As Architectural Digest reminds us, timeless design is all about layering sensation and story.
Savor that moment—the rush of accomplishment as you step off your ladder, dust motes sparkling in the morning light. Sometimes, swapping a fixture isn’t just about aesthetics. It’s a fresh perspective, a personal touch, a subtle but significant shift toward the home you want to create.
Find your glow.