Beginner’s Guide: How to Replace a Light Fixture with a Ceiling Fan
There’s a singular magic in walking into a cool, gently swirling room on a summer afternoon—feeling light, breeze, and effortless style all at once. If you’re tempted to swap out a static ceiling light for a hardworking fan that marries function and form, you’re not alone. But where to start? At Afralia™, we love guiding you through those delicious first steps to a new home story—hands-on, design-smart, and just a touch indulgent.
Replacing a light fixture with a ceiling fan is simpler than you might think, especially when you have a step-by-step plan (and perhaps a golden-hued coffee by your side). Let’s dive in: with every twist, turn, and gentle whirr, you’ll be feeling right at home.
Why Swap a Light Fixture for a Ceiling Fan?
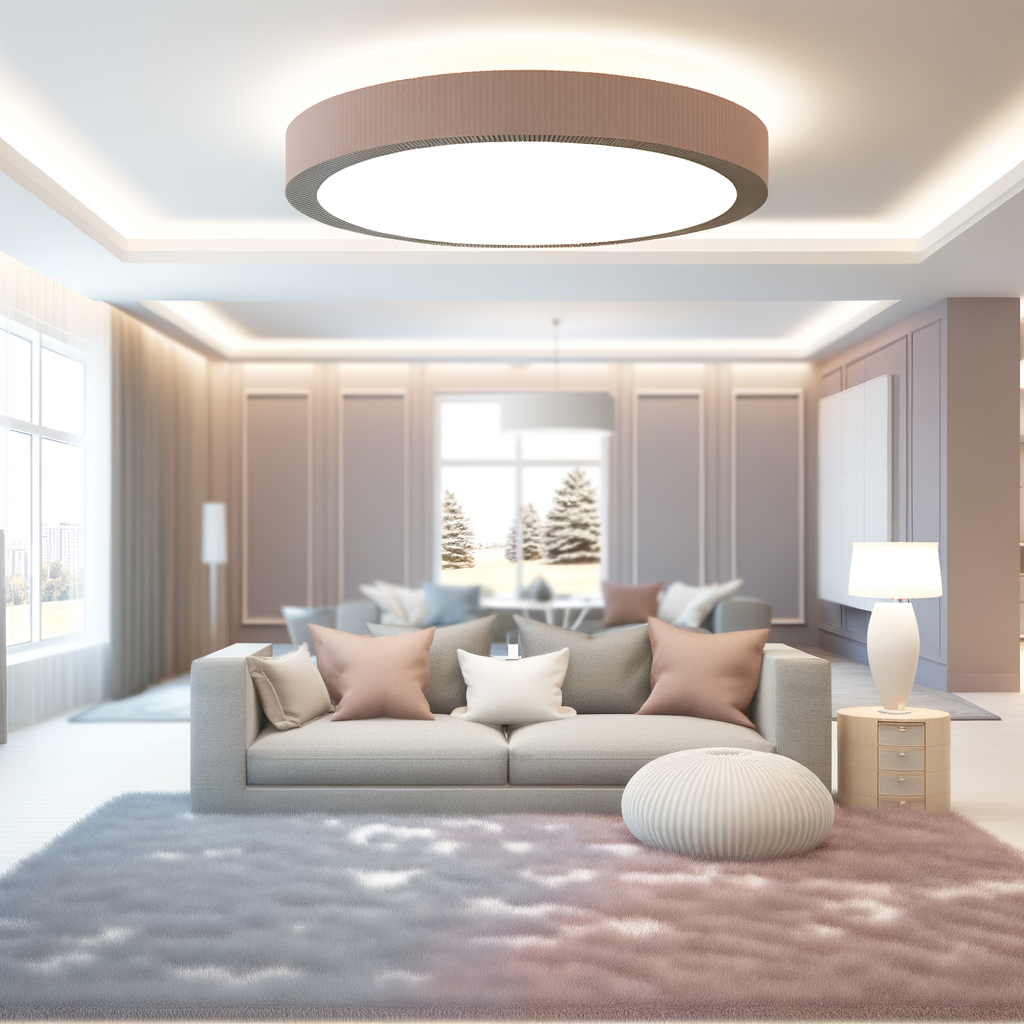
Imagine your living room basking in the soft amber glow of evening, while a fan’s sculptural blades move air like a gentle tide. You get the beauty of light and the unmistakable comfort of a breeze—truly the best of both worlds. Ceiling fans aren’t just functional; a thoughtfully chosen design anchors a space, drawing the eye upward and making ceilings feel taller.
Perhaps you’re after a breezier bedroom vibe, or you want to make family dinners linger a little longer by keeping everyone cool and cozy. Ceiling fans shine most in bedrooms, dining rooms, and airy entryways—anywhere you crave more atmosphere and less stuffiness. As noted by Dezeen, layered lighting creates dimension and elegance, so combining fans with accent lamps brings life and depth to your rooms.
What You’ll Need: Gather The Tools (and the Look)
Before you begin, give yourself a moment to soak up the possibilities. Will you choose matte black, gleaming brass, or weathered wood tones? Lena, stylist at Afralia, says, “Choose a ceiling fan like you would a piece of jewelry–something that makes you smile, every time you look up.”
For your installation, you’ll want to assemble these essentials:
- New ceiling fan (with integrated light, if you prefer both illumination and airflow)
- Screwdrivers (both flat-head and Phillips)
- Wire cutters/strippers
- Voltage tester (for peace of mind!)
- Sturdy step ladder
- Electrical tape and wire nuts
- Ceiling fan-rated electrical box (not all standard light boxes will support a fan’s weight!)
- Patience, playlist, and maybe a delicious snack
Designer tip: Before you even unbox your new fan, check the ceiling box. It must be rated to hold a moving ceiling fan—anything else, and you risk a wobbly or unsafe installation. The right box feels rock solid when you gently tug; if yours wobbles, replace it first.
Step-by-Step: How to Replace a Light Fixture with a Ceiling Fan
If you’re a visual learner, our step-by-step infographic below distills the process into breezy, Pinterest-worthy ease. (Pin or print, and take it up the ladder with you!)
-
Turn Off the Power.
Turn off the circuit breaker to your light fixture. Flip the wall switch several times and use a voltage tester—no tingles allowed.
-
Remove the Old Fixture.
Most ceiling lights detach with a few screws. Hold it securely as you lower it, disconnecting the wires (note their color and position for later).
-
Swap the Electrical Box (If Needed).
If your box isn’t fan-rated, now’s the time to install a new one (often tucked between ceiling joists for extra stability). This step may sound intimidating, but with patience and a look at the instructions, it’s usually straightforward. Reach out to a licensed pro if anything feels over your head—safety over speed!
-
Assemble the Fan.
Some ceiling fans want a bit of assembly on the ground—installing blades, light kits, or decorative elements before you’re up on the ladder. Work on a soft blanket to avoid scratches, and enjoy the hushed luxury of new materials in your hands.
-
Connect the Wires.
Match colors (usually black to black, white to white, green to ground). Twist wires together, cap with wire nuts, and wrap connections with electrical tape. Carefully tuck connections into the box—no pinching!—before mounting the fan base.
-
Finish & Test.
Screw in all mounting hardware, attach the canopy, and mount the fan blades if you haven’t already. Install any bulbs and shades, then restore power at the breaker. Flip the switch—can you feel the transformation?
Still hesitant? Ask yourself: which would you regret more—a wobbly old fixture, or the simple thrill of a cool, refreshed breeze overhead?
Finishing Touches: Styling and Savoring Your New Fan
The moment your fan’s first breeze lifts the curtains, bask in the newness. Pair your ceiling fan with layered textures—linen drapes, velvet pillows, warm wood. In a bedroom, the gentle whirring evokes vacation calm; in a dining room, it turns meals into a languid, artful affair. A recent Afralia customer, Elise, shared, “After we swapped our entryway pendant for a fan, evenings felt instantly more welcoming—and my plants are happier too!”
To elevate your look even further, combine your fan with sculptural wall lamps or thoughtfully chosen table lights. Explore our wall lamps for just the right accent beside your bed or reading chair. Or add a set of pillows for extra comfort and warmth under the fan’s cool current.
Final Thoughts: Beyond Basics
Like any design update, swapping a light fixture for a ceiling fan is about more than utility—it’s about how your home feels. It’s the soft hush of the blades, the invitation to linger and unwind, the new play of shadows overhead. As Lena reminds us at Afralia, “Design is about creating little joys—the way light hits a surface, the warmth in a breeze, the story you tell when you look up.”
For more design inspiration, wander through pages like Architectural Digest for global trends and timeless ideas. And remember: your home is your canvas; every change, from subtle lighting swaps to statement ceiling fans, shapes how you live.
P.S. — For a quick reference, save our step-by-step infographic to your Pinterest board, so you’ll never be lost mid-project!
Ready to bask under your new breeze and glow? Start designing your dream space today.