Beginner’s Guide to How to Replace Ceiling Fan Light Fixture
There’s something exhilarating—and just a little daunting—about updating a fixture overhead. One minute, you’re staring up at that dated fan light that buzzes against your best intentions. The next, you envision swapping in a sculpted pendant or a globe with soft, golden illumination. If you’re curious about how to replace a ceiling fan light fixture, you’re in the perfect spot. Grab a coffee (or chai, or even that fancy lavender soda you’ve been saving), and let’s demystify this DIY with a designer’s touch—and plenty of encouragement along the way.
Understanding the Basics: Why Change Your Ceiling Fan Light?
Ceiling fans can be double-edged swords: practical for airflow and comfort, yet so often style afterthoughts. Over time, their light kits can date a room—or cast a glare that flattens everything. Swapping out the light fixture atop your fan offers you a chance to reimagine the space. Maybe you long for the milky radiance of a frosted globe, or maybe a striking metallic drum will tie your living area together. As Lena, a stylist at Afralia, shares: “A ceiling fan is more than utility—it’s an opportunity to spark beauty and delight from above.”
Picture a warm summer night: you’re curled up with a book, a gentle breeze swirling overhead. Now imagine the light above is no longer harsh and utilitarian, but a textured linen shade that washes the room in a delicate radiance. That’s the transformative magic of thoughtful lighting.
Gathering Tools & Setting The Mood for a Smooth Swap
Think of this as a little adventure—part hands-on, part creative. First, assemble your essentials so you’re not scrambling mid-project. Here’s what you’ll need:
- New ceiling fan light fixture, matched to your fan’s size and style
- Flat and Phillips screwdrivers
- Voltage tester
- Wire strippers/cutters
- Wire nuts (often included with your fixture)
- Sturdy stepladder
- Soft cloth (to protect finishes and catch dust)
And—absolutely—turn off the breaker to your fan before you start. Safety first, always.
Set the mood: cue up a playlist, open a window, and allow natural light to sweep across the space. A well-lit worksite makes all the difference for confidence and clarity.
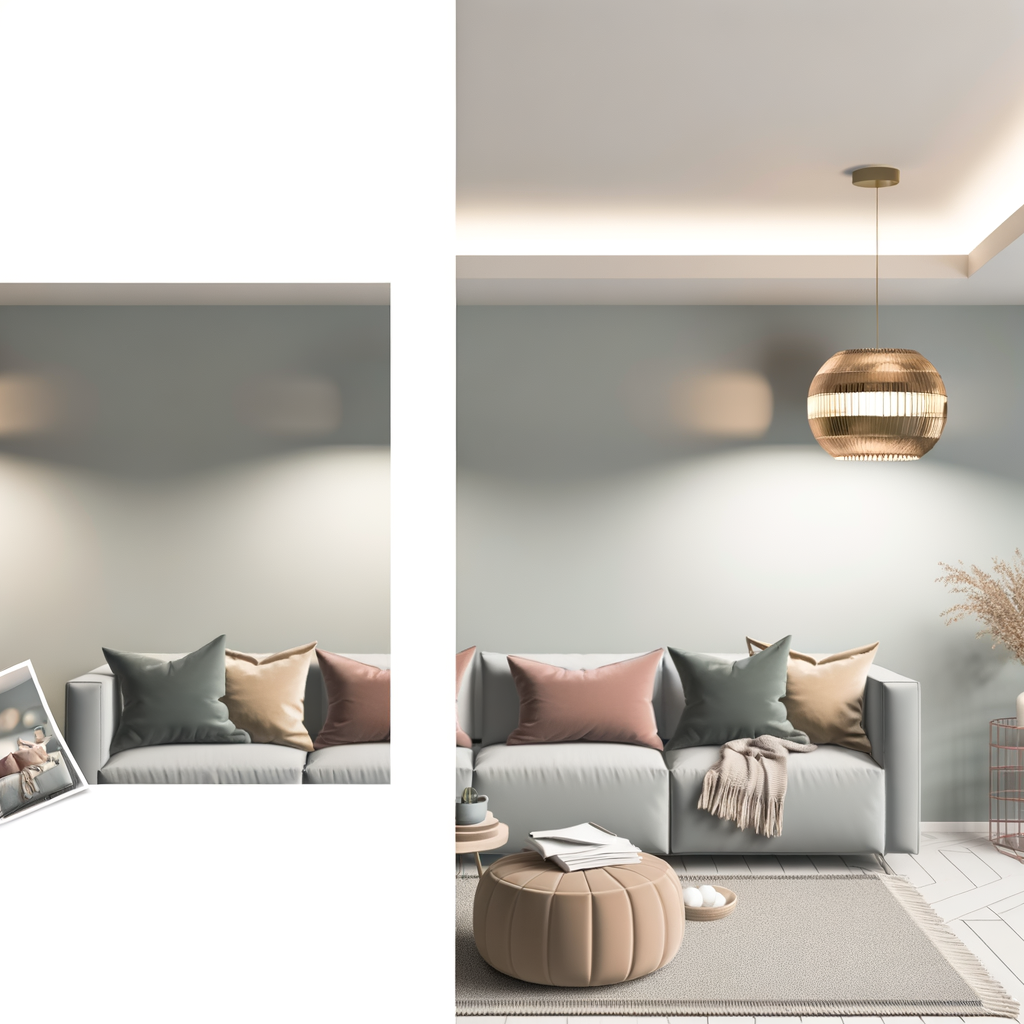
(Need a step-by-step glance? Our handy infographic, easy to pin for reference, shows you each movement—from letting the old fixture down to admiring your glowing new install.)
How to Replace Ceiling Fan Light Fixture: Step-by-Step
The heart of the task is less intimidating than it seems when you break it into digestible steps. Ready to channel your inner artisan? Here’s what you’ll do:
- Power Down: Confirm the fan light circuit is off at the breaker. Test with your voltage tester just to be sure—no shortcuts here!
- Remove the Old Fixture: Unscrew the fixture housing (these are sometimes called “light kits”). Carefully lower it. You’ll find the wires connecting it to the fan body—usually black (hot), white (neutral), and sometimes a blue or green (ground or additional hot for a second switch).
- Disconnect Wiring: Using your wire cutters or by untwisting old wire nuts, separate the fixture from the fan. Now’s a lovely time to dust away any cobwebs or residue on the fan base with your soft cloth.
- Prep the New Light: Follow the included instructions—every fixture has its charms, but most rely on matching wire colors (black to black, white to white, ground to ground). Twist wires together with fresh wire nuts, ensuring a snug, tidy fit.
- Secure & Reattach: Slide the new fixture into place, then reattach it with screws. Take your time—aligning the mounting hardware can be a gentle, satisfying puzzle.
- Restore Power and Revel: Flip the breaker back. Switch on the light and fan. Bask in the new glow! Adjust as needed—sometimes a little wiggle centers things just right.
Wondering where these moments matter most? Ceiling fan lights are perfect for bedrooms—softly illuminating as you ease into rest, or for dining rooms where gentle motion and lighting turn meals into memorable gatherings. The right fixture—think opal glass, brushed brass, or even a sculpted cage—can transform your entryway into a true arrival.
Design Inspiration: Choosing the Perfect Light Fixture for Your Fan
Here’s where your style sensibility shines. Will you choose a fixture that diffuses light in a soft, downward wash? Or a dramatic piece that draws the eye, like a matte black caged motif with gold accents? Your choice hinges on the mood you want—uplifting, cozy, or simply dazzling.
As noted by Architectural Digest, layering light—combining overhead, accent, and task—creates dimension and elegance even in smaller spaces.
One customer, James from Cape Town, shared: “After replacing our old glass dome with a milky drum shade, our evenings felt totally reimagined. My partner and I linger longer at the table now, both of us basking in the warm, inviting atmosphere.” Sometimes, small swaps catalyze whole new rituals.
Curious how different fixtures can shift your room’s energy? Explore our sconces for coordinated wall lighting, or discover statement flush mounts to amplify your central glow.
Common Questions and Troubleshooting
Is it normal to feel a little nervous the first time you attempt this? Absolutely! That’s part of the DIY magic—each time you learn, confidence grows.
- What if my old fixture and the new one’s wires don’t match? Use the fixture’s manual for color keys, and never hesitate to consult an electrician if you’re unsure.
- Can any light fixture be installed on a ceiling fan? No—only those clearly marked as “fan-rated” work. Ceiling fans vibrate, so the right fixture guards against wobble or early burnout.
- How do I clean the new fixture? Wait for bulbs to cool. Wipe gently with a microfiber cloth and avoid spray cleaners—subtle maintenance preserves that sublime finish, whether matte brass or ceramic gloss.
If you find yourself drawn to a specific glow—warm, cool, or somewhere in between—try LED bulbs in different color temperatures. The ambiance shifts with the bulb as much as the fixture.
Isn’t it joyful how changing just one fixture draws new personality into a space you thought you knew?
Finishing Touches: Make Your Ceiling Fan Light Fixture Shine
Once installed, step back and let the light play on walls and textures. Does your new fixture anchor the room? Or does it whisper quietly, serving up utility with a subtle twist of charm?
Frame your handiwork with layered elements: cozy throws, a stack of books, perhaps a vase of wildflowers on the table below. Savor the moment when practical becomes poetry—when something everyday is imbued with intention.
Don’t forget to pin our easy step-by-step infographic for your next DIY upgrade—or pass it along to a fellow design lover who’s ready to put their personal touch on their ceiling fan.
Explore our flush mounts to brighten your entryway or to layer your lighting story throughout the house.
Find your glow.