Expert Tips for How to Change a Fluorescent Light Fixture
Imagine this: sunlight drapes across your hallway floor and ricochets off a sculptural pendant — but overhead, that dated hum and flicker of a fluorescent light lingers. In so many homes, fluorescent fixtures once felt practical, but now, their cold cast and utilitarian lines feel out of step with cozy, modern living. If you’re craving a gentler, more design-forward glow in your kitchen, laundry, or office nook, learning how to change a fluorescent light fixture opens up a world of luminous possibilities.
Changing out an old fluorescent isn’t just about the tech. It’s about personal ritual: hands dusted with the chalky memories of old bulbs, the hush of flipping the breaker, and that quiet sense of pride as you step back to admire your transformed space. At Afralia™, we believe the right lighting can soften utility into beauty, casting every corner in a light that invites you in — a truth we see so often in your photos and stories.
This tutorial has you covered, whether you’re swapping for sleek flush mounts, bold pendants, or mischievous sconces. Ready? Let’s gather our tools, cue up your favorite playlist, and walk through each step — ending with the satisfying click of a new beginning.
Before You Begin: Why Change a Fluorescent Light Fixture?
Fluorescent lights served us well in garages, utility rooms, and mid-century kitchens. But they tend to mute color, hum distractingly, and flatten the mood — a far cry from the layered warmth designers urge for modern homes. “Swapping out a fluorescent for a stylish alternative isn’t just about looks, but how you feel in your space,” says Lena, stylist at Afralia. “A gentle matte brass fixture or soft opal glass, for example, draws the eye upward and changes your relationship with the room.”
The beauty of changing your own fixture? You’re the artist. Whether you want to turn your dining room into a golden hour haven, your laundry room into a breezy oasis, or your entryway into a statement, this is a home upgrade that shifts energy dramatically — often in under an hour.
Gathering Materials and Tools
No need to stress if you’re not an electrician. Replacing a fluorescent light fixture usually calls for just a few essentials:
- Ladder or sturdy stool
- Flat and Phillips screwdrivers
- Voltage tester pen (for safety — don’t skip this!)
- Wire stripper/cutter
- Wire connectors (sometimes called “wire nuts”)
- Your new light fixture (think: a dreamy semi-flush or a playful globe pendant)
- Optional: safety goggles and work gloves
Step-By-Step: How to Change a Fluorescent Light Fixture
Deep breath. This is where function meets art. Here’s how to change a fluorescent light fixture, step by steady step:
- 1. Turn off the power. Find your home’s breaker panel and switch off the circuit serving your light fixture. Double-check at the wall switch, then use your voltage tester on the fixture to make absolutely sure the current’s off. Trust us, this is a moment to honor.
- 2. Remove the fluorescent cover. Most fixtures have a plastic lens or diffuser held by clips or tabs. Gently nudge these aside, releasing the cover — sometimes it slides, sometimes lifts. If the lens is yellowed or brittle, take care: decades-old plastic can crumble.
- 3. Remove the fluorescent tubes. Grasp each tube firmly near its ends and rotate a quarter-turn until it releases from the sockets. Rest them gently aside — these contain mercury, so handle with mindfulness. (Check your local recycling regulations for disposal!)
- 4. Detach the fixture base. With the tubes gone, look for mounting screws holding the metal housing to the junction box or ceiling. Support the fixture while you unscrew, then lower it slightly — wiring will still be attached.
- 5. Disconnect wiring. You’ll see a few wires twisted together, typically black (live), white (neutral), and perhaps green or bare (ground). Make note — or better yet, snap a photo for reference. Untwist and disconnect, and the old fixture is free.
- 6. Prepare for your new fixture. If you see exposed wires or tape from the old install, trim and strip as needed, aiming for tidy, 3/4-inch bare ends. Double-check that your electrical box is rated for your new fixture’s weight — especially for heavier pieces.
- 7. Install the new base or mounting bracket. Follow your fixture’s instructions (they vary!). Secure the new bracket to the electrical box so it sits flush and stable.
- 8. Connect the wires. Match wire colors as before: black to black, white to white, ground to ground. Use wire connectors, twisting firmly and tucking wires carefully back into the box. If anything looks confusing, pause and consult your fixture’s manual (or call a pro).
- 9. Mount the new fixture and finish. Attach your new piece as described, whether by screwing it up, attaching decorative caps, or clicking in a glass shade. Secure everything snugly — but avoid overtightening, especially on delicate glass or metal.
- 10. Restore power and bask! Flip your breaker, switch on, and admire the new mood. It’s a lovely moment: the soft amber glow feels both functional and transformative, changing how you experience even the most everyday corners.
That’s it — you’ve performed a bit of everyday alchemy, trading clinical brightness for a layer of light that feels rich, intentional, and welcoming.
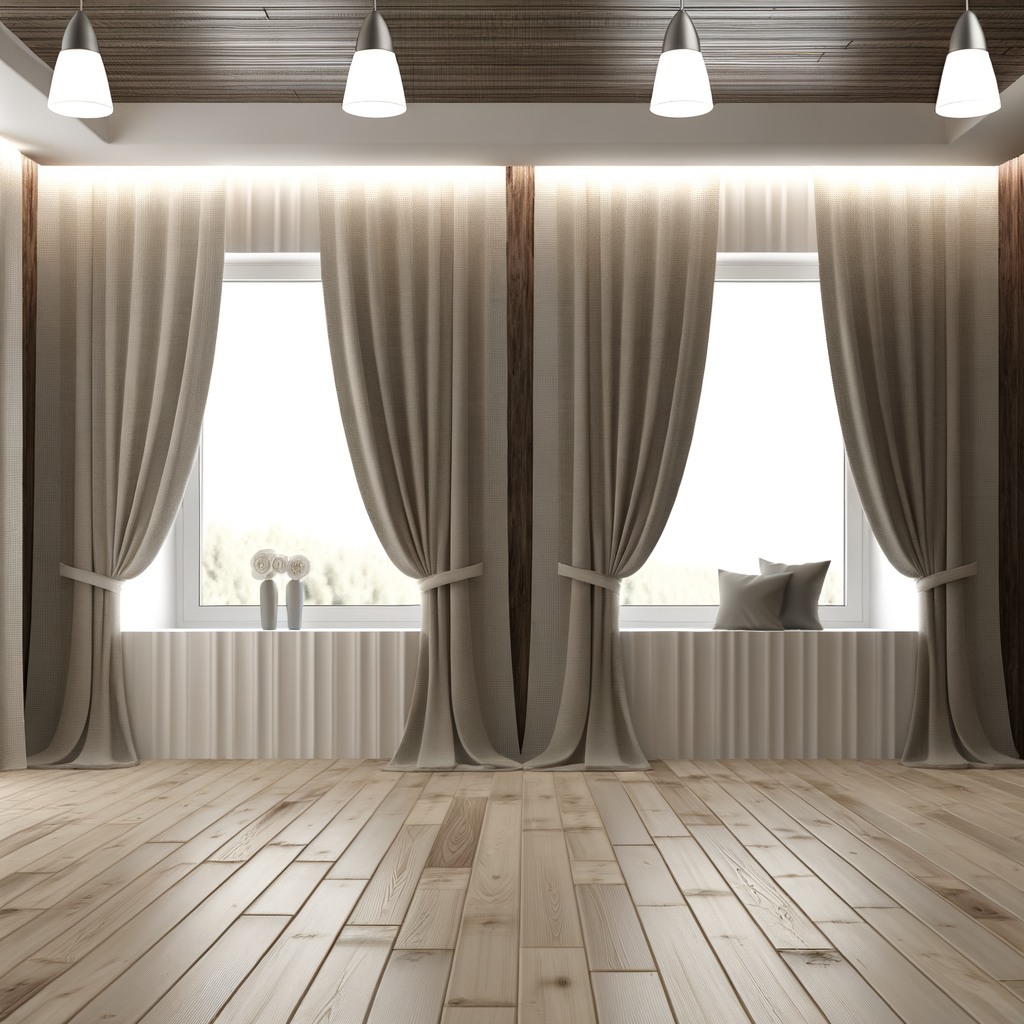
Where to Place Your New Light Fixture for Maximum Impact
The beauty of knowing how to change a fluorescent light fixture is you can update any room, no matter the mood you want to set:
- Entryways: A sculptural flush mount makes a welcoming first impression.
- Kitchens: Opt for a streamlined pendant or simple ceiling light to invite intimacy and soften morning routines.
- Home Offices: Choose diffused, glare-free fixtures to boost both focus and comfort.
- Bedrooms and Closets: A petite semi-flush brightens gently without washing out textures or textiles.
- Laundry or Utility Rooms: Even the most functional space deserves flattering illumination — you’ll feel the difference folding towels under a soft glow.
As noted by Architectural Digest, lighting has the power to shape not only your rooms but your daily rituals. So, where will you create your next story in light?
Customer Tip: Small Details, Big Magic
A favorite tip we heard from a recent Afralia customer — after she swapped her kitchen’s flickering fluorescent for a handblown glass pendant, she layered in a dimmer switch. “I didn’t realize how much I craved softness in the evenings until I could actually dial in that gentle glow while we have dinner or unwind,” she wrote. “Now, that’s my favorite corner of the house.”
It’s the small touches, like adding that dimmer or choosing a bulb with a warm color temperature (think 2700K), that elevate the whole experience. Isn’t it amazing how a little intention can utterly transform the spaces we inhabit?
Ready to Refresh? Your New Glow Awaits
Changing a fluorescent light fixture is less about chasing trends and more about finding harmony — a light that welcomes you in and flatters whatever moment you’re in the midst of. We hope you feel the shift, both in mood and in the pride of a project well done.
Explore our flush mounts to brighten your entryway, or discover unique pendants for every room and every ritual. Start designing your dream space today.