Expert Tips for How to Replace a Light Fixture
There’s an almost cinematic magic to flipping the switch on a light you’ve chosen yourself. The right fixture—whether it’s a sculptural pendant above your dining table or a globe sconce casting soft shadows bedside—does more than illuminate. It draws the eye, anchors the space, and whispers your story to every guest who steps through the door. But what if swapping out that dated ceiling light feels out of reach?
Replacing a light fixture isn’t just for seasoned DIYers or daring design enthusiasts. With a bit of planning, the right tools, and a dash of confidence, you can transform a whole room in a single afternoon. Think of it as an invitation to step into your own designer’s shoes—coffee in hand, music on low, and excitement buzzing in the air. Let’s walk through the process together, from inspiration (cue: those sun-washed lifestyle images on your favorite Pinterest boards) to installation.
Sizing and Selecting Your Statement Piece
Before you even think about wires or screwdrivers, it’s all about choosing the fixture that makes your heart leap. Does your entryway need a luminous welcome-home moment? (We love an opal glass semi-flush mount here.) Is your dining room crying out for a little drama, perhaps in the form of a bold, tiered chandelier? A fixture’s size, shape, and finish can transform not just the look but the feel of a room. Lena, stylist at Afralia™, always says, “Lighting is jewelry for the home—pick what you’d love to wear every day.”
For those craving a subtle, tailored look in a hallway, opt for a matte brass flush mount—a soft, golden glow to guide midnight strolls for water. If your bedroom needs new bedside warmth, consider linen-shaded sconces. The tactile grain of the fabric and gentle wash of light instantly turn a routine space into a private retreat. Need inspiration? Explore our pendant lights for living rooms or kitchen islands alike.
Gathering the Essentials: Tools, Prep, and Safety
Let’s chat tools. At the bare minimum, you’ll want:
- A non-contact voltage tester (trust me on this—safety first!)
- Screwdrivers (usually Phillips and flathead cover most fixtures)
- Wire strippers and needle-nose pliers
- A sturdy step ladder for those high ceilings
- Painter’s tape (handy for labeling wires or holding small screws steady)
And for that luxe, magazine-worthy finish—keep a microfiber cloth close for smudge-free crystal or glass globes, and maybe a touch of lemon oil for wood or metal details.
Most importantly: always, always cut the power to the circuit at the breaker box before you start. Double-check with your voltage tester, even if you feel certain. There’s something grounding (pun intended) about this little ritual—like the pause before painting the first brushstroke.
Step-by-Step: How to Replace Light Fixture Safely and Stylishly
The act of replacing a light fixture is equal parts finesse and following steps carefully. Whether you’re installing something ornate over your artisan dining table or adding subtle wall lighting, here’s the gentle, tactile roadmap:
- Remove the old fixture: Unscrew the canopy or base, supporting its weight with one hand. Gently lower it, exposing the wiring. (You might find a bit of dust or the signature “popcorn” ceiling texture—part of every home’s story.) Disconnect the wires, noting which is which—typically black (hot), white (neutral), and green or bare (ground).
- Inspect and prep the electrical box: Check that the box is securely attached and rated to support the new fixture’s weight. A little painter’s tape for labeling the wires is a customer favorite—Carmen from our community notes, “It was a lifesaver when I lost track mid-installation!”
- Install the new mounting plate: Most fixtures include theirs, tailored to shape and style. Fix it in place, double-check that it’s snug and level.
- Wire up the new fixture: Match color-to-color (black to black, white to white, ground to ground). Twist wires together, secure with wire nuts, and if in doubt, a quick search for “how to wire a light fixture safely” on trusted design sites like Architectural Digest can clarify details—though always defer to a licensed professional if questions arise.
- Secure the fixture: Attach it to the mounting plate, tucking wires gently up into the box. Screw everything into place, admiring the interplay of light and metal as you go.
- Finishing touches: Install bulbs—consider energy-efficient, color-true LEDs or extra-warm vintage filaments for ambiance. Restore power, exhale, and flip the switch. There’s that golden halo, the transformation, the sense of possibility—the way a room can feel wholly new.
Isn’t it remarkable how a single design choice can change the entire temperature of a space?
Where Your New Light Fixture Shines Brightest
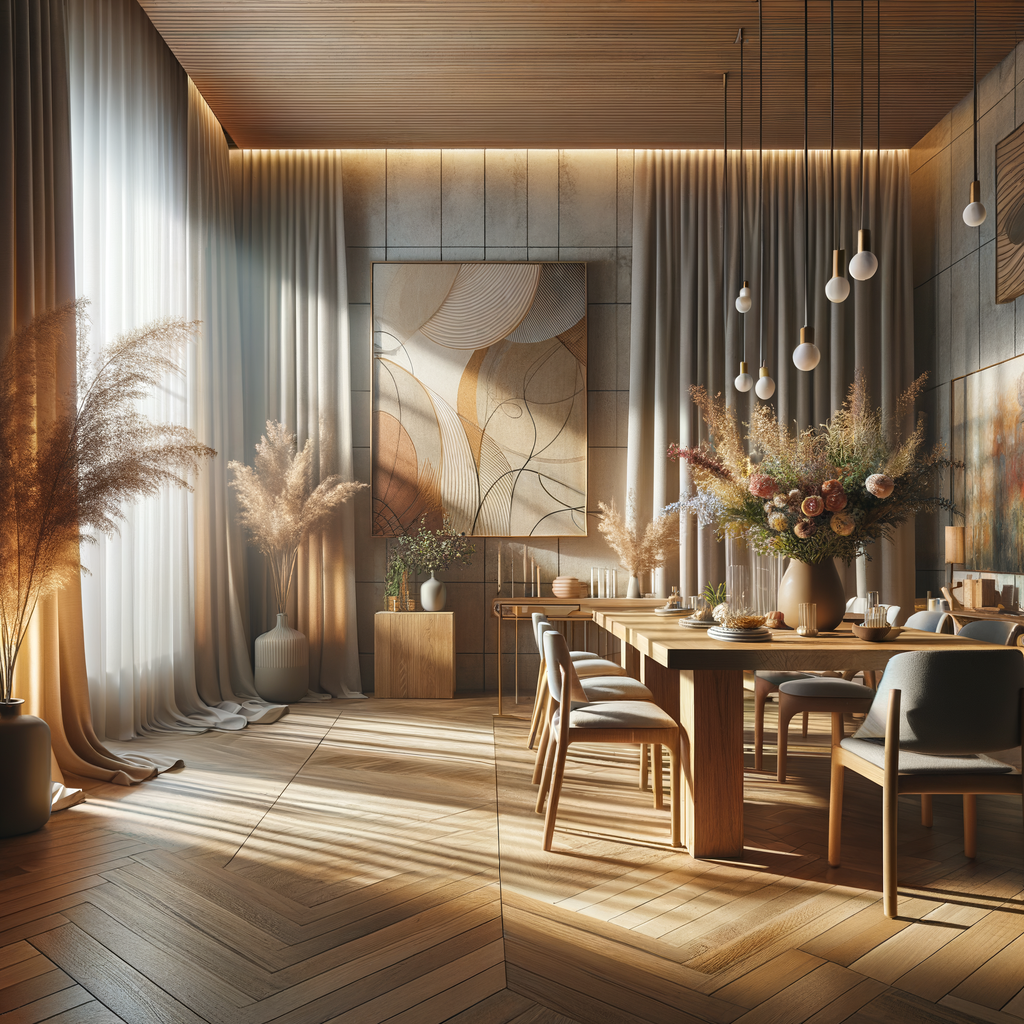
Visualize this: a soft, layered pendant casting dappled shadows across your entryway, its geometry echoing that artisanal vase perched nearby. Or an elegant glass globe in the powder room, bouncing light off glossy tiles. As noted by Dezeen, layered lighting creates dimension and elegance—never underestimate a well-placed sconce or a statement chandelier to redefine the everyday rituals of brushing teeth or pouring that late-night cup of tea.
If you’re unsure where to begin, think about the moments you want to elevate. A reading nook with a swing-arm wall lamp for late-night novels, a cluster of glass pendants above your breakfast bar for sociable mornings, or a dramatic chandelier to anchor Sunday dinners. Browse our chandeliers and imagine them glimmering over your next gathering.
Lifestyle Imagery: Your Pinterest-Perfect Lighting Upgrade
Before-and-after photos tell the story best: picture a once dim, forgettable hallway now glowing with the soft amber light of an Afralia flush mount. It becomes an Instagrammable backdrop for impromptu family photos, late-night snack runs, and quiet moments alike. Take your own “after” snapshot and marvel at the mood shift—like swapping a heavy winter coat for a breezy linen shirt in June.
Consider this story from Amira, an Afralia customer: “I replaced my builder-basic dining light with an opal glass cluster pendant, and suddenly dinner felt like an occasion—even on weeknights.” It’s the kind of transformation that sparks a ripple effect, inspiring you to host, to gather, to relish simple pleasures in a space that finally feels like yours.
Finishing Flourishes: Living With Your New Light
Now that you’ve mastered how to replace a light fixture, savor the change. Notice how it shifts throughout the day—from bright and invigorating at sunrise, to mellow and golden as dusk settles in. Play with bulb wattage or color temperature, add dimmers if you’re feeling adventurous, and layer in table lamps or candles for ultimate ambiance. Each tweak is a thread in the fabric of your home’s personality.
Ready to transform another corner, or dreaming up your next glow-up? Explore our handpicked lighting pieces. A little bravery, a touch of luxury, and your new favorite space awaits.