Room-by-Room Guide to How to Change a Fluorescent Light Fixture
Light has a magical way of reshaping your space—and sometimes it’s as simple as changing a tired fluorescent fixture for something fresh and modern. Whether you’re longing for the soft shimmer of a pendant over your kitchen island or dreaming of a cozy, ambient glow by your bedside, replacing an outdated light can leave rooms feeling utterly transformed. But what if instead of calling an electrician, you could do it yourself, with confidence?
Today, let’s wander room by room. I’ll walk you through how to change a fluorescent light fixture—sharing hands-on tips, little stories, and design ideas along the way, as if we were chatting over coffee, tape measure in hand.
Why Upgrade Your Fluorescent Fixtures?
Fluorescent lights—those long, humming tubes often tucked behind a yellowing plastic shade—were once the go-to for bright, functional lighting. But design evolves, and so should your home. Modern LED and designer fixtures offer a world of creative possibilities: from the golden hour glow of a pendant in your entryway to sleek flush mounts that whisper elegance above your hallway. These upgrades don’t just save energy; they transform the spirit of your space.
As Architectural Digest often notes, lighting is the ultimate mood-setter. So why settle for something that makes your evenings feel flat or institutional?
How to Change a Fluorescent Light Fixture: The Basics
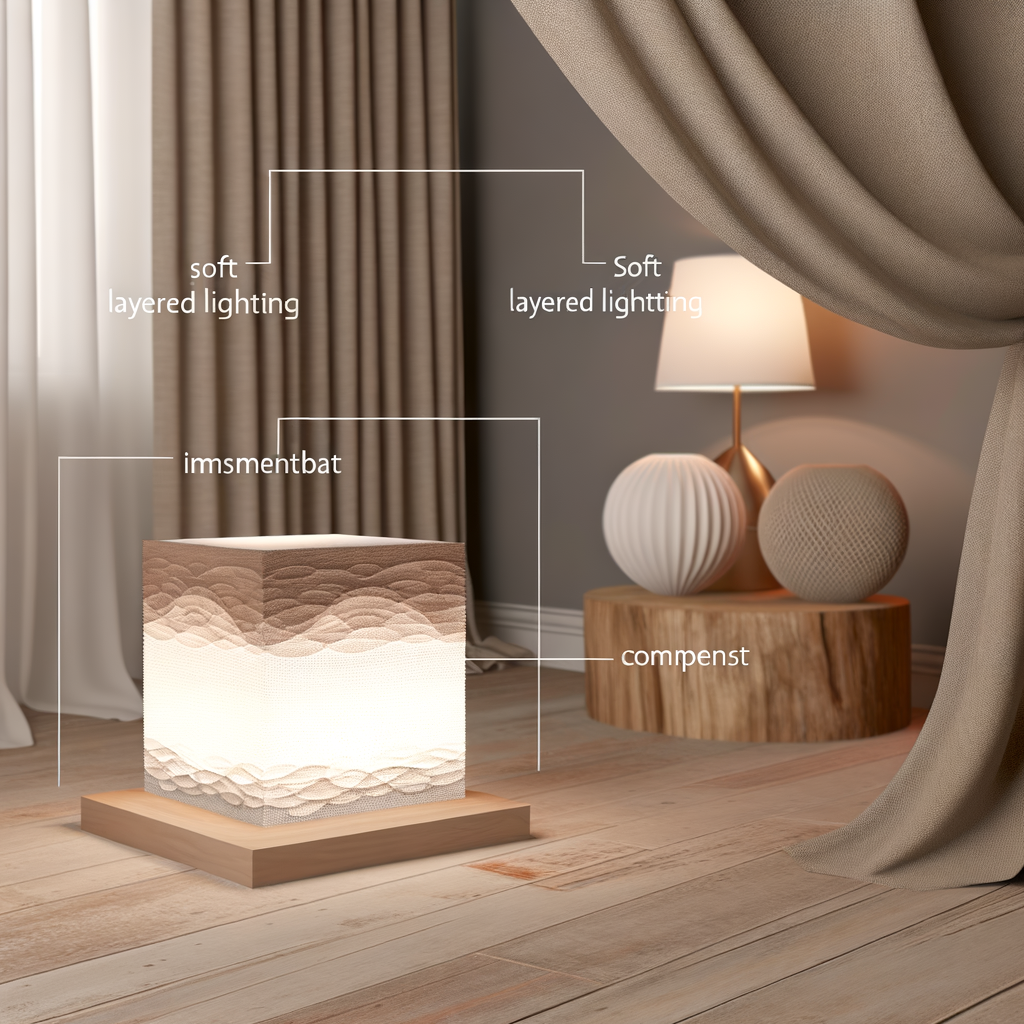
You don’t have to be an expert DIYer to swap out a fluorescent light. Here’s what you need before you begin—then I’ll guide you through, step by step (and for the visual learners: don’t miss our Pinterest-ready infographic below!).
- A new fixture: Choose something that sparks joy every time you glance up.
- Basic tools: Screwdriver (usually Phillips), wire strippers (if needed), voltage tester, and a sturdy ladder.
- Safety first: Flip the breaker—never just the wall switch—to cut the power.
As Lena, stylist at Afralia, says: “Lighting shouldn't just illuminate; it should bring soul and texture to your routines.” So let’s get started:
Room-by-Room: Choosing & Swapping Fixtures
Every room has its story, its rhythm. Here’s how to change a fluorescent light fixture in the places you live and love most.
Entryway — Welcome Home With Warmth
The entryway is your home’s handshake—a place for lighting that both greets and impresses. If your current fluorescent fixture washes the foyer in flat, blue-white tones, imagine replacing it with a matte brass flush mount that pools buttery light across hardwood, catching keys and coats in a gentle spotlight.
How: Most overhead entryway fluorescents are surface-mounted. After shutting off power, pop off the plastic diffuser and unscrew the old fixture base. Use a voltage tester to double-check the wires are safe to touch. Disconnect the wires, matching each colored wire from the old fixture to the new one (often black to black, white to white)—secure with new wire nuts, attach the new base, and screw in your preferred decorative bulb.
Looking for inspiration? Explore our flush mounts to brighten your entryway.
Kitchen — Layering Light Over Sinks & Islands
In the kitchen, lighting is everything. You want clarity for chopping vegetables yet warmth for stolen midnight snacks. Swapping a flickering ceiling fluorescent for a row of glass pendants is a joyful transformation—suddenly, your countertop is aglow, and evening dinners feel elevated.
How: Kitchen fluorescents may be larger, but the steps are similar: remove the old cover, unscrew the housing, and check for ballasts (small rectangular boxes). Remove or safely cap off any extra wires from the ballast if your new fixture doesn't require them. Don’t skip the voltage tester, even if you’re sure the power’s off! Secure your new pendant or semi-flush mount as instructed.
Customer Tip: One Afralia customer, Sarah, recommends laying a blanket over your countertop before working overhead—no lost screws, no scratched surfaces. (We love this trick! Small details make all the difference.)
Bedroom — Creating a Sanctuary
Is your bedroom’s fluorescent fixture breaking your evenings with its harsh, impersonal light? Imagine dimmable wall sconces casting a gentle glow for bedtime reading, or a delicately sculpted ceiling fixture, its soft amber shimmer wrapping the room in calm. Which would you choose?
How: After removing the old ceiling fluorescent, follow the same wiring process—matching black to black, white to white, grounding as needed. If you’re opting for a plug-in wall sconce, installation is delightfully simple: just a few anchors and screws. Otherwise, for hardwiring, take your time and always double-check your connections.
(And yes, the step-by-step infographic below is perfect for saving or printing—think of it as your handy Pinterest-worthy cheat-sheet!)
Finishing Touches & Lighting Inspiration
Once your new fixture is up and glowing, take a step back. How does the room feel now? Is it more inviting and calm? Or does it crackle with new energy, spotlighting your décor? As noted by Dezeen, layered lighting creates dimension and elegance—think about adding table lamps, wall lights, or even artful bulbs to keep things interesting.
And remember, changing a light isn’t just a practical upgrade—it’s a tactile act of self-expression. Each time you flick the switch, you’re shaping the feel of your mornings, the vibe of your evenings, the rhythm of your everyday life.
Ready to try it in your own space? Start with one room—the payoff is immediate and oh-so-rewarding.
Looking for fixtures that feel made just for you? Explore our handpicked lighting pieces and let your spaces shine in ways that feel uniquely yours.
Find your glow.