Room-by-Room Guide to How to Install Light Fixture
Have you ever stood in a room, stared up at a bulb dangling from the ceiling and thought: “What if this space could feel like a Parisian loft, a serene Japanese retreat, or a mid-century masterpiece, just by switching up the lighting?” Lighting is mood, character, and intention — and installing your own fixture is a surprisingly grounding, satisfying act. Let’s take a tactile, step-by-step journey room by room, showing you how to install a light fixture, and how these radiant accents shape the soul of your home.
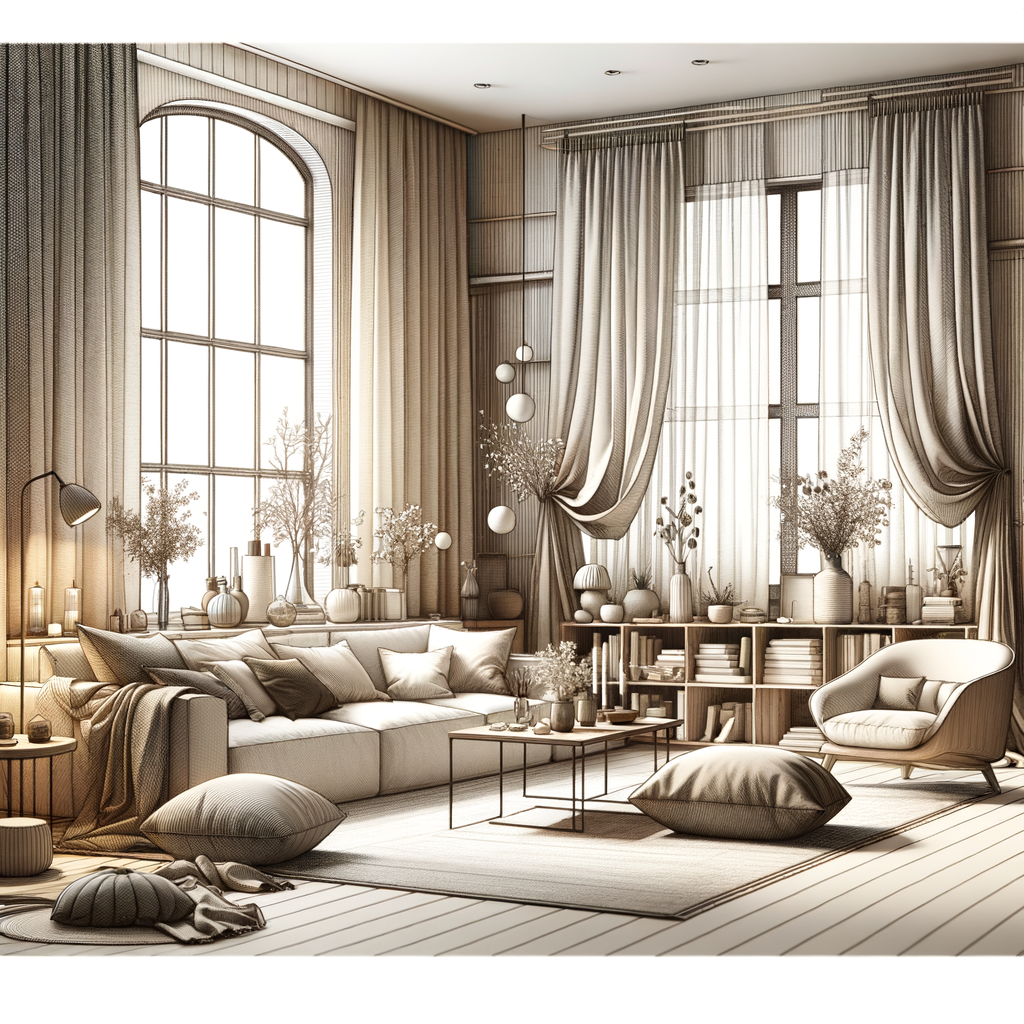
For those who like a quick visual reference, we’ve included a handy step-by-step infographic — perfect for saving or pinning to your project board. Now, grab a warm drink and let’s bring your rooms to life, one light at a time.
Getting Started: Quick Prep Before You Install a Light Fixture
First things first, gather your essentials. You’ll want a soft microfiber cloth, an all-purpose screwdriver, a wire stripper, perhaps even a stylish step ladder (bonus if it matches your kitchen stools). Before touching anything electrical, flip that circuit breaker off and test the wires with a tester — safety always comes first, and there’s a strange peace in hearing that gentle “beep” confirming all is well.
One of our designers, Lena at Afralia, always says, “Choosing a fixture isn’t just matching a finish, it’s dreaming up what feeling you want to linger in that light.” Once you’ve chosen your piece — maybe a hand-blown glass pendant for the kitchen or a matte brass sconce for your hallway — you’re ready for a gentle transformation.
Entryways & Hallways: Setting the Mood from the Doorway
Entryways invite, introduce, and frame the entire home experience, so the fixture here matters. A flush mount or semi-flush with a frosted glass shade? Timeless elegance. A sculptural pendant? Unexpected drama. Explore our flush mounts to brighten your entryway or hallway with warmth and sophistication.
To install:
- Remove the old fixture by unscrewing the canopy and separating the wires. (Channel patience here — sometimes fixtures seem clingier than memories from your last move!)
- Connect the new fixture, matching black to black (hot), white to white (neutral), and green or copper to ground. Twist on wire nuts, tuck wires gently into the junction box.
- Screw on your canopy or base, ensuring it sits flush. Try to avoid tugging at anything — think of it like adjusting jewelry, not wrestling a stubborn suitcase.
- Restore power, flick the switch, and bask in that soft amber glow. At the entry, it’s about balance: not too bright, not too dim — just enough to say “welcome in.”
Pro tip: One customer recently told us they swap out their entryway lighting with the seasons — a glass shade for summer, smoked opal for winter. How’s that for setting a tone?
Living Rooms: How to Install a Statement Light Fixture
Living rooms crave personality, and lighting is often the room’s jewelry. Statement pendants, sprawling chandeliers, even a set of playful globe sconces — these draw the eye, spark conversation, and anchor the space. “Layered lighting creates dimension and elegance,” as noted by Dezeen, and never is this truer than in the modern living lounge.
For ceilings with existing wiring, you can usually swap fixtures in less than an hour:
- As always, shut off that breaker (double-check with a tester!).
- Support your new fixture as you connect the wires. Bigger fixtures need an extra set of hands — a trusting friend makes a difference, and you’ll laugh about how many arms you wish you had.
- Adjust height before final tightening — a pendant should float just above eye level, not dip into your view or hover awkwardly in space.
- Once installed, step back and enjoy how the fixture reframes your room. Maybe you’ll notice how light spills across a velvet sofa, or how shadows pool beneath a woven ottoman.
If you’re hunting for the right mood-setter, check out our collection of chandeliers — each one bringing its own sense of curated drama.
Kitchens: Installing Pendants & Kitchen Lighting with Panache
Kitchens deserve more than utilitarian flush mounts. Picture the gentle curve of blown-glass pendants, brass hardware catching the morning light, or opal domes suspended over an espresso-hued countertop. Dare we say — lighting here can make whisking eggs or pouring tea a little bit magical?
How do you install a kitchen pendant light fixture? It’s much the same technique:
- Double-check the junction box is rated for the weight of the new fixture (especially with chunky, artisanal ceramics or chic glass orbs).
- Secure the mounting bracket, connect wires as before, adjust cord length, and lock it in. For islands, pendants should hover 30–36 inches above the counter’s surface, so the light flatters both pastries and people.
- When that first switch-on happens, pause and notice: does the fixture add just the right hint of ‘gather here’?
Here’s a whispered tip from our install-loving team: If your new kitchen pendant comes with a touch dimmer, install it. Early mornings want gentler light than bustling evenings.
Bedrooms & More: How to Install Light Fixtures for Personal Spaces
Bedrooms are private sanctuaries. Maybe you opt for bedside sconces — perfect for late-night reads or pre-dawn reflections. Or, perhaps you add a delicate globe pendant for a soft, all-over glow. “Lighting here is intimacy, not performance,” Lena often says with a smile.
Installation is usually a gentle affair — after shutting off power:
- For sconces, mark the template, screw in the mounting, and make your wire connections. Tucking cords neatly is strangely satisfying, like the last smooth tuck of a linen quilt.
- Bedside pendants? Measure with your favorite book in hand. They should float just above shoulder level when sitting up in bed, so light is always within reach but never in your eyes.
Have you ever noticed how a dimmer switch in the bedroom makes the difference between “hospital bright” and “soft evening cocoon”? You might just want to install one — or two.
Don’t Forget the Little Details: A Final Room-by-Room Recap
Each room — whether hallway, living, kitchen, or bedroom — will ask its own questions: Is this light functional, soft, or sculptural? Will it spark joy every time you enter? Our step-by-step infographic (see above for a visual reference or pin it for later inspiration) is your companion, but sometimes, the best guide is your own sense of what feels welcoming, personal, and bright.
As Lena puts it, “Good lighting is transformative. It’s not about installation perfection; it’s about how you feel in your space when the day’s light and your chosen glow meet.”
If you ever get lost in the details or want to explore styles, let yourself be inspired — whether through the curated pieces at Afralia, or the global rooms featured at Architectural Digest.
Ready to change how your home feels, one room, one fixture at a time? Start designing your dream space today.