Room-by-Room Guide: How to Replace Ceiling Fan Light Fixture
There’s a certain kind of quiet satisfaction that comes from transforming everyday spaces with your own two hands. Maybe it’s the way a gleaming new pendant catches the late afternoon light, or the hush that falls as you click the fan’s fresh fixture on for the first time. Whether you’re craving an upgrade from a dated dome or need a solution where light and air partner effortlessly, learning how to replace ceiling fan light fixture is a little act of self-care for your home. Let’s wander from room to room—imagination in tow—and uncover how this doable upgrade can change the way you live, lounge, cook, and dream.
Why Replace Your Ceiling Fan’s Light Fixture?
Has your ceiling fan been “just there” for ages—buzzing quietly but never adding much to the mood? In so many homes, these fixtures become background noise, both visually and literally. Yet, with the right lighting, your ceiling fan can shift from afterthought to statement.
“When clients swap a generic shade for something sculptural or warm,” says Lena, stylist at Afralia, “it feels like opening the windows and letting new energy pour in.” The materials matter, too: think matte black, brushed brass, or softly frosted glass diffusing the glow over your family’s dinners or weekend reads.
Beyond beauty, there’s practicality. A modern light kit offers better efficiency, truer color, even gentle dimming for late-night ambiance. And, as noted by Dezeen, layered lighting creates dimension and elegance. Why settle for a single bulb when you can orchestrate a whole mood?
Gathering Tools & Prepping Your Space
Let’s begin with a touch of intentionality. Before you stand tiptoe on that ladder, gather your essentials: screwdrivers (Phillips and flathead), a voltage tester for safety, a sturdy ladder, and your beautiful new light kit. (If your refresh calls for more personality, explore our ceiling lights to find your muse.)
Clear the floor—roll up rugs, move any plants basking near the fan. It’s more inviting and keeps things accident-free. Turn off power at the breaker. Double-check with your voltage tester, because feeling a faint current hum will snap you right out of renovation reverie. Ready? Here’s where that room transforms.
Step-by-Step: How to Replace a Ceiling Fan Light Fixture
Our step-by-step infographic below is perfect for visual learners (feel free to Pin it for your next refresh!). For those who adore details, here’s the tactile, designer-driven walk-through:
- Remove the old light kit: Most fan light fixtures detach with a few screws (usually under a central glass dome). Unscrew any bulbs and gently lower the housing. Wires should twist and unsnap easily.
- Note wire colors and connections: Typically, you’ll find black (hot), white (neutral), and blue or striped (for the light). Labeling helps!
- Install the new light kit: Attach wires from your new kit to the matching wires in the fan, using twist-on connectors for a snug fit. Tuck the wiring carefully into the housing.
- Secure the fixture and add bulbs: Screw the new fixture into place. If your new light has a beautiful glass shade or metallic cover, enjoy feeling the texture and weight as it goes up—this is the moment it stops being a box and starts being a statement.
- Restore power and test: Flip your breaker back on, then flick the switch. Listen for a flicker, feel the cool air, and watch your room shift as the new glow spills out.
Rhetorical question time: Isn’t it amazing how one carefully chosen fixture can shift the entire energy of a space—without a single piece of new furniture?
Where New Lighting Makes the Biggest Difference
Not all rooms are created equal when it comes to fan fixtures. Here’s our designer map of inspiration:
- Bedroom: Try a frosted bowl or softly toned globe to cast a lulling, restful glow. Pair it with brass pull chains for a whisper of old-world charm. (One customer tip: Add smart bulbs to let your fan light dim on a timer for a gentle morning “sunrise.”)
- Dining Room: Swap in a drum or layered glass shade for a candlelit effect over dinner, even on busy Tuesday nights.
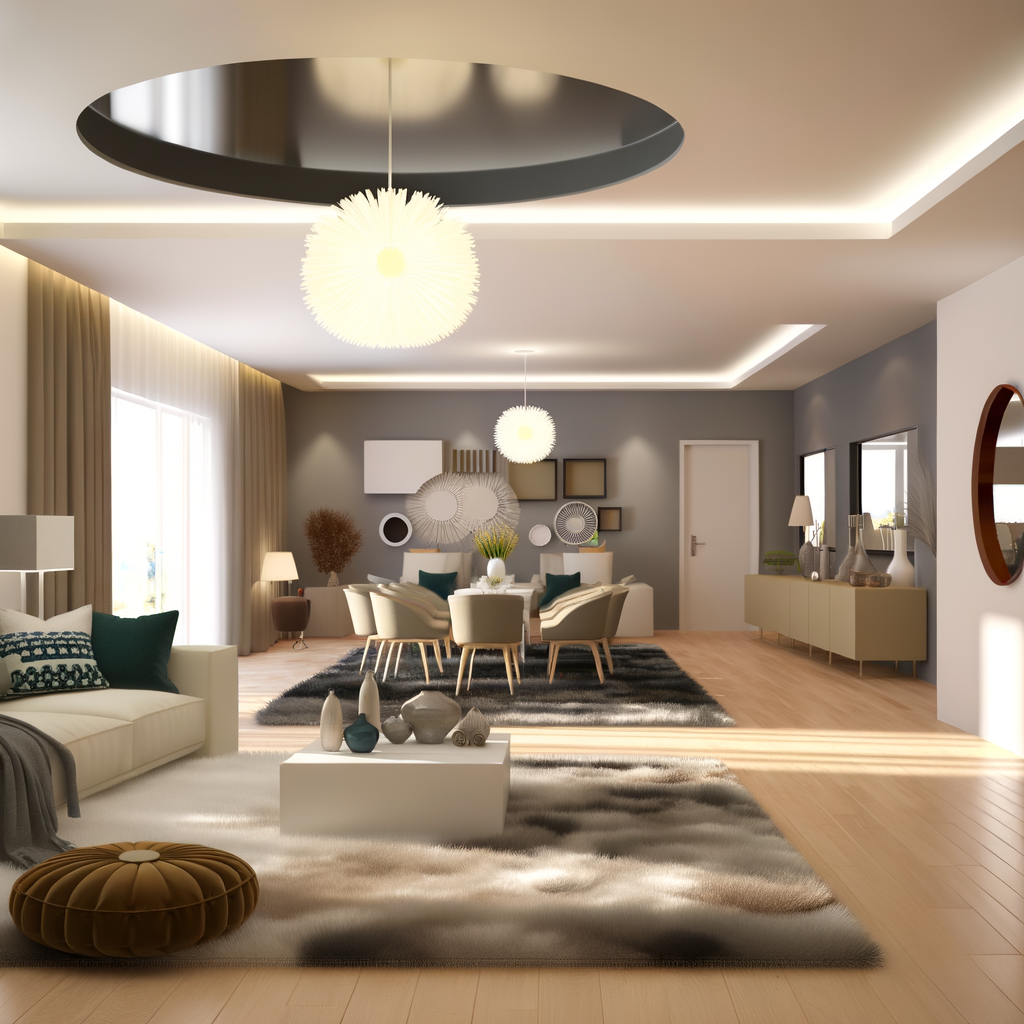
- Living Room: Choose a statement piece—maybe matte black or sculpted ceramic—to anchor the ceiling. It draws the eye, encourages conversation, and softens the mood for movie nights.
- Entryways or Hallways: If you’re making over a compact corridor, look for a low-profile fixture or even a flush mount fan light that blends artfully with architecture.
Don’t forget to share and pin the infographic for a quick reference—sometimes a visual step-by-step sparks the confidence to start.
Parting Notes: Make It Yours
If you’ve hesitated to try a DIY lighting swap, trust that you’re not alone. In the Afralia community, we often hear stories from new homeowners surprised by just how empowering it feels to swap a fixture themselves. Yes, the first screw comes out a little tight, and sometimes the wires twist the “wrong” way. But by the time you switch that breaker back on, you’ll feel the difference, not just see it.
Can you feel the transformation already—a soft amber glow, a gentle spin of fresh air, a room you truly claimed as your own?
Architectural Digest reminds us that the best homes celebrate both function and beauty. Why not start with your ceiling?
Start designing your dream space today.