Step-by-Step: How to Install a Wall Sconce Light Fixture Checklist
There’s something quietly magical about the gentle arc of light from a wall sconce—an artwork of shadow and shimmer, softly pressed against plaster or brick. Whether you’re creating a cozy bedtime nook, illuminating a textured hallway, or adding a sophisticated mood to your dining room, wall sconces just have a certain je ne sais quoi. They instantly draw the eye, anchor a vignette, and best of all: they're within reach, whether you’re renovating or simply ready for a little luminous upgrade.
Maybe you’ve just unboxed a sculptural sconce from Afralia™, fingertips grazing its matte brass texture or the creamy opaline glass. You’re eager to see its soft amber glow dance across your space—but let’s first ensure installation is smooth, safe, and oh-so-satisfying. Grab a coffee, tuck a pencil behind your ear, and use this step-by-step checklist as your guide. (And if you’re a visual learner, our step-by-step infographic below is a pin-worthy companion—save it on Pinterest for your next project!)
Why Choose a Wall Sconce? Where Does It Shine Best?
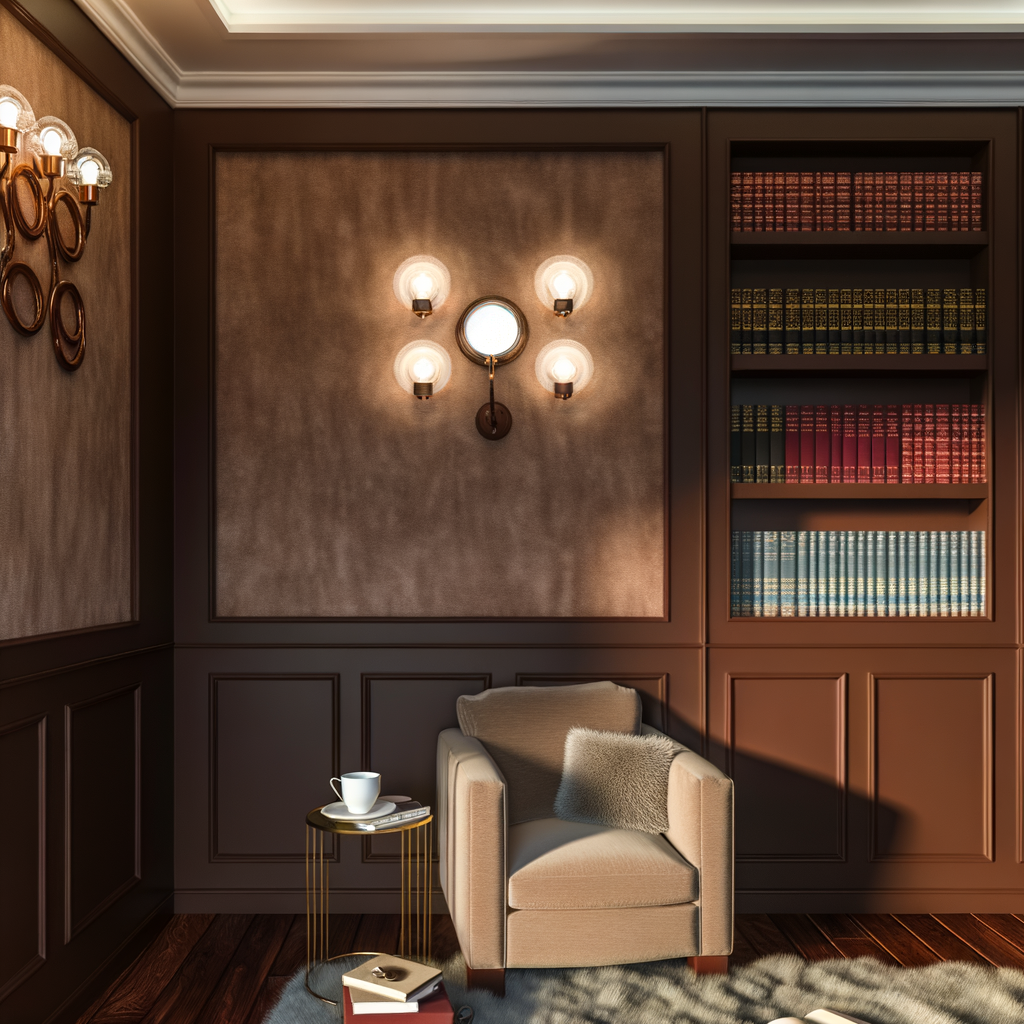
Wall sconces are the sea salt of interior lighting—versatile, elevating whatever they touch. In the bedroom, a pair of sconces can free up nightstand space, casting a restful glow for winding down with your favorite novel. Along an entryway wall, a sconce can add instant polish and a welcoming warmth come evening. Dining rooms, powder rooms, and staircases all benefit from this layered, vertical illumination—creating drama, intimacy, or an art gallery feel for treasured objects. As noted by Dezeen, layered lighting creates dimension and elegance, helping each room find its mood.
Lena, stylist at Afralia, puts it this way: “A well-placed wall sconce is a little luxury—inviting you in, catching your attention at just the right moment. It’s like jewelry for your walls!”
How to Prepare for Wall Sconce Installation
The best installations always start with thoughtful prep. Think of this as setting the table for a beautiful dinner—everything tidy, all tools at the ready. You’ll need:
- Wall sconce fixture & included mounting hardware (you’ll find everything nestled in your Afralia box!)
- Screwdriver (Phillips and flathead)
- Wire strippers/cutters
- Voltage tester (safety first, always)
- Drill with appropriate bit (for new placements or anchors)
- Level
- Pencil or painter’s tape (for easy marking)
- Wire nuts & electrical tape
- Bulb (choose a warm hue for that signature Afralia glow)
- Step stool, if mounting higher
Safety tip: Always turn off power at the breaker when working with household wiring. Triple check before touching wires—a voltage tester is your best friend here!
Step-by-Step: How to Install a Wall Sconce Light Fixture
-
Power Down & Prep the Space
- Switch off power at your home's breaker panel to the room you’re working in.
- Remove any old fixture (if replacing). Gently unscrew, supporting the fixture so it doesn’t pull on wires.
- Test the wires with your voltage tester to ensure no current remains.
-
Mark Placement
- Hold (or tape) the sconce mounting plate against the wall, centering at your desired height—most designers recommend about 60–65 inches above the floor, or level with your head if next to a bed or seat.
- Use a pencil or painter’s tape to mark screw holes. Step back; does it feel inviting?
-
Mount the Bracket
- If wall studs are behind, use regular screws; for plaster or drywall, add anchors to bear the weight.
- Drill pilot holes as needed, then affix the mounting bracket snugly and level.
-
Attach Wires
- Most sconce installations are simple, with three wires: black (hot), white (neutral), and green or copper (ground).
- Twist together corresponding wires from wall and fixture: black to black, white to white, ground to ground.
- Secure each with a wire nut, wrap with electrical tape for extra safety.
-
Mount & Style Your Fixture
- Gently tuck wires inside the wall box, then align your sconce fixture with the bracket. Screw into place.
- Install your chosen bulb (try a warm dimmable LED—it can make art and skin tones especially lovely).
- Restore power at the breaker and flip the switch—moment of truth!
Isn’t there something cinematic about that first flicker of light in a newly styled room?
Final Checks, Styling, and Troubleshooting
- Check connections: If the bulb doesn’t glow, first test with a known working bulb, then re-check all wire nuts.
- Adjust aim: Some sconces are adjustable or have a shade that can tilt—experiment to find the most flattering direction.
- Layer your look: Pair your sconce with textured wall paint, art, or a leaning mirror to reflect and diffuse the light. For extra inspiration, explore our wall sconce collection—it’s curated for dreamers and detail lovers alike.
Customer tip: “I always put our bedroom sconces on dimmer switches—there’s nothing like being able to shift from a bright, get-ready-for-the-day light to a soft, cozy evening mood in an instant,” shares Mariam, an Afralia customer from Toronto.
More Inspirations: Where to Find Your Perfect Wall Sconce
The beauty of wall sconces is how they adapt to your style—retro globe shapes for midcentury dreams, minimalist lines to highlight a reading corner, or hand-finished metal for a touch of luxury in your dining room. Explore our modern lighting selection for ideas that stretch from Milan ateliers to Cape Town lofts.
And don’t forget—our step-by-step infographic at the top is perfect for pinning or saving before your next DIY weekend. Sometimes, a little visual roadmap is just what you need for that final burst of confidence.
If you crave more design inspiration, feast your eyes on beautiful examples at Architectural Digest—and imagine the glow you’ll bring to your own space.
So, will you add your sconce beside a lush bed, by an arched entry, or as a soft halo to an art-filled wall? Wherever you choose, we hope installing your wall sconce becomes a memory—a moment of transformation, all your own. Start designing your dream space today.