Step-by-Step: How to Replace a Ceiling Light Fixture Checklist
There comes a particular thrill with freshening up a space—turning a forgotten corner vibrant, or seeing that pool of light transform from a wan puddle into something golden and inviting. Sometimes, you aren’t after a full renovation or a splashy overhaul—sometimes, all you crave is the right moment, underneath the right glow. That’s why knowing how to replace a ceiling light fixture is such a powerful creative move. Whether it’s over a dining table where old friends gather, above the entryway that welcomes you home, or by a bedside nook for that soft, last-chapter solace—you’re choosing both transformation and possibility with a new light.
Let’s walk through it together, step by careful step—ensuring confidence, beauty, and just a touch of the extraordinary every time you flip the switch.
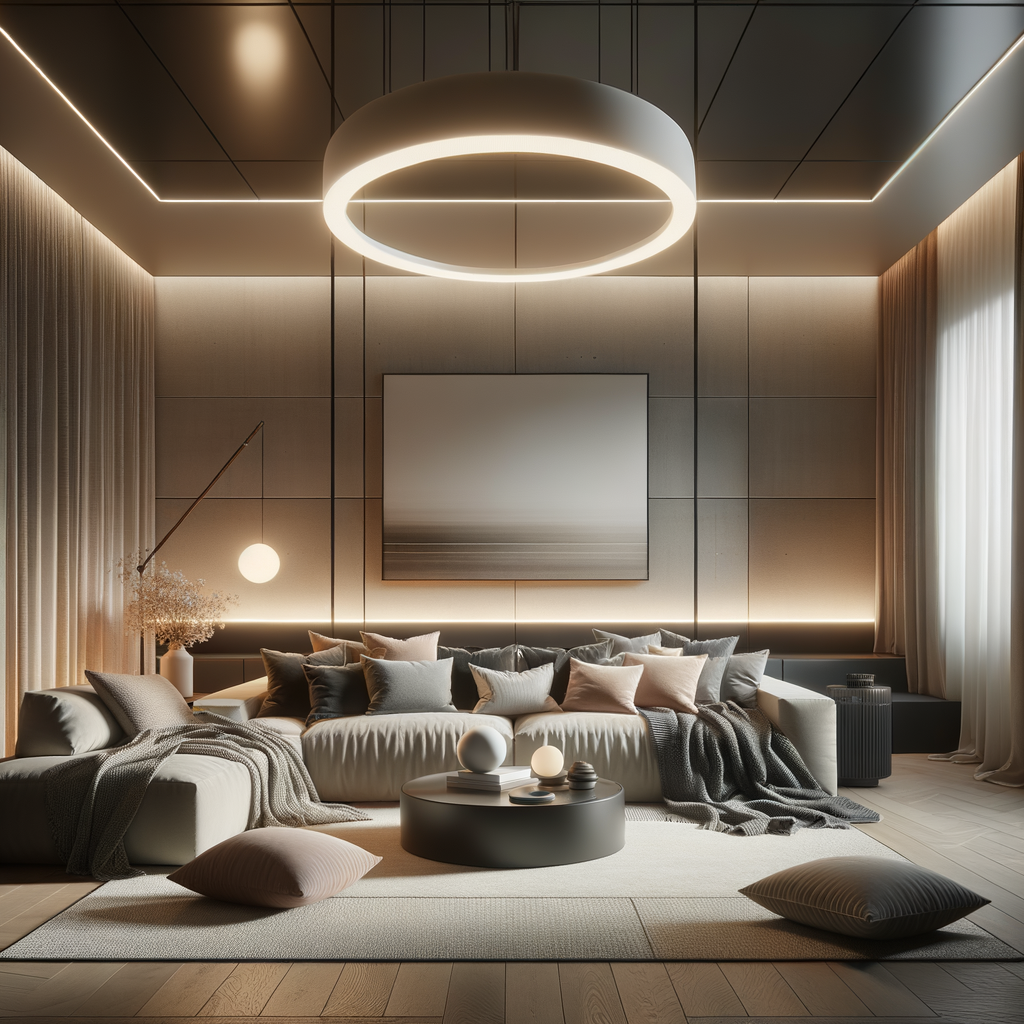
Visual Hook: (If you’re the Pinterest type, our visual step-by-step infographic is a must-pin—think beautiful, real-life photos beside every phase!)
Gather Your Tools and Prep Your Space
Picture this: The Sunday afternoon sun filters through the kitchen window, music hums quietly, and your tools are set out like paintbrushes before a canvas. Preparation is the start of any beautiful transformation. Here’s what you’ll want at arm’s reach:
- New ceiling light fixture (the star of the show!)
- Ladder or sturdy step stool
- Flathead and Phillips screwdrivers
- Wire stripper/cutter
- Voltage tester (think of it as the artist’s primer: safety first)
- Electrical tape and wire nuts
- Protective gloves
- An old sheet or drop cloth to catch dust or old hardware
Tip: Lay the parts of your new fixture out carefully and read through the manufacturer's guide before lifting a screwdriver—some fixtures, especially those with jewel-toned glass or sculptural arms like Afralia’s, have unique finishes and assembly details. A customer once shared that she “always snaps a quick photo of the wiring before detaching anything—just in case.” Small rituals like this really can make all the difference.
Turn Off Power and Remove the Old Light
Here’s where comfort meets caution: head to your circuit breaker and turn off the power to the light fixture’s room. Double-check by flipping the switch and using your voltage tester on the fixture's wires—this peace of mind lets you focus on the creative, not the risky.
- Unscrew the old fixture’s cover or shade. Let your hands linger a moment—notice the weight, the texture. (Isn’t it amazing how the right finish—say, a matte brass—can anchor a space so confidently?) Remove any bulbs and set aside.
- Support the fixture with one hand as you loosen the screws holding the mounting bracket to the ceiling. Sometimes it helps to have a partner here, holding the fixture steady to avoid any acrobatics!
- Lower the fixture gently, exposing the wires. You’ll usually see black (hot), white (neutral), and a green or copper (ground) wire. Unscrew the wire connector nuts and detach the wires.
“In any space—whether it’s an intimate reading alcove or a grand hallway—a new fixture is that signature detail,” Lena, stylist at Afralia, likes to say. “It’s the punctuation at the end of your sentence.”
At this stage, pause to admire the open canvas above you—the anticipation is tangible, like the moment before a fresh coat of paint. Ready for your next move?
Install the New Ceiling Light Fixture
When you unbox your new fixture, run your fingers over its contours—the cool glass, the gleaming metal, the hand-worked textures. This is your designer’s moment of delight, and you’re about to make it part of your room’s daily ritual.
- Attach the new mounting bracket. Screw the bracket (included with most fixtures) into the ceiling’s junction box. This is the frame that will hold your masterpiece secure and steady.
-
Connect wires:
- Twist black to black (hot), white to white (neutral), and ground to ground (copper/green).
- Use wire nuts and wrap with electrical tape for a snug, safe connection.
- Tuck wires carefully into the box—tidy, never cramped.
- Mount the fixture body. Gently lift your fixture, aligning it with the mounting bracket. Secure it with screws. (Isn’t there a quiet satisfaction in feeling that final twist, knowing your fixture is perfectly anchored?)
- Install bulbs and attach outer covers or shades. Go for warm, dimmable bulbs in spaces meant for relaxation—a soft, amber glow by the bed, a slightly brighter one for the kitchen worktop or dining area.
Wondering whether your fixture is best suited for your foyer or above the dining table? As noted by Dezeen, layered lighting creates dimension and elegance—think about mixing pendants and flush mounts for different moods and activities. Explore our flush mounts to brighten your entryway or add subtle drama overhead.
Test and Style the Moment
Now, step down from your ladder, leave the tools behind, and return to the breaker box. Flip the power back on—listen for that gentle hum of anticipation. When you flick that switch, the room transforms: light gathers on velvet pillows, bounces off antique mirrors, settles in golden pools on white oak floors.
- Check the fixture: Does it sit snugly? Are bulbs glowing as they should? If not, retrace those wiring steps—sometimes the simplest detail (like a loose nut) is the secret to that elusive glow.
- Use your hands: Gently rotate or adjust the shades or body for symmetry and best effect.
Here’s a styling tip straight from an Afralia customer: “Don’t be afraid to play—rotate your fixture or mix bulb warmth until you get the mood just right. I like turning dining lights a touch lower just as dessert comes out. There’s magic in that transition, don’t you think?”
Doesn’t changing your own ceiling fixture give you a lovely sense of both pride and play? Could this be the moment your space starts to feel unmistakably yours?
Don’t forget, if you love process visuals, our infographic summary is ideal for Pinterest or quick step-by-step referencing while you work.
Celebrate (and Keep Inspired!)
So there you have it—a journey from duskier corners to newly illuminated beauty, guided by your hands and vision. Whether you swapped out a classic drum pendant for sculptural glass or brought modern brass elegance to your entryway, you’ve claimed your space.
If you’re craving more inspiration—perhaps a reading sconce for the den or a striking gold pendant for the kitchen—dive into Afralia’s curated selection. Find pendant lighting that makes every gathering a little more luminous. Or simply enjoy wandering the galleries and stories at Architectural Digest for a wealth of global, designer-led ideas.
Most of all? Start designing your dream space today.