Step-by-Step: How to Replace a Bathroom Light Fixture Checklist
There’s a certain magic in a well-lit bathroom—the way a soft opal globe washes your reflection in gentle morning light or a sculptural sconce turns a nightly routine into a moment of self-care. If you’ve been longing for a change, replacing your bathroom light fixture is one of the quickest ways to transform the entire mood of your space, breathing new energy into the mirror you face every day.
But where to begin? Swapping out a light fixture can feel daunting if you’ve never done it before, but with a little guidance and the right checklist in hand, you’ll find it’s a project as satisfying as it is illuminating. At Afralia™, we believe every design adventure starts with a small, powerful step—so coffee in hand, let’s walk through it together.
Why Replace Your Bathroom Light Fixture?
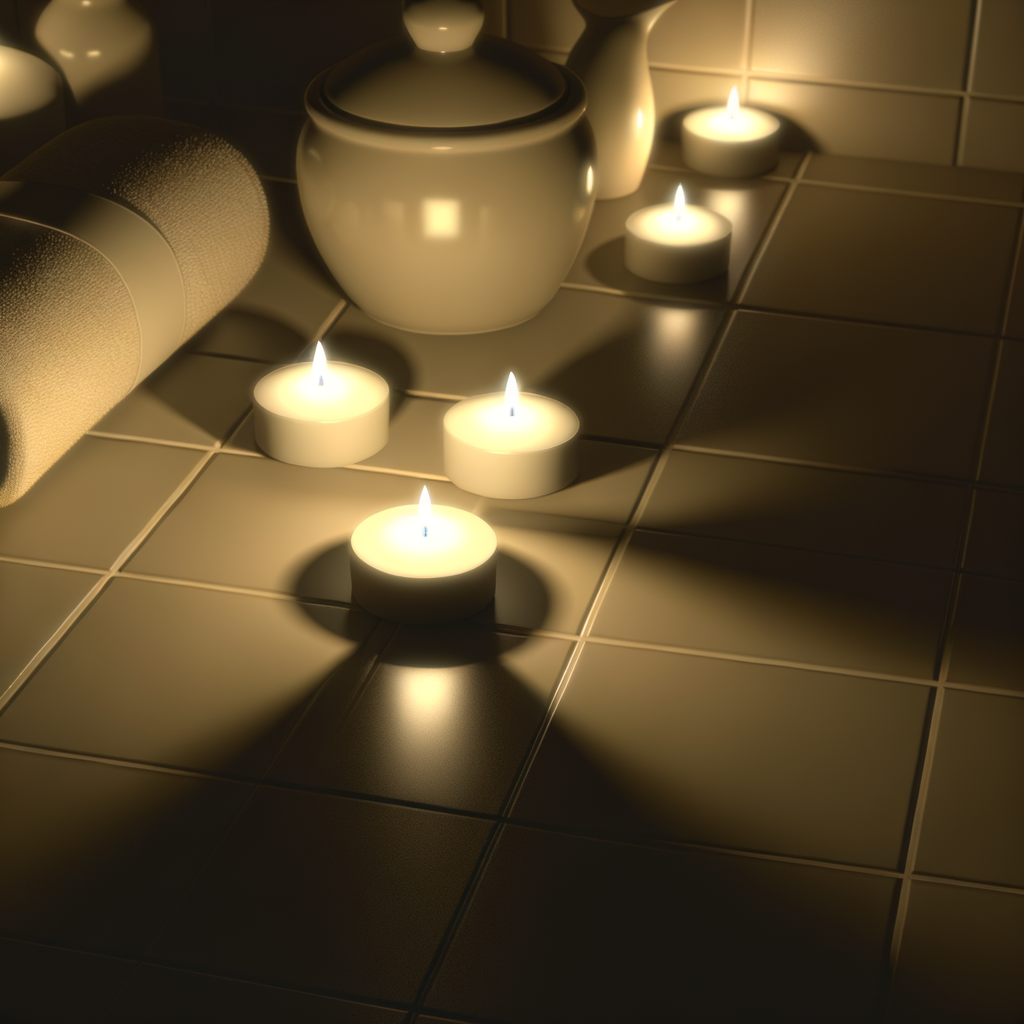
The bathroom is your private oasis, a place of rituals—splashes of cold water, warm towels, music echoing softly against tile. Lighting sets the tone, whether you need pure brightness for morning routines or a golden, spa-like calm in the evening. Tired builder-grade fixtures or harsh fluorescents can flatten even the most beautiful designs and textures. Replacing your bathroom light fixture:
- Elevates your style. A new piece makes your space feel considered, personal—think matte brass texture or frosted glass that glows like sunrise.
- Improves function. Well-placed fixtures mean no more shadows under the chin or flickering bulbs that break the spell of a perfect soak.
- Brightens daily rituals. Lighting shifts how you see yourself, setting intention before you carve into your day.
As Lena, stylist at Afralia, says: “Swapping in a thoughtfully chosen bathroom light creates instant impact—like the feeling of crisp sheets or your favorite candle lit after dusk. It’s these small upgrades that make spaces feel truly lived in.”
Getting Ready: What You’ll Need Before Replacing a Bathroom Light Fixture
First things first—set the scene. Choose a quiet, well-lit time of day. Lay out a plush towel for tools, and maybe cue up a favorite playlist. Before you start, gather:
- New bathroom light fixture (consider one designed for vanity use to cast flattering, even light)
- Flathead and Phillips screwdrivers
- Wire strippers/cutters
- Voltage tester (safety first!)
- Wire nuts or connectors (often included, but double-check)
- Step ladder (if ceiling-mounted)
- Soft cloth for dusting and cleaning up as you go
- Gloves (optional, for delicate finishes or bulbs)
If you’re shopping for a piece to anchor your bathroom, explore our wall sconces—sleek enough for a powder room, gorgeous enough to frame any mirror.
Step-by-Step: How to Replace a Bathroom Light Fixture Safely
Ready to get hands-on? Here’s a room-by-room, wire-by-wire breakdown—a truly inviting project, even for beginners. Just take your time, breathe, and remember: you’re making your space more beautiful with every step.
-
Power Down for Peace of Mind
Turn off the breaker controlling your bathroom. Flip the wall switch for good measure, and always test the fixture with your voltage tester—no shortcuts! (A customer once shared, “I label the the breaker with washi tape—one less thing to second-guess mid-project.”)
-
Remove the Old Fixture
Unscrew bulbs, then gently detach the decorative shade and base. Take note of how the wires connect—it’s usually black (live), white (neutral), and sometimes bare copper or green (ground). Snap a quick photo if you want a sanity check for reassembly.
-
Disconnect Wires Carefully
Untwist the wire nuts, letting fixture wires hang free. Hold the fixture steady as you work, so you don’t chip tile or mark the wall. Feel the satisfaction of letting go of what no longer serves the space!
-
Prep Your New Fixture
Check instructions, fix the mounting bracket to the junction box, and line up the screws. If you’re ever in doubt, a quick call to a friend (or a licensed electrician for trickier installs) is never amiss.
-
Connect New Wires—Match Colors & Secure
Usually, black to black, white to white, green or bare to the box or mounting bracket grounding screw. Use fresh wire nuts and tug gently to check that all are snug and safe. Tuck wires neatly into the box, careful not to pinch or crowd them.
-
Attach Fixture, Then Bulbs & Shades
Gently screw in the base to the mounting bracket. Place globes or shades last—avoid fingerprints on frosted glass, and don’t overtighten. Each piece should feel secure yet effortless, like slipping a new earring into place.
-
Restore Power and Test Your Glow
Flip the breaker back, switch on, and take in your handiwork with a swoosh of pride. Bask in your new light for a moment—admire how it draws the eye, anchors the space, and flatters every tile and curve. (Why not light a candle, run the water, and mark this as the first evening in your refreshed retreat?)
-
Tidy Up & Enjoy
Wipe fixtures gently with a soft cloth to remove fingerprints. Step back and notice how details—the shade, the finish, the glow—soften your entire bathroom. It’s more than a task completed; it’s a new ritual begun.
Still unsure about which style is best? As noted by Architectural Digest, “Layered lighting brings dimension and luxury to the most intimate spaces.” Imagine a matte black sconce beside your mirror for moody drama, or a slim flush mount overhead washing the room in diffusely filtered light.
Where Should a New Bathroom Light Fixture Shine?
The best fixtures do more than provide light; they create atmosphere and intention. Consider these prime placements:
- Over the vanity: For flawless makeup and grooming, choose a piece that projects even light—nothing too blue, nothing too yellow. Globe sconces or a streamlined LED bar work wonders.
- Beside the mirror: Double up on symmetry with twin sconces flanking your reflection—the effect is elevated, like the gentle gleam of gallery lighting.
- In the powder room or guest bath: Make a dazzling first impression with a statement pendant or artisanal fixture; guests will be charmed by both the look and the intention.
- Ceiling-mounted for small spaces: A flush mount maximizes headroom and gives even, bounce-light—ideal for cozy main baths and bold half-baths alike.
Ready to greet your mornings with fresh clarity—and twilight hours with a golden, comforting hue?
Pin our step-by-step infographic and create a “Bathroom Glow Up” board for inspiration. Snap a before-and-after of your space and share your new Afralia lighting moment with friends!
A Quick Rhetorical Question
Isn’t it amazing how a single, well-chosen fixture can make you fall back in love with your daily rituals?
For more light-filled inspiration, explore our handpicked lighting pieces. And if you’re curious about how expert designers layer lighting in stunning projects worldwide, browse sites like Dezeen for even more inspiration.
Start designing your dream space today.