Step-by-Step: How to Wire a Light Fixture Checklist
We’ve all had those moments: a beloved pendant or chic sconce arrives, still glowing in your imagination, and suddenly you're standing beneath the ceiling, tangled in hardware and wondering, "How do I actually wire a light fixture?" Modern life invites us to shape our homes as expressions of self, and few updates transform a room as instantly as new lighting. But before basking in an ambient new glow, there’s a small bit of electric adventure. Pour yourself a cup of something comforting and let’s journey through it together. Imagine: by the end of this post, you’ll not just dream of that sculptural glass pendant in your dining nook, but know how to safely make it shine.
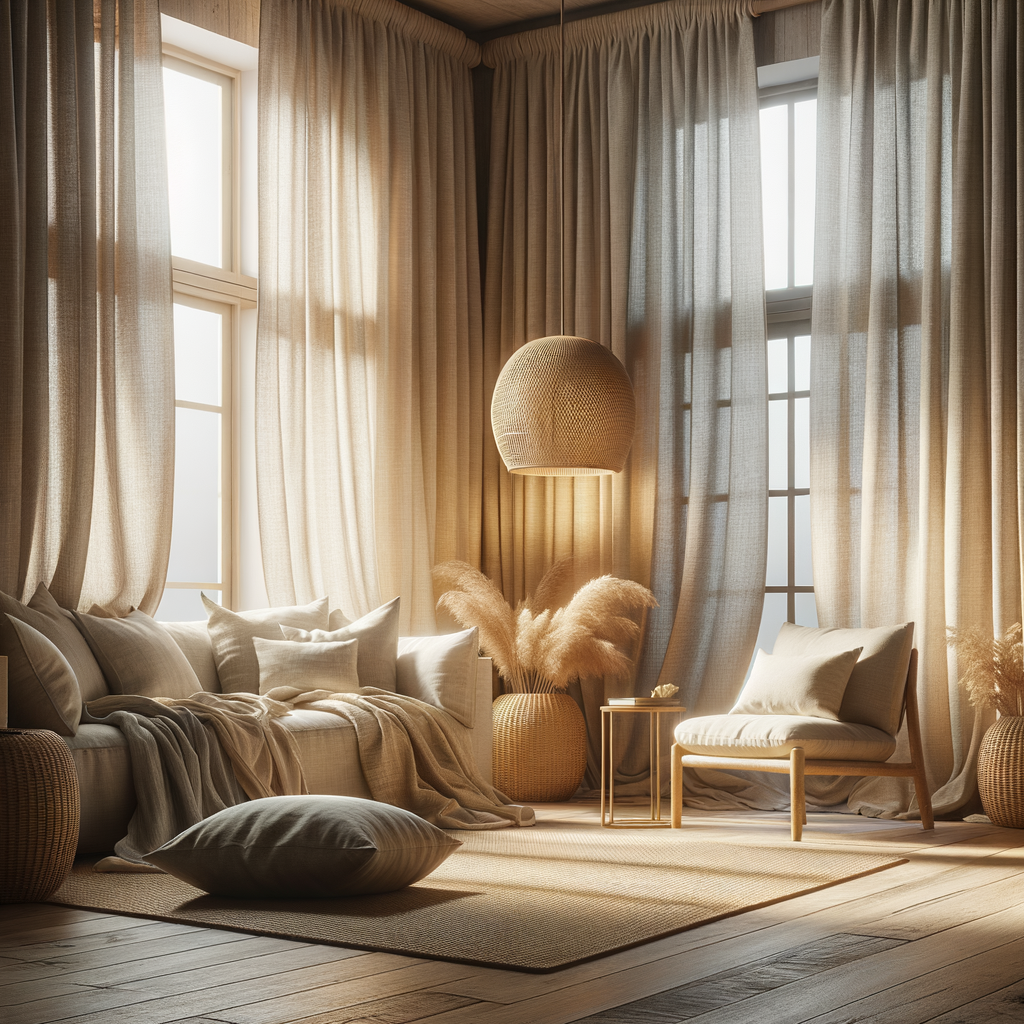
Visual Hook: (Don't forget—save or pin our step-by-step infographic below for a visual roadmap through the process. Whether you're a visual learner or just like a checklist handy, it's a Pinterest-worthy touch for your next DIY project.)
Before You Begin: Prepping to Wire a New Light Fixture
If lighting is the jewelry of a home, then safe wiring is its hidden clasp. First things first: before you touch a wire or climb a ladder, you want to set the scene for success. “A beautifully lit room starts with thoughtful preparation,” says Lena, stylist at Afralia. “You’re not just installing lights; you’re setting the stage for a new experience at home.” Whether you’re swapping an old chandelier for a modern linear pendant over your dining table, or adding bedside sconces for a hotel-chic retreat, these moments are best approached with patience and a gentle touch.
-
Pick the right fixture for the right mood.
Warm, low-profile flush mounts set a welcoming tone in entryways; statement pendants anchor dining rooms; softly dimmed sconces breathe intimacy into bedrooms. Walk your space, feel its natural light, and envision the ambiance you want before committing. -
Gather tools—a small ritual before new beginnings.
Flat- and Phillips-head screwdrivers, voltage tester, wire strippers, pliers, wire nuts, mounting bracket (often included), tape, ladder, and your fixture’s installation guide. Lay them out within easy reach—the tactile feel of cool steel and sturdy handles is oddly soothing. -
Turn off the power!
It sounds so obvious, but it’s essential. Switch off power at the breaker box and use your voltage tester to confirm there’s no live current. Take a moment here: listen for the hush in the room, the anticipation of new light. -
Open your fixture box and inspect everything.
Unwrap each piece and run your hands over textures—brushed brass, opal glass, matte black—letting your excitement build. Double check for missing parts before you climb the ladder. -
Recruit a helper if you can.
Lighting installation can be fiddly, and a steady hand is gold. Plus, partners-in-design make for the best stories later (“Remember when we installed that globe pendant after too much coffee?”).
How to Wire a Light Fixture: A Step-by-Step Checklist
Let’s get into the heart of it. These steps are universal, but always consult your fixture’s specific instructions for quirks or bonuses. As noted by Dezeen, the details are what elevate any space—think of every connection as a small, important part of your home’s evolving story.
-
Disconnect the Old Fixture (if replacing):
Carefully unscrew or unclip your current fixture. Support it with one hand while removing wire nuts and separating wires: black (hot), white (neutral), and sometimes green/copper (ground). Treat each wire like you’re untying a delicate knot—no rush. -
Install or Adjust the Mounting Bracket:
Fix the new mounting bracket to your electrical box according to instructions, tightening until secure but not overtightening. Run your fingers over it—does it wobble? If so, adjust until it’s firm. This bracket supports both weight and future beauty. -
Strip the Fixture Wires (if needed):
Using wire strippers, gently reveal about half an inch of copper from the fixture wires. There’s satisfaction in the clean, neat curl of new wire—ready for connection. -
Connect Wires: The Essential Trio
- Black (Hot) to Black: Twist together the black wire from your ceiling with the black from your fixture. Secure with a wire nut, giving a gentle tug to test the grip.
- White (Neutral) to White: Repeat with the white wires.
- Ground (Green/Bare Copper) to Ground Screw or Wire: Most fixtures and ceilings have a bare or green ground wire; if not, attach it to a ground screw in the box. Wrap it clockwise—a small hug of copper for peace of mind.
-
Tuck, Secure, and Assemble:
Tuck wires gently into the box—don't cram. Secure the canopy or fixture base to the mounting bracket. There’s a pleasure in each tactile element—the click of screws, the soft brush of a fabric cord, the final embrace of a glass globe. -
Install Bulbs and Shades:
Now for the satisfying part—screwing in your chosen bulbs and fitting shades or diffusers. Opt for warm LEDs for inviting zones like dining rooms or reading nooks; cool crisp bulbs for task areas. -
Turn the Power Back On—and Savor the Moment:
Return to the breaker, flip it on, and test your new fixture. There’s a certain hush as the light first glows, changing the room’s story in an instant. Does it cast shadows in all the best places? Is there drama or softness where you’d hoped? This is the magic you’ve created.
“The moment you switch on a new piece—you see your space anew,” says Lena. “It’s always more than functional. It’s poetry.”
Safety Tips for Wiring Light Fixtures
Here’s a truth: no masterpiece happens without a bit of practical wisdom, especially in the world of electrical design. Like the soft click of a well-placed dimmer, these safety steps add quiet reassurance.
- Use a voltage tester every time: Before and after wire connections, confirm there’s no electricity flowing.
- Don’t work alone if you feel at all unsteady on a ladder. Even the most design-savvy among us have been caught off-balance while chasing that perfect angle.
- Call a licensed electrician if: Your wiring is old (cloth insulation, no ground wires), your electrical box is wobbly, or you spot anything that makes your heart skip (burn marks, loose connections).
- Treat every part gently—wires, screws, glass or stone diffusers. An extra minute for care now means seasons of enjoyment ahead.
Wondering if you can use a statement chandelier over a small breakfast table, or if a handblown globe pendant is the right size for your entryway? Here’s a tip from a recent Afralia customer: “I measured with painter’s tape on the ceiling first, marking the fixture’s diameter—it instantly made scale less mysterious!” Sometimes, a tactile drill or length of cord can make all the difference in visionary planning.
Where Your New Light Fixture Shines Brightest
There’s no limit to where your new light can uplift a space, but some rooms seem to crave attention. Over the kitchen island, a cluster of glass pendants creates sculptural interest. Along a hallway, flush mounts draw the eye and provide subtle, guiding pools of light. In the bedroom, a pair of matte brass sconces offer soft, tailored reading light—a detail that elevates daily rituals.
Consider the interplay: mix a moody wall sconce in your entry with a statement chandelier in the dining room, or layer different materials and finishes for tactile depth. As Architectural Digest notes, lighting is so much more than illumination—it’s about creating little moments to savor every day.
Don’t forget, our Pinterest-style step-by-step infographic is always handy if you want to revisit this project with friends or pin it for future DIY inspiration. There’s something special about putting a checklist within arm’s reach as you design your own story.
Your Checklist: How to Wire a Light Fixture
Let’s recap your tactile, step-by-step wiring ritual:
- Select and prepare your dreamy new fixture.
- Have tools and a helper ready; turn off power.
- Carefully remove any old fixture.
- Attach mounting bracket with gentle precision.
- Strip and twist wires by color (black/hot, white/neutral, ground).
- Tuck, secure, and assemble with care for both function and form.
- Install bulbs, restore power, and enjoy your new ambiance.
- Always pause for safety checks and admire your handiwork before moving on.
Whether you’re planning to brighten up a nook, set the mood for gatherings, or simply make a favorite corner spectacular, remember—the light you create shapes daily rituals. What do you want your next evening at home to feel like? Glowing. Warm. Remarkable.
Ready to make a statement? Explore our handpicked lighting pieces.