Styling Secrets Behind How to Remove a Light Fixture
Picture this: you’re sipping coffee at your sunlit breakfast nook, gazing up at a pendant light that’s just not lighting up your world anymore. It’s winking a little too dimly, or maybe not reflecting that globally inspired energy you’re craving. Sometimes, design dreams start with saying goodbye, making room for the fresh, the radiant, the “oh wow, where did you get that?” moments. Let’s unlock the styling secrets (and practical magic) behind how to remove a light fixture—gracefully and safely, of course.
Why Remove a Light Fixture? Illuminating Fresh Possibilities
Before we even reach for a screwdriver, let’s linger on the why. Lighting isn’t just utilitarian—it’s the beating heart of a room’s mood. From the dappled, honeyed light over a dining table to the sculptural statement in your entryway, switching out a fixture invites new vibes. "Lighting is like jewelry for your home," says Lena, stylist at Afralia. "You wouldn’t wear the same necklace forever—light fixtures deserve that same sense of renewal and play."
Maybe you’re updating your bedside lamps for something more tactile, a matte ceramic touch in dusky clay. Or perhaps you’re ready for the muse of a dramatic chandelier above your dinner parties that lingers in guests’ memories. Removing your old fixture is step one—a ritual of renewal.
Preparing Your Space: Setting the Scene for Safe Styling
Removing a light fixture is a moment to be both design-minded and pragmatic. Set the mood for a safe transformation: turn off the light, then locate your breaker panel and fully switch off power to the room. No shortcuts here—think of it as setting the stage before a big design reveal.
Gather your tools: a sturdy step stool, flathead and Phillips screwdrivers, and perhaps a friend for a steady hand. In a softly lit entryway (an ideal spot for a sleek flush mount), lay out a plush towel or blanket underneath—ready to cradle your outgoing fixture with care. The reward? No scuffed hardwood, no shattered glass. It’s a little tip passed on from a customer who styled their luminous Parisian hallway: "Safe removal let me re-gift my old piece to a friend. Style doesn’t have to be wasteful."
How to Remove a Light Fixture: Step-By-Step Styling, The Afralia Way
You’re ready for the big moment—hands steady, heart racing just a touch. Here’s how to remove a light fixture, step by (beautiful) step:
- Double-check the power. Flip the switch, verify there’s no current—a simple non-contact voltage tester does wonders. Safety’s the most stylish accessory of all!
- Remove bulbs and shades. Unscrew (or gently twist) the bulbs, setting them aside on a soft surface. If your fixture has a glass or fabric shade, cradle it—these details deserve preserving.
- Free the canopy. Look for visible screws or decorative caps where the fixture meets the ceiling. Loosen them calmly, supporting the fixture with your other hand. Sometimes, you’ll feel a gentle “release”—like taking off a favorite bracelet.
- Reveal the wiring. Lower the canopy to expose the wires. You’ll find three main wires: black (live), white (neutral), and green or copper (ground). Each is joined by a plastic wire connector (those little “hats”). Unscrew each, noting their placement or snapping a quick phone photo if you need a visual memory.
- Disconnect and remove. Once all wires are separated, you’re free! Remove the fixture from its mounting bracket and set it aside on your soft blanket.
“There’s always a tiny thrill when the old fixture is down—a sense of possibility. A blank slate, ready for a fresh story.”
— Lena, stylist at Afralia
And there you go—ceiling open, style possibilities wide. Wasn’t that easier and more empowering than you imagined?
Pinpointing Design Impact: Where Will the New Light Shine?
Now for a delicious design question: Where does your next light fixture want to live? That softly glowing pendant over the kitchen island, or a brushed brass sconce in your entry? The room’s architecture, natural light, and mood all call for different lighting “personalities.”
As noted by Dezeen, layered lighting creates dimension and elegance—not just illumination. Try mixing overhead pendants (for drama and shape) with accent sconces that cradle artwork or architectural details in a gentle wash of light. A woven rattan flush mount can add texture and glow above a guest bed, while a glossy opal globe brings chic coziness to a reading corner.
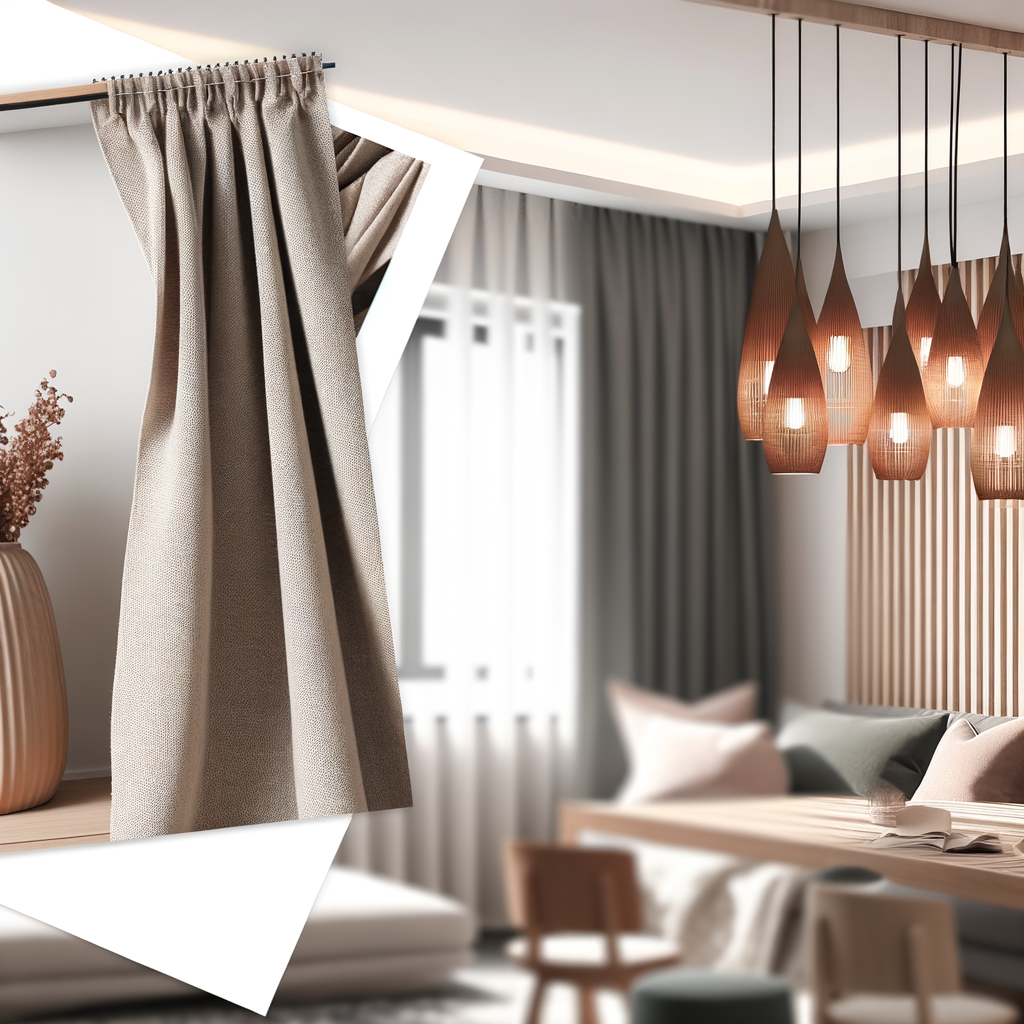
Our latest styled product photo (scroll up for a Pinterest-worthy peek!) captures that tactile allure—a sculptural smoked glass pendant catching sunlight, the cord’s matte brass texture playing off soft linen drapes. These are the moments that draw the eye and anchor your home’s story.
Styling, Safekeeping, and Little Luxuries
Here’s an insider’s trick: as you update your fixture, take the moment to refresh what surrounds it. Dust the ceiling medallion, touch up scuffs, even play with an unexpected wall color behind a new swing-arm lamp. Rhetorical question: why not seize the magic of the blank slate?
And don’t forget, those outgoing fixtures can find a new life beyond your space. Many of our customers donate, sell, or restyle their old lighting, adding character to someone else’s design journey. Style is cyclical, always passing its glow forward.
Ready for Your Next Lighting Story?
Removing a light fixture isn’t just about tools and wires—it’s that first step toward revealing your home’s new mood and energy. As your rooms shift and evolve, let light be your collaborator and muse. Whether you’re dreaming of the perfect bedside ambiance or a chandelier that stirs conversation at dusk, trust that every change is an act of creation.
Need some inspiration? Architectural Digest agrees: design is ever-evolving, each layer revealing more about who we are—and where we want to go. Explore our pendant lights to awaken your dining room’s potential. Whether replacing a fixture solo or swapping out every lamp in sight, relish the transformation.
Find your glow.