Tools You Need for How to Change a Fluorescent Light Fixture
Imagine stepping into your kitchen just after sunset—the countertop marbled with the last gold stains of daylight—and flicking the switch. Instead of a gentle invitation to linger, a flickering, humming fluorescent light buzzes overhead, casting a harsh glare over your evening. Sound familiar? Many of us have lived with the dance of aging fluorescent fixtures, but you don’t have to. Upgrading them can transform a utilitarian glow into something welcoming and refined.
Here at Afralia™, we’re often asked not only which beautiful pendant or semi-flush to choose, but also how to actually swap out that old fixture lurking over the breakfast nook or laundry room. It’s easier—and more satisfying—than you think. If you've ever thought about how to change a fluorescent light fixture yourself, the first step is being prepared with the right tools.
Essential Tools Checklist for Changing a Fluorescent Light Fixture
Before you pull out a step ladder—or cue up your favorite renovation playlist—gathering your tools is the foundation of a smooth, safe swap. Here’s your tactile, design-savvy rundown of everything you’ll need:
- Step Ladder: A sturdy, stable step ladder (ideally with rubber feet for hardwood or tile) puts you within comfortable reach—and keeps your focus up where the action is, not precariously balanced on a chair.
- Non-Contact Voltage Tester: This pocket-sized wonder lets you confirm—safely—that the circuit is truly off before touching any wires. Think of it like the handshake before an introduction… a trust-builder.
- Phillips and Flathead Screwdrivers: Most fluorescent fixtures use simple screws, and having both sizes ensures you’ll be ready for whatever’s up there. Bonus: the cool, matte grip of a well-made screwdriver always feels purposeful in the palm.
- Wire Stripper/Cutter: For fixtures that require new connections or slightly trimming existing wires—a clean, precise strip exposes just enough copper for a secure, artful fit.
- Needle-Nose Pliers: Gripping, twisting, or guiding wires into their new arrangement, these are your fingers’ dextrous extension.
- Wire Nuts: Small but mighty, these secure your wire joins and keep things safe for years of ambient bliss.
- Electrical Tape: Optional, but reassuring, like the last loop around an elegant ribbon-tied gift.
- Work Gloves & Safety Glasses: For protection and peace of mind, especially in spaces where dust and old-bulb shards might be lurking.
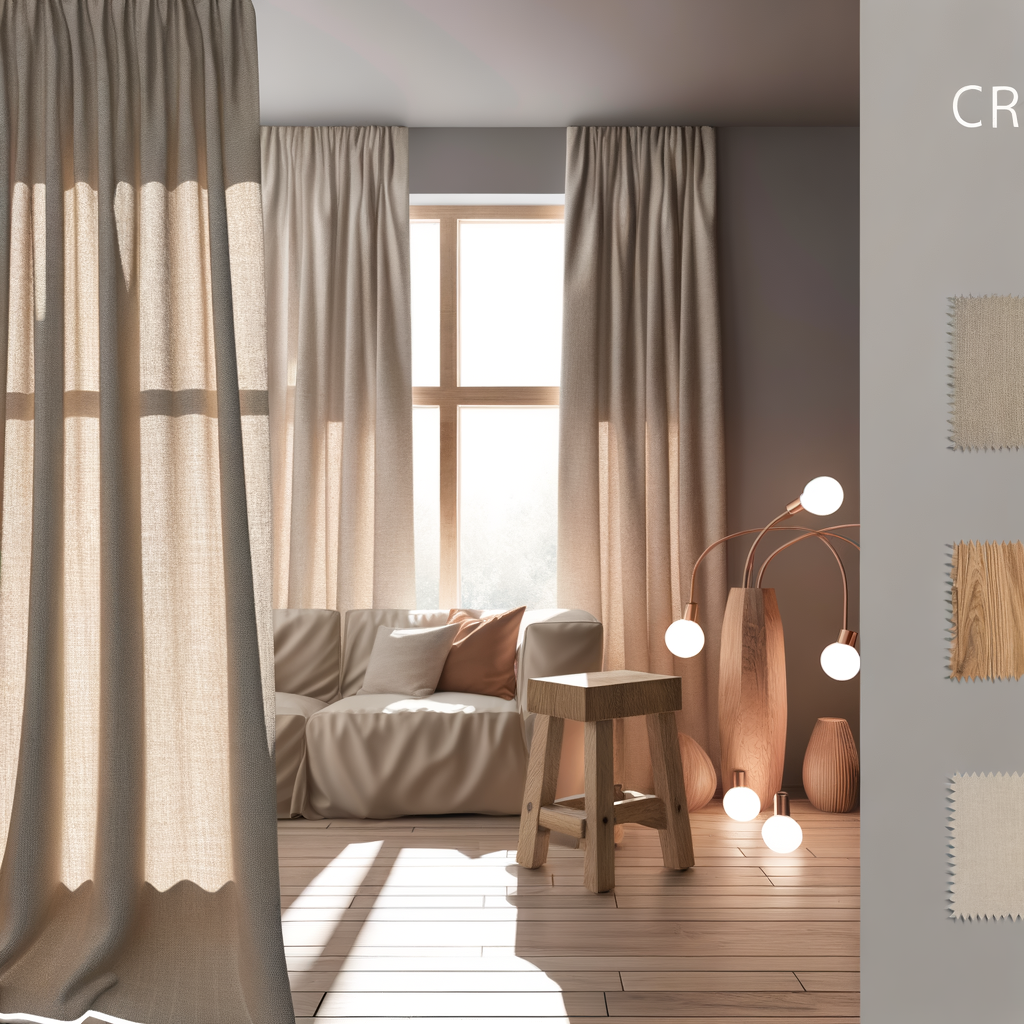
- New Lighting Fixture: This is where your personal style comes in—a soft brass flush mount, a frosted globe pendant, or perhaps something with a hand-carved wood accent. The perfect ceiling light brings fresh energy into the room.
Pro tip from Lena, stylist at Afralia: “Lay out each tool before you begin, with a gentle linen cloth underneath. It’s a little ritual—like preparing pigment before painting—setting the mood for careful, beautiful work.”
Visual Hook: Don’t forget to pin or screenshot our step-by-step infographic—designed for both the visual learner and the hands-on DIYer. It’s the ultimate companion, blending artistry and utility at a glance.
Step-by-Step: How to Change a Fluorescent Light Fixture
Once you’ve assembled your toolkit, it’s time for transformation. Let’s walk through the process, from safe removal to that final, satisfying flick of the switch.
- Turn Off Power: At the breaker box, switch off the circuit controlling your fixture. Confirm with your non-contact voltage tester—it should light up or beep when live, remain silent when safe.
- Remove Bulbs & Cover: Most covers simply unclip or slide free—not unlike opening a book to a new chapter. Carefully set aside both cover and tubes.
- Unscrew Old Fixture: Locate mounting screws and loosen them with appropriate screwdriver. Typically, the fixture will come free in your hands—a light, metallic sigh after years overhead.
- Disconnect Wires: Use your needle-nose pliers to gently untwist the wire nuts, then separate the old fixture’s wires from those in the ceiling.
- Install New Mounting Plate: (If required) Attach the new bracket or plate for your chosen light, snug and level against the ceiling.
- Connect Wires: Match colors—black to black, white to white, ground (often bare copper or green) to ground—using your wire nuts for a tight, safe join. Wrap with electrical tape for bonus peace of mind.
- Attach & Secure New Fixture: Depending on style, your piece may twist, clip, or screw into place. A soft call of brass, glass, or wood against the ceiling—this is where function meets beauty.
- Restore Power & Admire: Step back, flip the breaker, and let the light wash over the room—warm, inviting, and strikingly new.
Rhetorical question time: Is there anything more rewarding than standing beneath your handiwork, feeling the atmosphere of your home subtly, beautifully shift?
Where Your Lighting Shines Best: Room-by-Room Inspiration
The joy of changing a fluorescent fixture isn’t only in the “how”—it’s in the afterglow. Kitchen over island, dining room centerpiece, laundry room retreat, or even the moody entryway: swapping out a generic tube for a thoughtfully chosen flush mount transforms not just illumination, but intent.
Ask any design-lover: where you light is just as important as what you light. Your new fixture can draw the eye above a favorite reading chair or anchor a hallway with soft, golden dimension. As noted by Architectural Digest, layered, considered lighting creates rooms that don’t simply look different—they feel different.
Think about texture too. A matte black housing can add modern edge to your entryway; a smoky amber glass pulls warmth into your dining room. One Afralia customer once told us she swapped her hallway’s tired fixture for a crystalline globe: “It’s not just brighter, it’s a little occasion every time I walk inside.”
Designer Notes: Finishing Touches & Safety Reminders
"Don’t rush,” says Lena, stylist at Afralia. “Take time to enjoy the process—the shiver of cold metal in your hand, the soft cling of glass, even the satisfaction of a perfectly aligned bracket.” After installation, sweep up debris and polish any fingerprints off your new fixture for that gallery-finish result.
One extra note: if your home’s wiring feels mysterious, or if you notice brittle insulation or wires that don’t match today’s color standards, consider calling in a licensed electrician. The best design details are those you install with full confidence.
Lighting is both poetry and pragmatism: it changes how you see your world (and yourself). Whether you choose a sculptural pendant or a subtle flush mount, never underestimate the power of a careful, artfully accomplished change.
Before you go, don’t forget to revisit our Pinterest-friendly step-by-step infographic above—it’s ideal for you (or a friend getting inspired for their own glow-up).
Start designing your dream space today.