Essential Tools for How to Change Lighting Fixture: Your Afralia™ Step-by-Step Guide
There’s a quiet thrill in swapping an old fixture for something new—watching the room transform as a fresh wash of light settles over your favorite space. It’s about more than just illumination; it’s the moment your room finally feels, well, yours. Whether you’re upgrading a basking pendant above your dining table, cozying up bedside with a new reading light, or giving your entryway a statement-ceiling moment, knowing how to change lighting fixture is both empowering and surprisingly satisfying.
If the handiest tool you reach for lately is your coffee cup, don’t worry—you don’t need a professional’s toolbox or a degree in wiring. A few essential tools (and perhaps a dose of courage) are all you’ll need. Let’s walk through the checklist for changing a lighting fixture, with tactile tips and anecdotes from the Afralia™ design family along the way. Grab your favorite beverage; this will feel like a design project you’ll actually look forward to!
Visual Inspiration: Don’t miss our Pinterest-worthy step-by-step infographic at the end—perfect for screenshotting before your next lighting adventure.
Making a Plan: Understanding Where (and Why) to Change Your Fixture
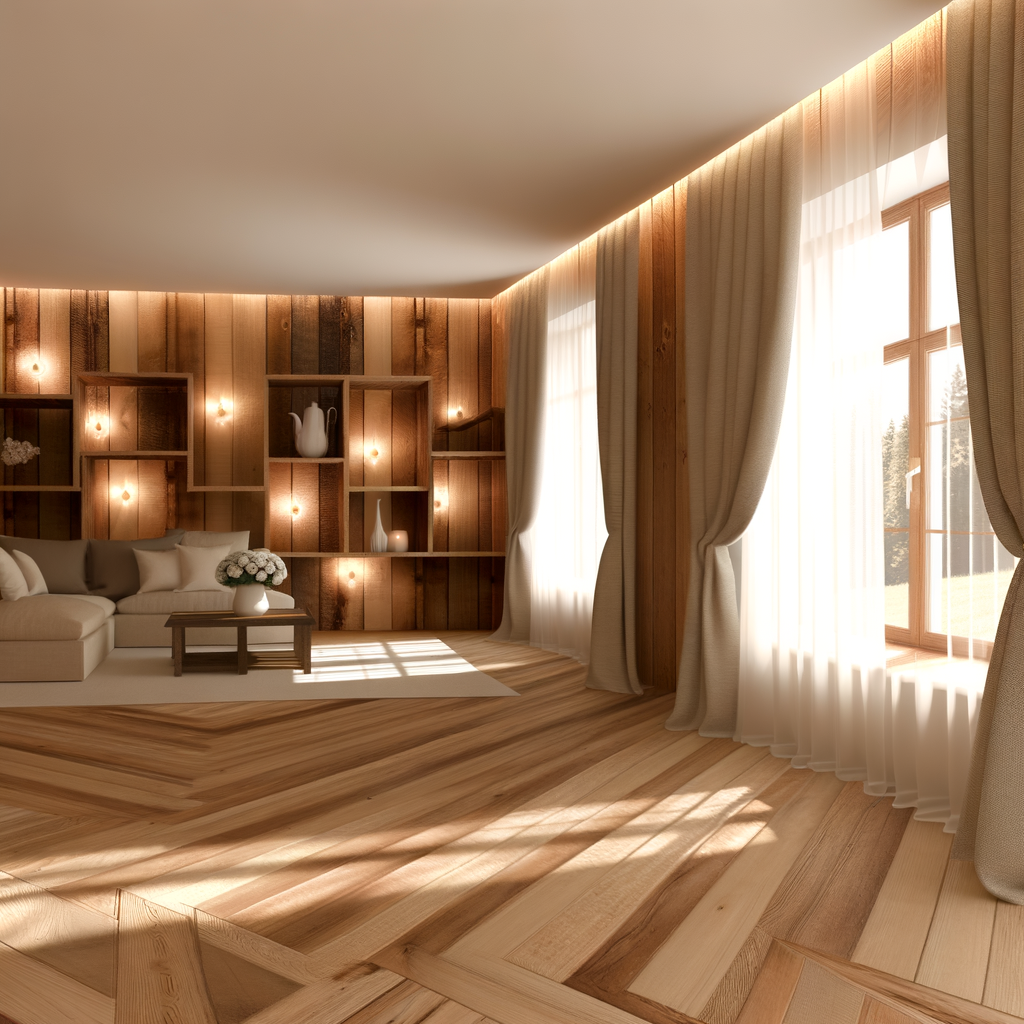
Before reaching for your screwdriver, pause to picture how your new light will feel in the space. Is your entryway feeling a bit flat, desperate for a gleaming center of attention? Maybe your bedroom craves a soft, cocooning pendant, or the dining room is just waiting for something sculptural to anchor every meal.
As noted by Dezeen, layered lighting helps create dimension and elegance—so think about where a fresh fixture will best complement the moods and rhythms of your home. Lena, stylist at Afralia™, shares: “Every fixture brings its own personality. Sometimes, a matte brass sconce pulls you in; sometimes, a smoky glass globe turns a hallway into a story.”
Your Checklist: Tools You Need for How to Change Lighting Fixture
Here’s the tactile toolkit you’ll want at your fingertips before getting started. This isn’t just a shopping list—it’s your DIY confidence-boost, item by item.
- Voltage Tester or Non-Contact Tester— Your best friend for safety. This clever gadget lets you know (without a doubt!) that you’ve turned off the power, so you can handle wires without any “surprises.” It’s essential and incredibly reassuring.
- Flathead and Phillips Screwdrivers— The classic duo. Fixtures might be attached by a range of screws, so it’s good to have both styles. Look for handles with a rubbery grip—they’re kinder on the palms and less likely to slip.
- Ladder or Stable Step Stool— Changing a flush mount or chandelier? Even the tallest among us will want some extra height. Make sure it feels steady underfoot; vintage wooden ladders are charming, but safety comes first.
- Wire Strippers— If your new fixture requires you to trim or prep wires (especially with older homes), these will give you a clean, easy finish. Look for strippers with multiple gauge settings for flexibility.
- Adjustable Wrench or Pliers— For stubborn bolts or nuts around the mounting bracket, a little extra gripping power goes a long way.
- Electrical Tape and Wire Nuts— Most new fixtures come with these, but it’s reassuring to have spares. Wire nuts twist over exposed wires, while electrical tape ensures added security—think of it as a cozy blanket for your connections.
- Soft Cloth or Gloves— Handy for handling bulbs or glass shades. Keeps fingerprints off metal and helps you savor that fresh-from-the-box finish.
- Assembly Instructions— Don’t forget to read them. Even if you famously dislike directions, every fixture can have its quirks—a globe-shade pendant isn’t always assembled like a five-arm chandelier.
How to Change Lighting Fixture: Safety First, Beauty Second
Some of the most beautiful rooms I’ve seen have begun as a modest plan to switch out “just one light.” But before you unleash your inner designer, always—always—turn off the electricity at the breaker, not just the switch. Flick the breaker, then double-check the old fixture with your voltage tester. You’ll want the peace of mind before handling even a single wire.
Once you’re sure the power’s off, it’s time to gently remove the old fixture. Unscrew any framing, noting how the wires connect (take a quick phone photo as a future reference). Are you feeling a flash of anticipation? That’s the energy of transformation, and it’s delicious!
Here’s a customer favorite: “I like to lay a soft towel or blanket under my work area,” shares Mina, Afralia customer. “I’ve caught more than one runaway screw before it could bounce across my hardwood floors!”
Choosing the Right Fixture for Each Room
The tools are ready, but let’s pause—what lighting belongs where? Not every light calls every room home. Flush mounts are perfect for a polished entry or hallway. A statement pendant draws the eye above the dining table, casting a welcoming, amber glow over gatherings. Wall sconces can add sculptural warmth beside the bed or vanity, while a playful cluster of globes brings drama to a staircase landing.
Wondering what will fit your mood and space? Rhetorically: When was the last time a light fixture made you pause and really look at your room—a brush of matte black, a glint of brushed nickel, suddenly painting your walls with golden hour softness? If you’re seeking a new muse, “Explore our flush mounts to brighten your entryway,” or discover our collection of pendants and chandeliers for that surrounding glow.
Finishing Touches: Hanging, Adjusting, and Enjoying the Glow
Back to the fun part: installing your new fixture. With the old one down and your wires exposed, nestle each wire together as directed (likely black to black, white to white), twisting the wire nuts until you feel them “catch.” Wrap the connection in electrical tape for total peace of mind. Attach the mounting plate, fit the new fixture, and secure as shown in the instructions.
Before returning the power, give your fixture a gentle tug—does it feel secure? Gently screw in your chosen bulb, fit any shades, and now, for the grand reveal: flip the breaker, then the wall switch. Savor that moment when the light blooms to life, reimagining the space beneath it.
Ready for the next adventure? Keep our checklist handy, or pin the step-by-step infographic below for a quick reference next time the urge to transform strikes.
Whether you’re craving a quiet sculptural glow beside your reading chair, or it’s time for a show-stopping chandelier, the right tools (and a little bit of love) are all you need to get started. For more inspiration on elevating your space, visit Architectural Digest—then return to Afralia™ for the lighting that feels like home.
Explore our handpicked lighting pieces.