Tools You Need for How to Change Recessed Light Fixture
There’s something quietly transformative about updating the lighting in your home. The shift in mood, the play of subtle shadows—sometimes, just a single new recessed fixture can make an entryway shimmer or a kitchen awaken with gentle clarity. If you’ve gazed up at your own ceiling and wondered, “Could I swap out that tired old can light for something fresh and bright?”—you’re in the right place. Here at Afralia™, we believe every detail deserves consideration, right down to changing a recessed light fixture. So, grab a coffee, cozy up, and let’s walk through the tools and small secrets that will make your lighting project successful, safe, and delectably rewarding.
Why Change Your Recessed Light Fixture?
Before we organize your toolbox, let’s linger for a moment in the “why.” Classic recessed lights are the silent workhorses of modern interiors—versatile, low-profile, perfect for cozy reading nooks, sophisticated dining spaces, or illuminating an inviting hallway. But as Lena, stylist at Afralia, says: “Lighting is more than functionality; it’s the jewelry of your room. Updating your fixture can deliver the ambiance you crave, whether that’s a golden, glam glow or crisp task lighting.”
Perhaps your current fixture casts a harsh glare over the breakfast bar or doesn’t quite flatter that new olive velvet sofa. Swapping it out can create warmth, provide focused brilliance, or simply express your evolving style—think matte black trims for urban sophistication or warm brass for heritage charm.
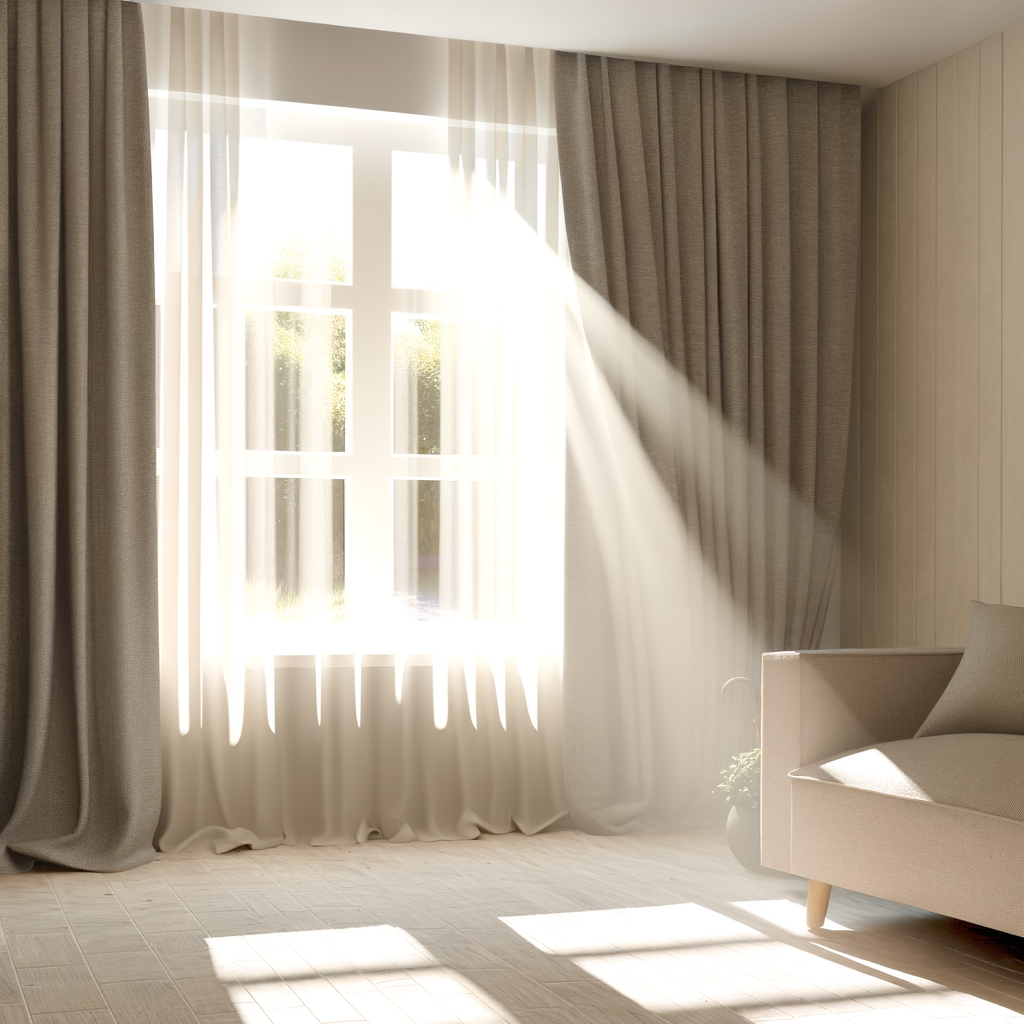
Where does recessed lighting shine? While beloved in kitchens and living rooms for their unobtrusive nature, a subtle fixture in the bedroom above a reading chair can create a cocoon of soft light. And in the entryway, it feels like a gentle welcome home.
Essential Tools: The Checklist for Changing Recessed Light Fixtures
Like every worthwhile project, updating your recessed light starts with having the right tools at hand. Imagine the difference between fumbling on a ladder or gliding through the process, the way a chef preps ingredients before the meal. Here’s what you’ll want ready:
- Step Ladder: A sturdy, properly sized ladder—no wobbly chairs, promise? Find one that gives you secure, shoulder-height access to the fixture.
- Voltage Tester: Safety first! A non-contact voltage tester ensures the power is truly off before you begin touching wires.
- Screwdriver (Phillips & Flathead): Most fixtures require a screwdriver (or two) to remove the trim or mounting brackets. Having both types handy ensures you’re prepared for any surprise screw types.
- Needle-Nose Pliers: For those tricky wire connectors or stubborn clips.
- Wire Strippers: If your new fixture needs a clean, fresh wire end, strippers provide the precision you need—no frayed edges.
- Electrical Tape & Wire Nuts: If your new fixture doesn't come bundled with these, pick up a few. They make for neat—and safe—connections.
- Light Bulb Suction Cup Tool (optional): These are handy for removing stubborn bulbs, especially in deeply inset cans.
- Flashlight or Headlamp: Sometimes, it’s surprisingly dark inside a ceiling cavity, especially in hallways or windowless baths. A lightweight headlamp keeps your hands free for fiddly details.
- Decorative Touch (last but never least): A new bulb or lens can dramatically shift the mood. Think a softly diffused LED for a sophisticated, ambient glow.
Wondering what this looks like step-by-step? Don’t miss our Pinterest-style infographic below—it maps out the entire process, tool by tool, from prep to the victorious “ta-da!” of flipping your breaker back on.
How to Change a Recessed Light Fixture: Your Step-by-Step Companion
Now, let’s pull the whole scene together. Set the mood: classic jazz, sleeves rolled up, afternoon light streaming in. Here's your “how to”—with warmth and a few sensory details you won’t find on the back of a manufacturer’s box.
- Power Down: Start at the breaker—turn off power to the fixture. Check with your voltage tester. Pause and feel that little hum of anticipation; you’re minutes from a new look.
- Remove the Old Fixture: Using the screwdriver, gently unscrew the trim and mounting hardware. Let yourself enjoy the small click as the housing releases—progress feels good! If the bulb is stuck, use your suction tool.
- Disconnect the Wiring: Make a mental note (or take a photo on your phone) of how wires are connected. Unfasten with needle-nose pliers. Gently wiggle the wires free, taking care not to nick their sheathing.
- Prep for the New Fixture: Use wire strippers if needed; twist the new fixture’s wires together with wire nuts. Wrap a layer of black electrical tape for extra peace of mind.
- Install and Enjoy: Mount the new fixture according to its instructions—every Afralia kit comes with an illustrated guide. Tuck the wires neatly into the housing, click or screw the trim into place, then choose a new bulb. Restore power at the breaker, flip the switch... and there it is: a room subtly transformed.
Here’s a quick anecdote for you: one of our customers, Marita from Cape Town, transformed her breakfast nook with a matte brass pivoting recessed fixture and a soft, dimmable amber bulb. “It’s the first thing my guests notice now,” she told us, “and my morning coffee feels that much more luxurious.”
Design Tips: Elevate Every Room with the Right Recessed Fixture
When was the last time you heard a recessed light described as “show-stopping”? The right trim, finish, and bulb temperature are the tiny details that dial up the refinement. Want to bring a subtle sophistication to your open-plan living room? Pair narrow-beam directional cans over art with wider, diffused options above the seating area. As noted by Dezeen, layered lighting creates dimension and elegance—the dance between shadow, highlight, and everything in between.
And let’s not forget the practical: energy-saving LEDs, smart bulbs you can control from a sunlit terrace, or fixtures designed for steamy bathrooms. Afralia’s range is crafted for spaces where design matters. Explore our flush mounts to brighten your entryway or pendant lights for over your island.
Troubleshooting & Small Victories
What if your new fixture doesn’t fit the old housing? Many modern kits are designed for retrofitting, but sometimes an older ceiling calls for a clever workaround—like an adjustable mounting bracket or a decorative collar. Lena, our stylist, suggests, “Don’t be afraid to go bold—a splash of color or a distinctive metal finish creates instant personality.”
Let’s face it, have you ever finished a DIY project and immediately planned the next one? A small, satisfying upgrade like this has a ripple effect across your home. And when guests walk in and notice that unexpected, elegant shimmer, well—maybe you’ll send them our way next.
If you’d like even more inspiration, peek at the radiant spaces featured by Architectural Digest, where elevated details truly tell the story of a home.
Ready to Spark Change?
Swapping out a recessed fixture is a tactile, rewarding update—one that mingles a bit of care, a few well-chosen tools, and the promise of luminous transformation. Whether your goal is a cozy bedroom retreat, a dramatic dining room statement, or simply shedding better light on every morning ritual, you’re well-equipped now. For extra inspiration, don’t forget to save our step-by-step infographic (hello, Pinterest!) for your next lighting adventure.
Start designing your dream space today.