Tools You Need for How to Install a Bathroom Light Fixture
There’s something magical about the way new lighting transforms a bathroom—the soft reflection dancing on marble, the gentle illumination bouncing off tile, the quiet confidence a beautiful fixture brings to your daily routine. At Afralia™, we know just how powerful a well-chosen bathroom light can be. But before the glow comes to life, there’s the thrill (and the challenge) of installation. If you’re wondering how to install a bathroom light fixture and what tools you’ll need in your kit, let’s pour a coffee and gather around the design table together. This is your fuss-free, design-lover’s checklist—with a sprinkle of Afralia warmth and expertise.
The Essential Toolkit for Installing a Bathroom Light Fixture
Before you get hands-on, imagine the scene: steam curling in the air after a hot shower, daylight filtering through frosted glass, and—at the heart of it—a new vanity light with a matte brass finish, quietly anchoring the space. The right fixture deserves a seamless installation, so here’s the toolkit that empowers you to do it beautifully and safely:
- Voltage Tester: Your safety essential. Always double-check that the power is completely off at the switch and breaker—think of this as your moment of assurance before any wiring begins.
- Screwdrivers (Flathead & Phillips): Fixtures mean fasteners, and bathrooms love a vintage surprise—keep both screwdriver types close at hand.
- Wire Strippers: For those little adjustments to pre-installed wiring, a good stripper makes all the difference. It’s about clean, safe connections (not frayed wire ends begging for a redo).
- Needle-Nose Pliers: Perfect for curling wire for those secure “hook-and-loop” connections on your fixture’s base.
- Ladder or Step Stool: The right height gives you confidence and control. Bonus: some install moments let you slow down and admire your tilework up close.
- Electrical Tape: For an extra layer of safety, especially in humid bathroom spaces. It’s like tucking in the wires with a protective scarf.
- Wire Nuts: (Usually included with your fixture, but having spares never hurts!) Secure, color-coded connections make for a stress-free finish.
- Level: Because nothing catches the eye like a slightly askew sconce. Perfection is in the details—and your future self will thank you every morning.
- Measuring Tape: For exact placement—especially if you’re centering a vanity light over your mirror, symmetry is your silent luxury.
Pin this handy, step-by-step infographic to your Pinterest board—it’s our visual guide to every tool and step, neatly organized for your installation day. (And it’s quite the mood-board moment if we do say so ourselves.)
Step-by-Step: How to Install Your Bathroom Light Fixture Like a Designer
Every beautiful bathroom—think softly sculpted basins, swathes of quartz countertop, that hint of eucalyptus—deserves a lighting feature that elevates without overwhelming. Whether you’re upgrading an old sconce or introducing a bold centerpiece above your vanity, here’s how to install a bathroom light fixture with both confidence and creativity:
- Turn Off the Power. Head to your breaker box and switch off electricity to your bathroom. Double-check with your voltage tester—there’s a satisfaction in knowing, beyond doubt, that you’re working safely.
- Remove the Old Fixture. Unscrew the decorative nuts or mounting plate, gently lowering the existing light. If it feels like sticky wallpaper—all stubborn and outdated—remind yourself this is just the cocoon before your butterfly emerges.
- Inspect and Prep the Wiring. Using your wire strippers, freshen up the ends of the wires for a snug, clean fit. Everything should look tidy and ready for new beginnings.
- Install the Mounting Bracket. The bracket is the bridge between your gorgeous new fixture and the wall. Secure it with your screwdrivers and check for level—this step shapes the first impression for years to come.
- Connect the Wires. Twist together matching colored wires (black-to-black, white-to-white, and ground-to-ground) using wire nuts. Wrap connections with a layer of electrical tape. This is the equivalent of tailoring your lighting for a perfectly fitted look.
- Secure the Fixture. Gently position the fixture on its mount, aligning all the little details. Tighten the decorative screws—no need to overdo it; think “firm handshake,” not “iron grip.”
- Test Your Glow. Restore power at the breaker, then flick the switch. Bask for a moment in the golden hue or crisp radiance—depending on your bulb of choice—and adjust as needed.
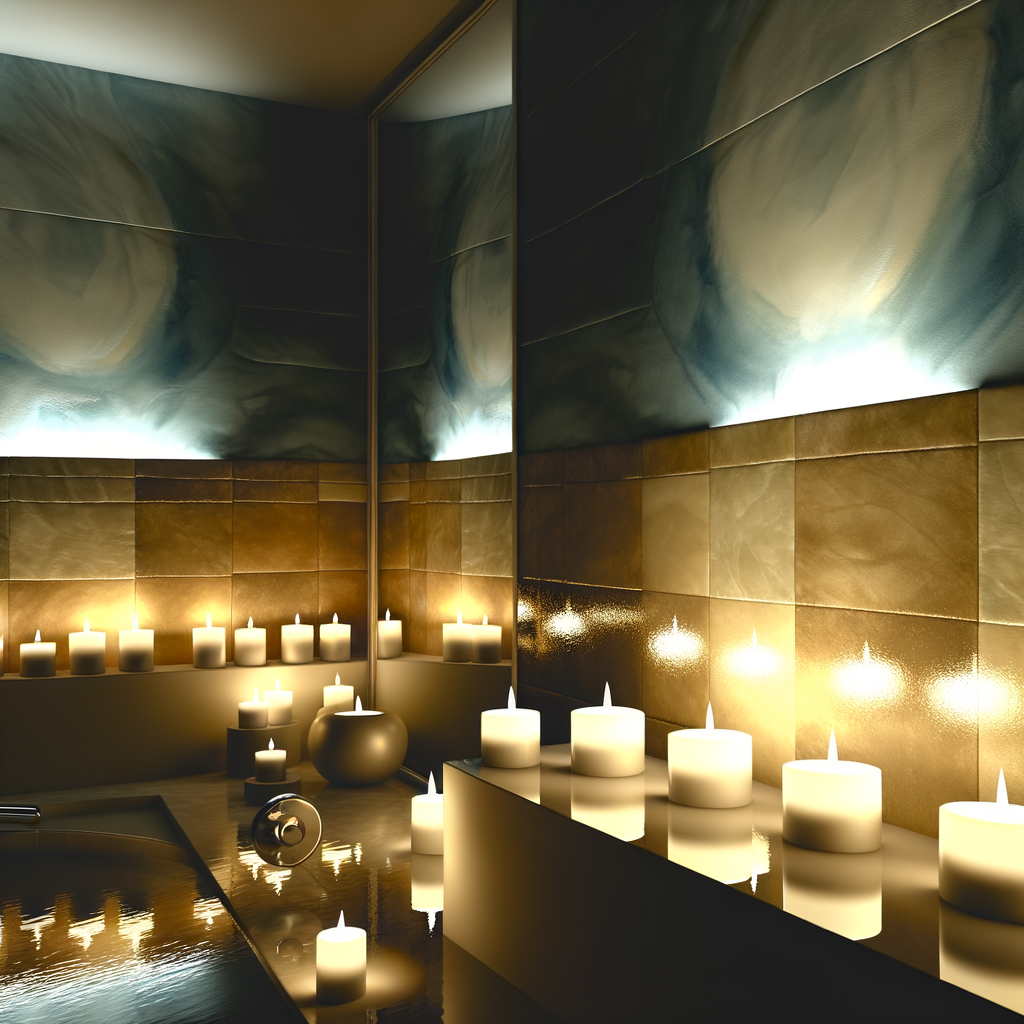
Rhetorical moment: Isn’t it incredible how a new light can take your bathroom from utilitarian to spa-level sanctuary with just a twist and a click?
Choosing the Right Light: Where Your Fixture Shines Best
Not all lights are created equal, and certainly not all bathrooms are—powder rooms long for sculptural sconces, while big, sunlit master baths crave layered illumination. Our wall sconces dazzle as accent pieces beside mirrors, wrapping you in a soft, flattering glow every morning. Vanity fixtures, with their horizontal elegance, are heroes above the basin—balancing even, shadow-free light for makeup, shaving, or just admiring your day’s best self.
Style tip from a customer, Julia in Cape Town: “I swapped a dated, chrome bar light for a double-globe fixture in brushed gold. Suddenly, my tiny guest bath looks like a boutique hotel powder room—fresh towels, a sprig of lavender, and light that feels downright poetic.”
Whether you’re channeling minimalist simplicity or an Art Deco muse, the bathroom is truly a canvas for your design story. As noted by Dezeen, thoughtful layers of light can create dimension and pure hotel luxury in everyday spaces.
Afralia’s Own: Designer Insights & Final Touches
Lena, stylist at Afralia, often says: “Let your bathroom lighting be the finishing jewel—a little nod to your personality that shines even on the most rushed mornings.” She’s right—installing a fixture is equal parts precision and creative spark. Take five extra minutes to adjust height, play with bulb temperature, and—if you can—softly dim the lights and appreciate the mood you’ve created.
If you’re itching to add even more ambiance, don’t limit your imagination to the bathroom alone. Explore our flush mounts to brighten your entryway or living space with the same design-minded touch. Lighting sets the tone all throughout your home.
To wrap it up: With the right tools at hand (and a little design guidance), you’re not just installing a fixture—you’re creating a luminous retreat you’ll look forward to, every day. For anyone finding joy in the process, pin our step-by-step infographic for your next project or share it with a friend who could use a spark of inspiration.
Start designing your dream space today.