Before and After: Real-Life How to Unscrew a Light Fixture Transformations
The golden hour light had just begun to pour through Anna’s hallway window when she finally decided it was time. The dated frosted dome overhead, dulled by decades, deserved its last curtain call. Anna’s story is universal but wonderfully personal, much like the quiet thrill we all feel before a hands-on refresh. If you’re wondering how to unscrew a light fixture—whether to swap in a sculptural pendant or a minimalist flush mount—the transformation begins not with tools, but with vision and intention. Let’s step together, coffee mugs in hand, into the glow of “before and after.”

Transform Your Space: Why Learning How to Unscrew a Light Fixture Matters
The right lighting, as noted by Architectural Digest, carries the power to reshape everything. One minute, it’s all functional glare; the next, it’s a soft focal point casting thrilling shadows on your favorite artwork. Knowing how to unscrew a light fixture isn’t just a fix-it chore—it’s the key to unlocking this magic, clearing away the old to reveal the radiant new. Whether you’re curating serenity at your bedside, drama in the dining room, or a sweet welcome in the entryway, mastering this little act of DIY can open the door to a world of mood and story.
Step-by-Step: How to Unscrew a Light Fixture (Without Breaking a Sweat)
Let’s be honest, the first time you face that stubborn dome or chandelier, you might feel a flutter of nerves. But here’s a secret: unscrewing most ceiling or wall fixtures is far less intimidating than you’d guess. Picture this—a gentle shower of afternoon light, your favorite playlist drifting through the room, sleeves rolled up, anticipation humming. Here’s how the transformation unfolds:
- Switch off the power. Before anything else, flip the wall switch and the circuit breaker. Safety is the foundation of beauty.
- Let your eyes adjust. Take in the details: Is your fixture held by visible screws, a threaded finial at the center, or a twist-and-lock canopy?
- Gather your tools. Usually, a simple Philips or flat-head screwdriver, a soft cloth, and a step ladder will do. No need for fancy gear.
- Support the fixture as you work. Place one hand beneath—sometimes these fixtures come loose quicker than expected!
- Loosen the screws or unscrew the center finial. Start slow. You’ll often hear a faint click as the tension relaxes—like the sigh of a room finally breathing free.
- Lower the fixture gently. If it’s wired in, let it hang just enough to reach the wires. (Don’t tug!)
- Disconnect wiring—only if necessary. Take a phone photo to remember which wire goes where. Use a tester to ensure the wires aren’t live, then loosen wire nuts and separate the fixture from the ceiling base.
Now, with your fixture down, you’re moments from a brand new look. (Don’t you love that pause—the hum of possibility?)
“Don’t rush this moment,” says Lena, stylist at Afralia. “Let yourself savor the transition—the hands-on magic is as important as the design itself.”
Before & After: Stories of Light-Borne Transformation
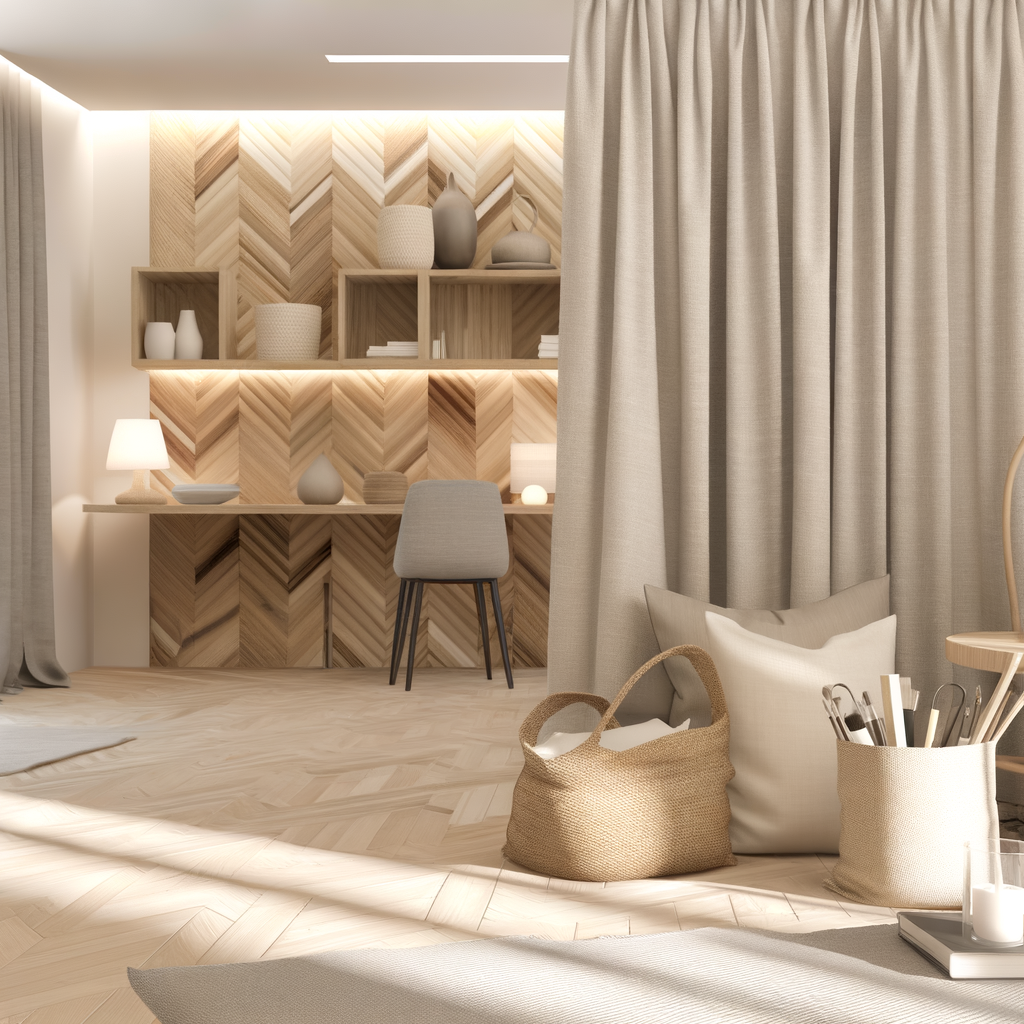
Anna’s hallway, once shrouded by a yellowed plastic dome, now beams with a modern flush mount in frosted glass and matte brass. The change feels almost cinematic—crisp edges, warm glow, a renewed invitation to pause and linger at the threshold. In the bedroom, a pair of retro pendants replaced the builder basic fixtures, their opal globes casting honeyed halos perfect for late-night reading and slow weekend mornings.
One customer wrote: “I thought just changing the light would help…but my entire entryway feels grand now. Even the walls seem to blush a little!” So often, the most “effortless” before and after begins with a single, confident twist of the wrist.
Looking for ideas? Explore our pendant lighting selection to find your next design muse.
What to Expect After: Setting the Scene with New Lighting
When you stand back and admire your new fixture, it’s not only about the improved light—it’s about a space that hums with intention. Clean lines, fresh finishes, a feeling like stepping into a boutique hotel (but it’s home). Consider how a cluster of softly glowing pendants could turn your dining room into the perfect spot for intimate gatherings, or how a subtle wall sconce might welcome you every time you return at dusk.
As Dezeen highlights, layered lighting creates dimension and elegance—a little something extra you never realized you missed.
And, if you’re on the fence—have you ever wondered just how transformative a simple fixture swap could be? That before & after snap is pure Pinterest gold, but the glow you’ll see every day is even better.
Sensory Tips for the Confident DIYer
- Look for tactile quality: Matte black, antique bronze, blown glass—let your senses guide you in selecting the next fixture to show off your style.
- Spot clean your new piece as you install—fingers wiped free of dust and prints—so the glow is never dulled.
- Dimmer switches are your space’s best friend, letting you shift from bright and functional to soft and cozy depending on mood or hour.
A favorite customer tip: always keep a treasured object nearby (a small plant, a favorite book) to anchor the space once your new light is installed. Reflections and shadows play differently when you let a bit of personality shine through.
In the end, refreshing your lighting isn’t just technical know-how—though it’s empowering to learn how to unscrew a light fixture with confidence. It’s about the quiet pleasure of hands-on change, the anticipation of “after,” and the beautiful light you cast in every room.
Start designing your dream space today.