Tools You Need for How to Unscrew a Light Fixture
Have you ever looked up at that sculptural pendant in your dining room—the one with the golden opal glass that seems to float overhead—and wondered, “How on earth do I unscrew this thing safely?” Whether you’re craving a fresh look for your bedside nook or planning to swap in a new stunner above your entryway, knowing how to unscrew a light fixture opens up a world of home makeovers. But first: let’s take the mystery (and the stress!) out of the process, and make sure you’ve got the right tools on hand before the first glow fades.
Together, we’ll set you up for a safe, satisfying swap—no frantic rummaging in the junk drawer required. And if you love a visual roadmap, our step-by-step infographic below is your quick-glance confidence boost—think of it as your Pinterest-worthy toolkit cheat sheet.
The Essential Toolkit: What to Gather Before You Start
Picture this: Saturday morning sunlight slanting through the kitchen as you lay out your tools, coffee in hand. There’s something quietly empowering about having it all right there—every screwdriver, glove, and bulb cradle lined up like you’re about to make magic.
- Step stool or sturdy ladder: Opt for a ladder that gives you chest-height access to the fixture, for comfort and safety—no wobbly balancing acts!
- Voltage tester: This is your ritual for peace of mind. Once you’ve killed power at the breaker, a quick test ensures the wires are truly resting.
- Phillips and Flathead screwdrivers: Fixtures are wonderfully diverse—some use Phillips screws, some traditional flatheads. Keep both nearby.
- Needle-nose pliers: For tight screws or finicky nuts, these will save your fingertips.
- Work gloves: Not just for style—protects from dust, delicate glass, and surprising sharp edges.
- Soft cloth or towel: Rest the fixture on this as you work, and protect your table or floor from any accidental tumbles.
- Storage containers: Capture tiny screws or decorative finials (like those matte brass beauties) so none roll astray mid-project.
Lena, stylist at Afralia, shares: “I always recommend a velvet pouch or shallow bowl for those small hardware bits—it feels intentional, and you’re less likely to lose those gorgeous golden fasteners.”
How to Unscrew a Light Fixture: Step-by-Step
Even the most artful lighting—clustered glass globes for a modern living room, or smoked crystal pendants above a dramatic kitchen island—tends to be fastened in clever, but sometimes hidden ways. Here’s your process, with a nudge to let calm, careful moves guide your hands:
- Turn off power at the breaker: Don’t just flip the wall switch! Head to your breaker box and power down the relevant circuit. Holds true for ceiling lights, flush mounts, or wall sconces alike.
- Test for live wires: Use your voltage tester on exposed wires, before touching any metal.
- Remove bulbs and shades: Unscrew bulbs gently. For glass or crystal shades, hold them with both hands as you unscrew any retaining screws or decorative nuts.
- Locate screws or mounting hardware: Some fixtures reveal their secrets via visible screws; others have hidden clips behind the canopy (that elegant disc at the ceiling).
- Unscrew fixture base: Use the right screwdriver or pliers, turning slowly—no stripped screws, please. Support the fixture’s weight as it loosens. If you feel resistance, double-check for a camouflaged fastener or an alignment pin.
- Lower and rest the fixture: Use your soft cloth as a landing pad, and keep all hardware in your bowl or pouch for reassembly (or future projects!).
(See the full infographic above for each step—perfect for pinning or sharing with your fellow DIY dreamers!)
Troubleshooting: When Your Fixture Won’t Budge
Sometimes a fixture simply refuses to part ways—stubborn from decades of paint or a gentle overtightening by its former installer. What’s your move if your light fixture won’t unscrew?
- Tap gently: A soft nudge with your palm can break a paint seal.
- Try a different angle: Sometimes a quarter-turn in the opposite direction does the trick—fixtures often have a twist-lock base.
- Add light lubrication: If you spot visible, stuck threads (and you’re sure it’s not electrified!), a cotton swab dab of mineral oil helps.
- Ask for help: Complex or vintage fixtures may require expert attention—a quick consult keeps things safe, and preserves those delicate finishes.
Here’s a tip from a longtime Afralia customer: “For an extra-smooth reinstall, I number the screws with a wax pencil so everything fits back just as it should—especially for multi-shade fixtures above the dining table.”
Isn’t it remarkable how even unscrewing something as simple as a flush mount can reveal tiny moments of craftsmanship?
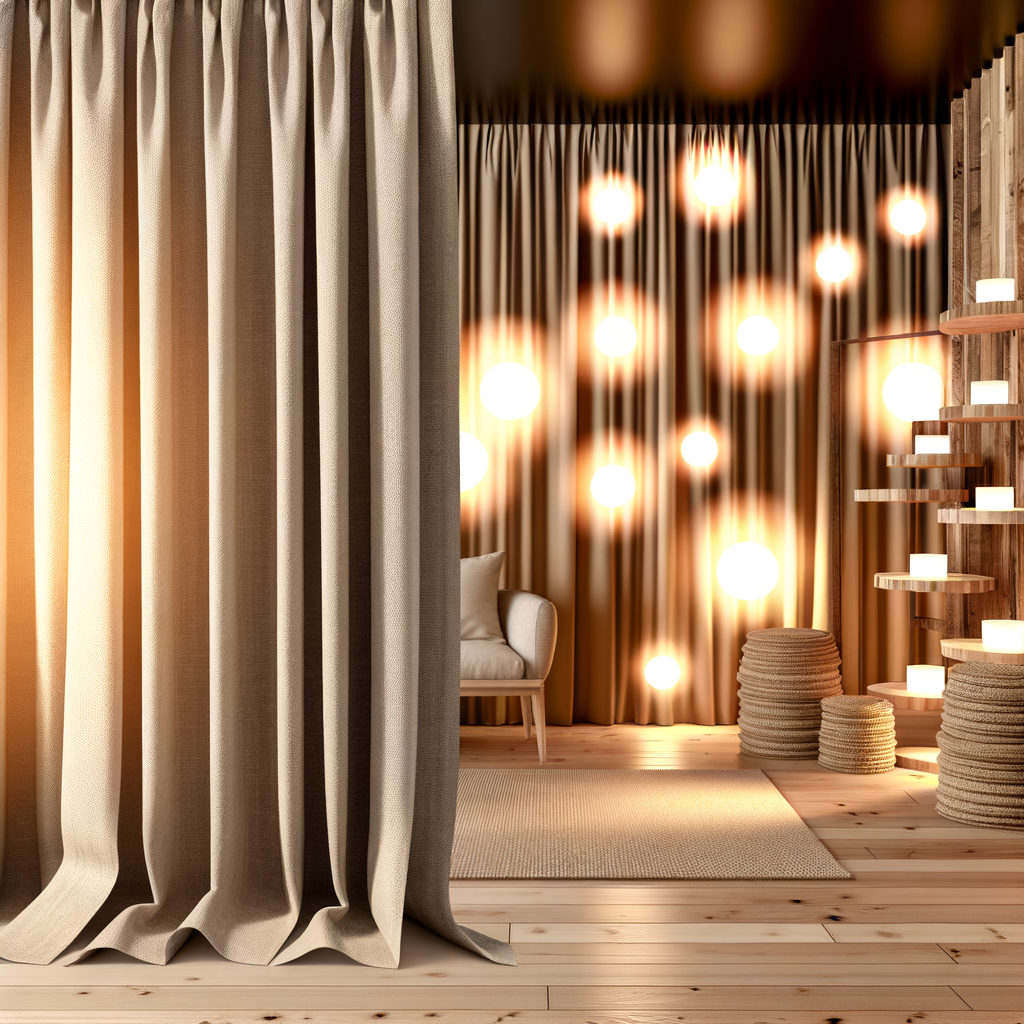
Choosing the Right Lighting for Each Space
Now that you’re empowered to unscrew and update your own fixtures, you might feel the urge to try something new. Where works best for that sculptural lighting you’re coveting?
- Entryway: Welcome serenity with a statement pendant or minimalist flush mount, softening arrivals and goodnights with understated glamour.
- Dining Room: Anchor the space—think matte brass, faceted glass, or geometric forms that spark conversation before the food even arrives.
- Bedroom: Cocoon your senses with bedside sconces, letting a soothing glow play across linen sheets and treasured books.
- Living Room: Layer overheads and floor lamps, as Dezeen notes, to create depth, shadow, and a wide-open sense of home.
If you’re ready for a new look, explore our flush mounts to brighten your entryway, or find a modern pendant that’s just waiting to be the new heart of your home.
At Afralia, we believe that each unscrewed fixture is an invitation—to rethink, reimagine, and refashion your space with light. Want more designer insight? Architectural Digest is brimming with global inspiration and bold interiors.
Quick Recap: Your No-Stress Checklist
- Confirm power is OFF—breaker, not just switch
- Test for live wires with your voltage tester
- Gather your ladder, screwdrivers, pliers, gloves, protective towel, and storage for tiny parts
- Remove bulbs and shades with care—both hands, always!
- Unscrew gently, supporting the fixture’s weight as it comes free
- Stow everything for simple reinstallation—or for your next statement piece
Remember, our visual step-by-step infographic is a perfect pin for your DIY board—a reminder that a few thoughtful tools and a steady hand can turn a daunting task into a beautiful ritual.
Every room is a fresh canvas. Ready to transform yours? Start designing your dream space today.