DIY vs Pro: How to Unscrew a Light Fixture (And Decide Which Route Is Right for You)
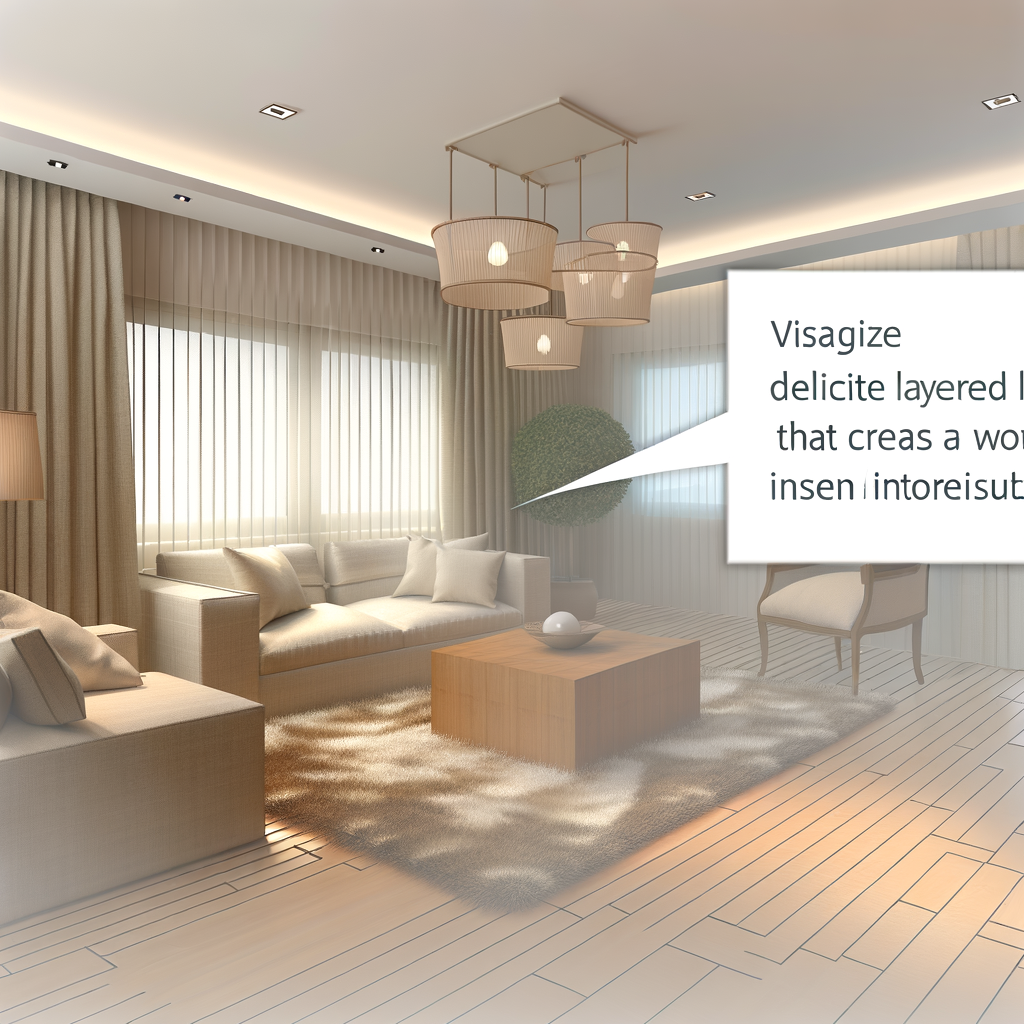
Let’s set the scene: late afternoon sunlight brushes against your living room walls, and a lovely pendant you’ve grown weary of hangs just above. You imagine swapping it for something more playful—or perhaps, a sculptural new statement piece from Afralia™, finished in brushed gold and wafting gentle, dappled light. But before your update, there’s a little hurdle: you need to unscrew that old fixture. Should you roll up your sleeves for a classic DIY moment, or is it time to call in the professionals?
Finding out how to unscrew a light fixture is the first step toward refreshing your space—be it a cozy bedside, a glowing dining nook, or a welcoming entryway. With a warm mug in hand and a dash of design-savvy wisdom, let’s walk through the tactile details, small stories, and expert tips that’ll help you make the call with confidence.
Why Unscrewing a Light Fixture Isn’t Just About Screws
Much like swapping out a picture frame or changing seasonal throw pillows, removing a light fixture can be deceptively simple—or unexpectedly tricky. It’s not just about twisting metal or glass. Sometimes, you’re managing delicate globes, hidden screws, mysterious wires, and long-held dust that’s finally seeing daylight (pro tip: keep a microfiber cloth nearby!).
As Lena, stylist at Afralia, likes to say, “Light fixtures are the jewelry of a room—every detail, from the finish of a canopy to the way the glass is held, deserves a gentle touch.”
Before you take out your screwdriver, it’s wise to pause and consider: is this a task you’d savour handling on a slow Saturday, or do you prefer the precise hands of a pro? Let’s illuminate both paths.
DIY Approach: When to Roll Up Your Sleeves
There’s undeniable satisfaction in doing it yourself. If your fixture is relatively simple—like a flush-mount in the hallway or a pendant in the breakfast nook—you may find the process straightforward and even meditative. But how do you actually unscrew a light fixture safely and elegantly?
-
Step 1: Turn Off the Power (Always!)
Head to your circuit breaker and switch off the current for the relevant room. Even if you only plan to unscrew and not uninstall, safety is the ultimate luxury. -
Step 2: Support the Fixture
Cradle the base or shade with one hand—think of it as holding a delicate teacup—while loosening screws or nuts with the other. If it’s a larger piece, a friend or family member makes a wonderful second set of hands. -
Step 3: Identify Fasteners
Most ceiling fixtures are held by decorative screws, lock nuts, or mounting brackets. If you see a dome or shade, look for slotted screws around the canopy or a center ‘finial’ nut (that pretty, often overlooked accent dead center on some fixtures). -
Step 4: Gently Unscrew
Work slowly, turning with gentle pressure. (Anecdote? A customer once told us they found dried lavender tucked above their old globe shade. Little discoveries like this are part of the DIY magic.) -
Step 5: Lower and Inspect
Once loosened, carefully lower the fixture. If wires are still attached and you’re not planning a full replacement, pause your DIY right here—this is usually the limit for most home enthusiasts.
DIY can be a tactile, rewarding experience. That soft, powdery dust, the cool glide of a matte brass bracket: you’ll connect even more with your space. Still, it’s vital to know your comfort level and when to stop. You might even want to pause here, cue up some design inspiration from Architectural Digest, and start daydreaming about what comes next.
Why (and When) to Bring in the Pros
Of course, lighting can be trickier than it first shines. If your fixture feels unusually heavy, the wiring looks ancient, or you’re working with high ceilings or glass chandeliers, calling a licensed electrician is the most sensible (and stylishly stress-free) move.
Pros have the right tools—a tension rod, sturdier ladders, a reassuringly practiced hand for stubborn hardware. They’ll also check connections and, crucially, ensure all is safe for lovely new lighting to take center stage.
Have you ever tried balancing on a chair, arms overhead, screws vanishing into plush carpet? Sometimes, the pros really do save the day (and your wrists, and your peace of mind).
Another moment to call the experts: if you spot odd or brittle wiring, or if your fixture is joined to an electrical box that doesn’t look quite right. This is where best intentions meet real expertise—let the professionals handle it, and rest easy knowing your new fixture will shine safely for years.
Pinterest Shout-Out: DIY vs Pro – Which Suits You?
Love a good visual? Here’s a quick comparison to help you decide—perfect for your next Pinterest board!
| DIY | Pro |
|---|---|
| Simple, lightweight fixtures (think: small flush mounts, bedroom sconces) | Heavy, intricate, or hard-to-reach statement lights (like a crystal chandelier or multi-tiered pendant) |
| Electrical wiring remains untouched | Wiring looks outdated or you plan to move connection points |
| You’re comfortable with basic hand tools, gentle patience, and a step ladder | High ceilings, complex fixtures, or zero margin for error (rental homes, historic houses) |
| A beautiful way to connect with your home, one thoughtful detail at a time | Maximum confidence, safety, and lasting peace of mind |
(Swipe, pin, and refer back next time you’re pondering that fixture update!)
Where Lighting Changes Make the Most Impact
Now that you know how to unscrew a light fixture, where will your effort spark the most joy? Consider a few prime zones:
- Entryway – Swapping a dated flush mount for a sculptural globe creates instant welcome. Explore our flush mounts to brighten your entryway.
- Dining Room – Changing a chandelier shifts the room’s entire mood—from moody and intimate, to airy and modern.
- Bedroom – Out with the old bedside sconce, in with a new dimmable shade that glows like candlelight for bedtime stories (or plotting the next room refresh!).
As noted by Dezeen, layered lighting creates dimension and elegance. By confidently handling the “before” phase—unscrewing that fixture, whether DIY or with expert help—you’re making room for light that better reflects the person you’ve become. Isn’t that what inspired homes are all about?
Final Thoughts: Choose Your Signature Touch
So—DIY or Pro? Both have their charms. Maybe today’s just right for a light, personalized fix, fingers dusted with anticipation and pride. Or perhaps it’s time to lean on a trusted pro, knowing that what comes next will be perfectly set for years of warmth.
And when you’re ready to add something remarkable—perhaps a pendant with a hand-blown glass shade, or a wall sconce in sumptuous aged bronze—Afralia is here to help bring your vision home. Explore our pendants for every corner of your sanctuary.
Start designing your dream space today.