Tools You Need for How to Install a Pendant Light Fixture
There’s something quietly magical about a pendant light. It’s not just about illumination—it’s the way a matte glass globe floats above your dining table, or how a shapely brass lantern glows from a cozy corner, casting worlds of shadow and light. There’s an intimacy in choosing just the right spot, the perfect fixture, and—yes—finally giving yourself the creative satisfaction of learning how to install a pendant light fixture on your own. If you love transforming your space and crave a sense of accomplishment alongside all that ambiance, you’re in the right place.
Before we dream up styling ideas or arrange the room around your new light, let’s start from the beginning: What tools and know-how do you really need? Whether you’re sprucing up a serene entryway or spotlighting a kitchen island, we’ll walk through the essential tools, talk design tips, and share insights from our Afralia studio.
Gathering Your Installation Essentials: A Curated Tool Checklist
No need for a professional electrician’s toolkit—just a handful of accessible, reliable tools and an appetite for hands-on beauty. Here’s your step-by-step checklist (and don’t miss our Pinterest-style infographic at the end for a chic, visual reference you’ll want to pin):
- Voltage Tester: Your top safety ally. Before you even unscrew the old fixture, double-check wires are not live. It’s that reassuring click and flash that keeps your project incident-free.
- Flathead and Phillips Screwdrivers: For removing old fixtures and installing the mounting bracket. A balanced, good-grip handle is a small luxury here! Precision helps avoid scraping delicate ceiling paint.
- Wire Strippers/Cutters: These will give you neat, reliable wires for secure installation. Neatness matters—stray wires can hinder a perfect connection.
- Pliers: Especially needle-nose, ideal for twisting wire ends together. That deft twist makes all the difference in a sound, tidy connection.
- Ladder or Stable Step Stool: If you’re installing a pendant above a kitchen island, don’t risk those wobbly chairs! High spaces demand secure footing.
- Measuring Tape: To achieve that oh-so-right height and symmetry—key for pendants, especially when they’re in pairs or trios above dining tables or counters.
- Wire Nuts (Connectors): These caps secure your electrical connections. Most fixtures include them, but extras are always a smart backup.
- Mounting Hardware: Check that you’ve got anchor screws and the correct mounting bracket for your pendant (usually included—peek inside the box first).
- Light Bulb: Your fixture’s best supporting actor. Choose warm LEDs for cozy, intimate vibes or clear filaments for striking design lines.
- Pencil: For marking anchor points or centering your pendant just so. The right placement draws the eye and anchors the room.
“Take your time with the prep,” says Lena, stylist at Afralia. “A beautifully installed pendant doesn’t just shine—it elevates the room’s mood every time you walk in.”
How to Install a Pendant Light Fixture: Where and When It Matters Most
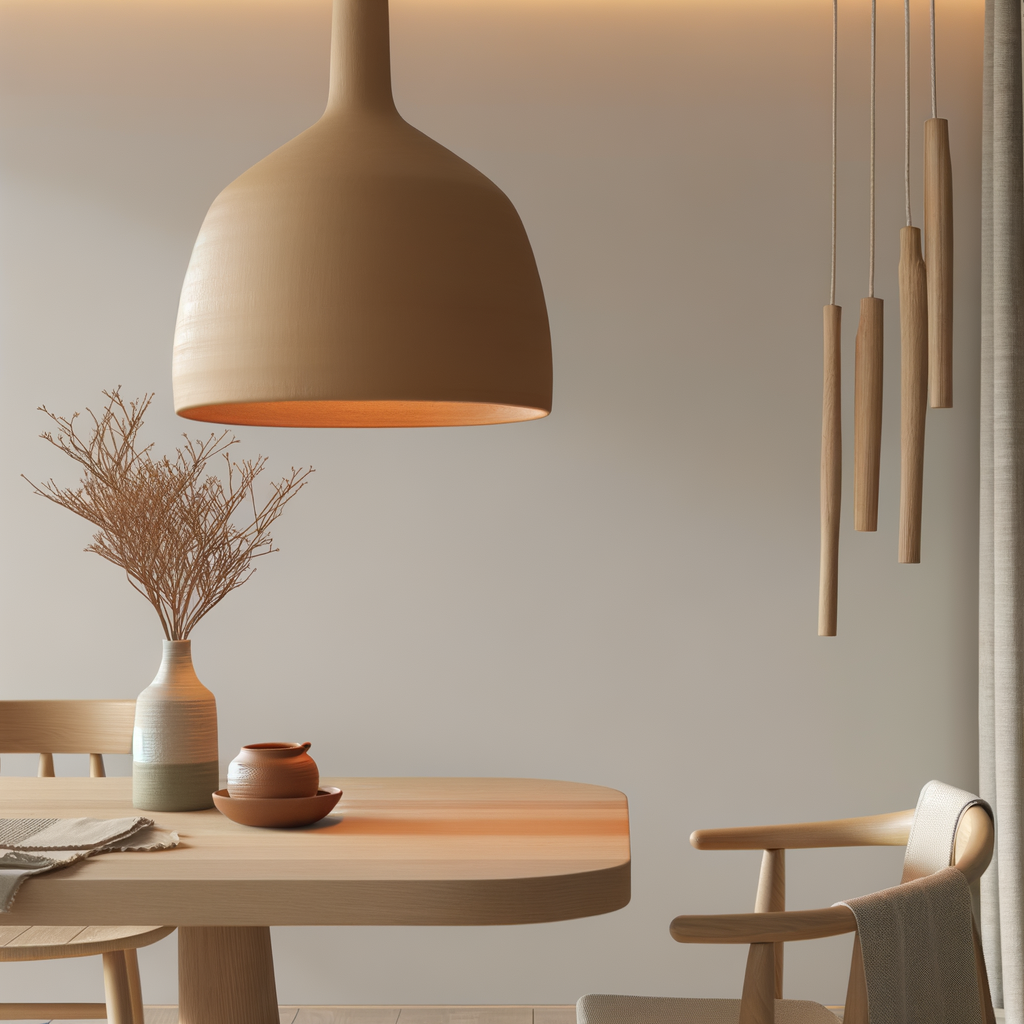
Where does a pendant create the most impact? Picture a trio of handblown globes dancing above your dining table, or a single sculptural drop catching the morning sun as you pad into your entryway. Pendants bring focus—they create islands of light that anchor conversations, frame breakfast rituals, or cast a soft amber glow beside the bed.
Pro tip from a recent customer, Mei: “I installed a matte brass Afralia pendant over my reading nook. At dusk, the light pools onto my novel—it’s become my evening escape.”
- Dining Room: Hang your pendant 30-36 inches above the table. It draws the eye and makes every meal a little more celebratory. For linear tables, consider two or three spaced evenly.
- Entryway: Pendants pack a cinematic punch here. They welcome guests, casting playful, welcoming shadows. Just check door clearance—no one likes a banged head on the way in.
- Bedroom: Ditch clunky bedside lamps for small-scale pendants suspended over each nightstand. It frees up space and feels serenely intentional.
- Kitchen Island: Multiple pendants provide both light and drama; measure carefully for perfect symmetry.
Curious about which pendant style fits your mood? Explore our pendant lights for ideas that match every aesthetic from minimalist linen to sculptural glass and polished chrome.
As noted by Dezeen, layered lighting creates dimension and elegance—think of your pendant as just the first brushstroke in your total lighting masterpiece.
Step-by-Step Tips: From Unboxing to Show-Stopping Glow
Let’s get tactile. Imagine the satisfying weight of brushed nickel in your hand, the soft click of screws, the gentle twist as wires meet beneath the ceiling plate. Here’s how to install a pendant light fixture, start to finish (and don’t forget to consult our handy step-by-step infographic—save it to your phone or pin it for instant confidence):
- Turn Off Power: Always flip the breaker—not just the wall switch. Then, use your voltage tester to confirm zero power. No quick shortcuts here!
- Remove Old Fixture: Carefully unscrew and detach, supporting the fixture with one hand. Note how the old wiring connects—it’s your roadmap for the new pendant.
- Prepare Wires: Use wire strippers to tidy up wire ends (about ½ inch exposed copper). Gently twist matching colors together: black (live), white (neutral), and green or bare (ground). Secure with wire nuts.
- Install Mounting Bracket: Use a screwdriver to fasten the bracket to your electrical box. If the old bracket fits and is secure, it’s fine to reuse.
- Hang Pendant Fixture: Attach the pendant’s canopy to the bracket, tucking wires carefully. Adjust cord length so the pendant floats at just the right height—eye-level impact, no matter the ceiling.
- Secure All Screws and Bulb: Make sure everything’s flush, then screw in your chosen bulb. Step down, flick on the breaker, and bask in your handiwork.
Ever noticed how, after installing something yourself, you can’t help but glance up with a private smile each time you walk by? That’s designer-level satisfaction.
Aftercare and Design Flourishes: Keep Your Pendant Light Dazzling
Installation is only the beginning. How will you keep your freshly installed pendant looking its radiant best?
- Dust Regularly: A quick sweep with a soft microfiber cloth keeps glass and metal glowing—no harsh chemicals needed.
- Clean With Intention: For more stubborn smudges or fingerprints, slightly dampen your cloth with water. Avoid sprays on the bulb or directly on the fixture—especially for delicate finishes or glass globes.
- Revisit Your Bulb Choice: Want a warmer glow for autumn? Try a vintage-style LED. Amp up brightness for task areas by swapping in a higher-lumen bulb.
- Complement With Other Lighting: Pendants pair beautifully with wall sconces and table lamps for a layered, welcoming space.
Isn’t it a thrill, realizing how something as simple as a pendant light can completely transform a room’s energy? Sometimes, all it takes is one new glow to make old spaces feel brand new.
If you need extra confidence or want to double-check your approach, an external eye from a local electrician never hurts. Design is about beauty—but also about living well and safely.
Ready, Set, Shine—Create Ambiance That Feels Like You
No matter your aesthetic—crisp urban minimalism, lush organic textures, or sculptural metallics—a pendant light is like the jewelry of your home. It’s personal, expressive, and a little bit magical. The real secret? With the right tools, a thoughtful plan, and that designer dedication to detail, how to install a pendant light fixture becomes a joy, not a task.
If you find yourself itching for a new project after admiring your handiwork, why not dream up the next upgrade? As Architectural Digest reminds us, every detail is a chance to tell your story.
Pin and save our step-by-step infographic for your next “I can do this!” weekend—your future self will thank you.
Ready for your next lighting adventure? Start designing your dream space today.